Quest #1: The Hidden Lion
To unlock the Mysteries of Summer questline you first need to obtain knowledge of Echoes of the Throne by creating and using a scroll.
The book may be available on the Valencia 3 channel on EU/NA and Heidel 1 channel on SEA. You can interact with the book without needing the scroll if it is there.
To obtain the scroll, you must first collect the following materials:
- Naga Webfoot x50 – obtained from Naga Swamp monsters in Serendia
- Fogan Webfoot x50 – obtained from Fogan Swamp monsters in Serendia (make sure the trash loot is worth 4k silver)
- Rusty Helmet x50 – obtained from Castle Ruins monsters in Serendia
- Oil of Corruption x50
** Use a lower level character to obtain the trash loot quicker
Once you have collected all the materials above, use an Alchemy Tool in your residence to create a King’s Regret
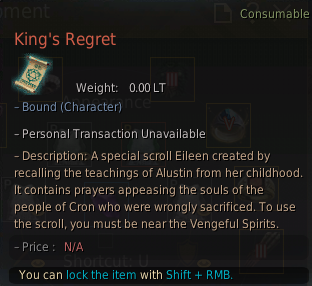
You must then go to the Throne room in Heidel Castle. On a random channel there will be a blue flame at night time in-game (between 10PM – 7AM). If the blue flame is there, go to the balcony of the throne room at use the scroll.
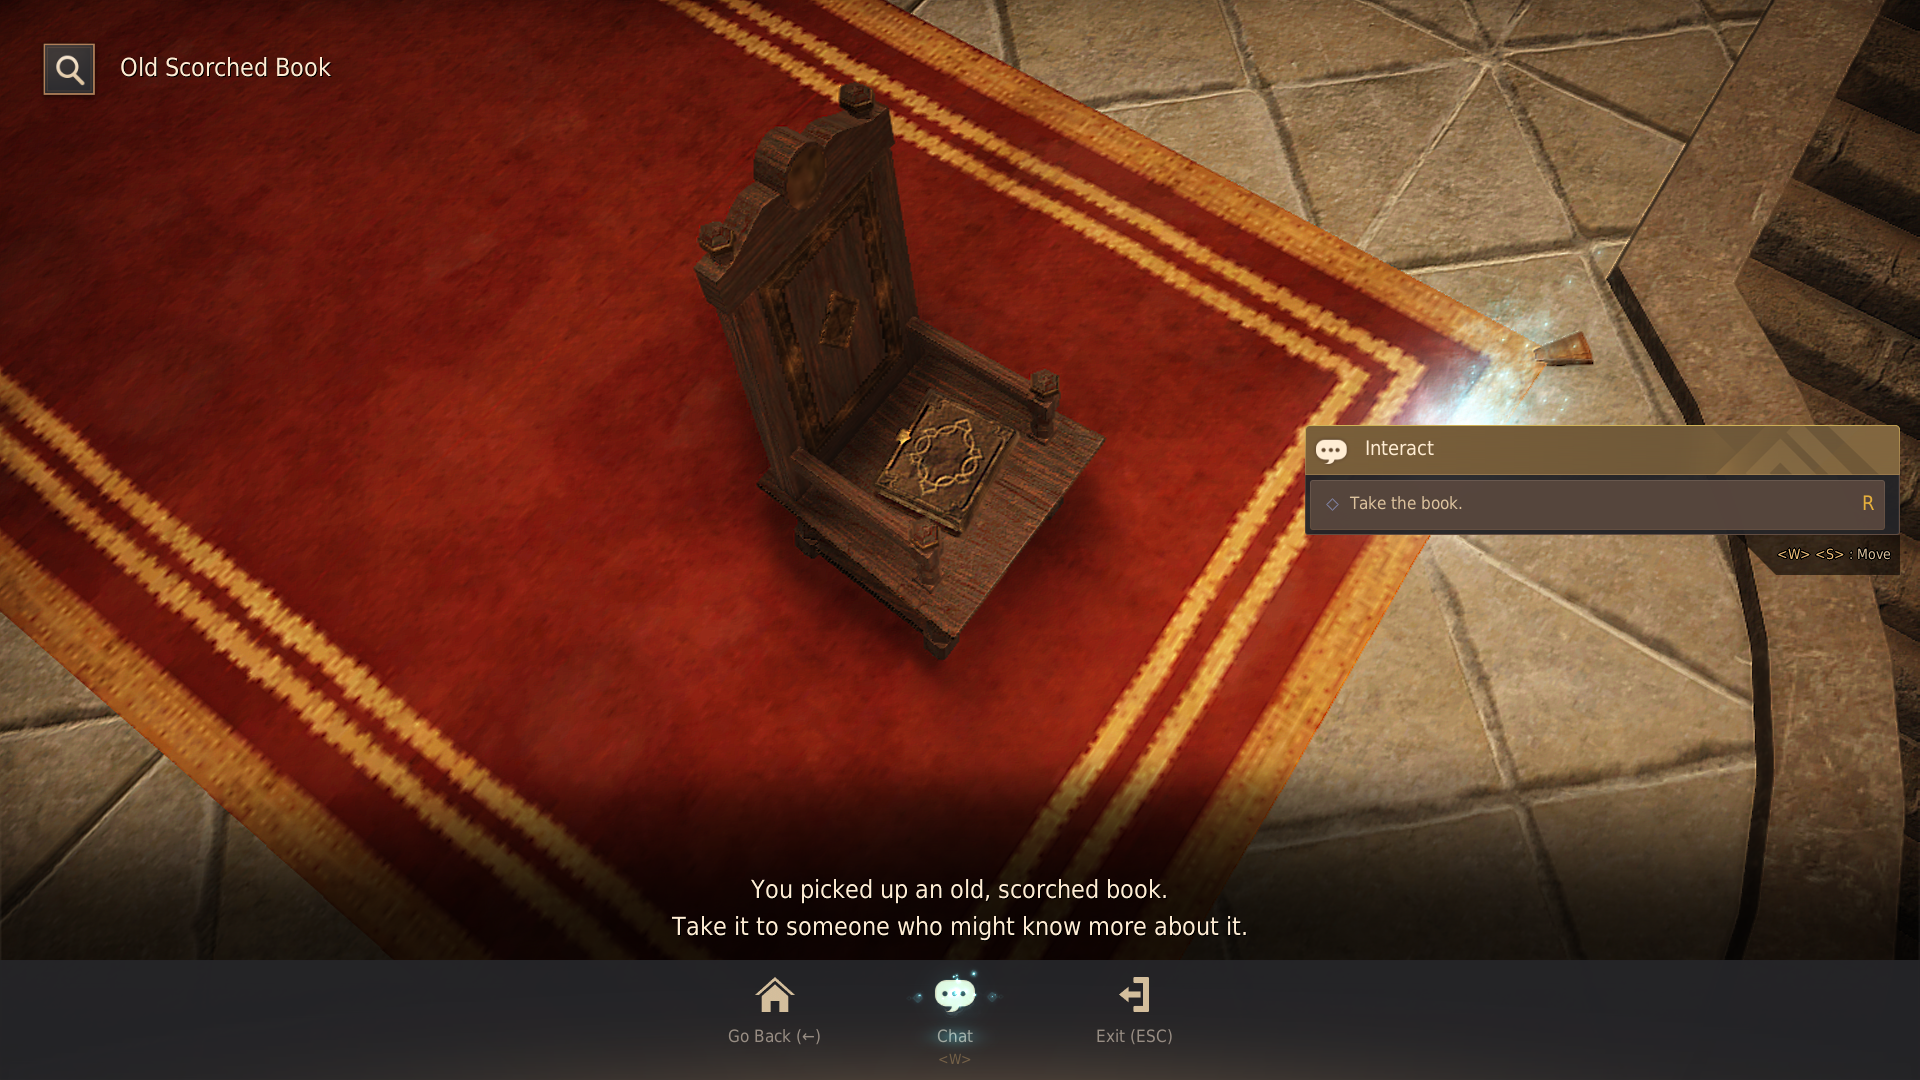
After using the summon scroll, a book will appear on the throne chair and you can interact with it to receive the knowledge required.
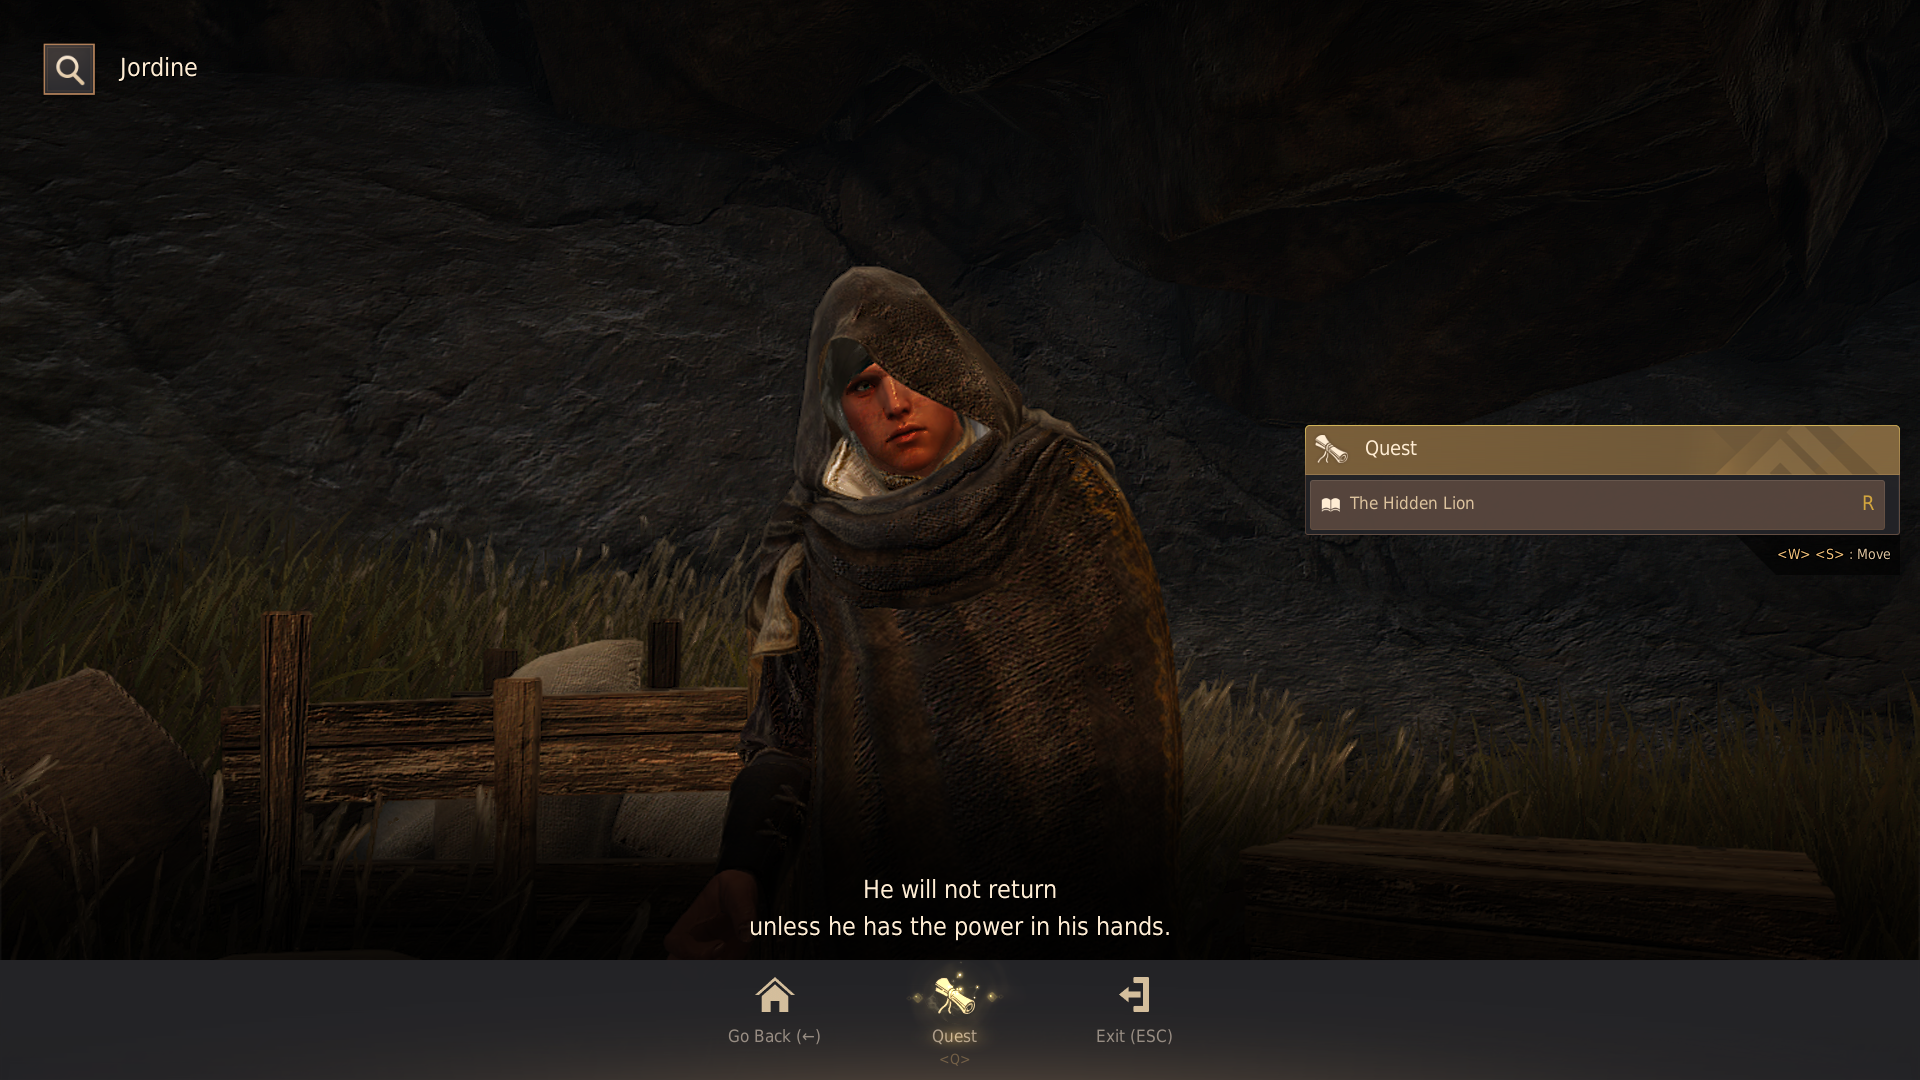
You can then go to Jordine at the Fountain of Origin to accept the quest. You must be level 59 or higher to receive the quest. Make sure to pick up all the quests from Jordine.
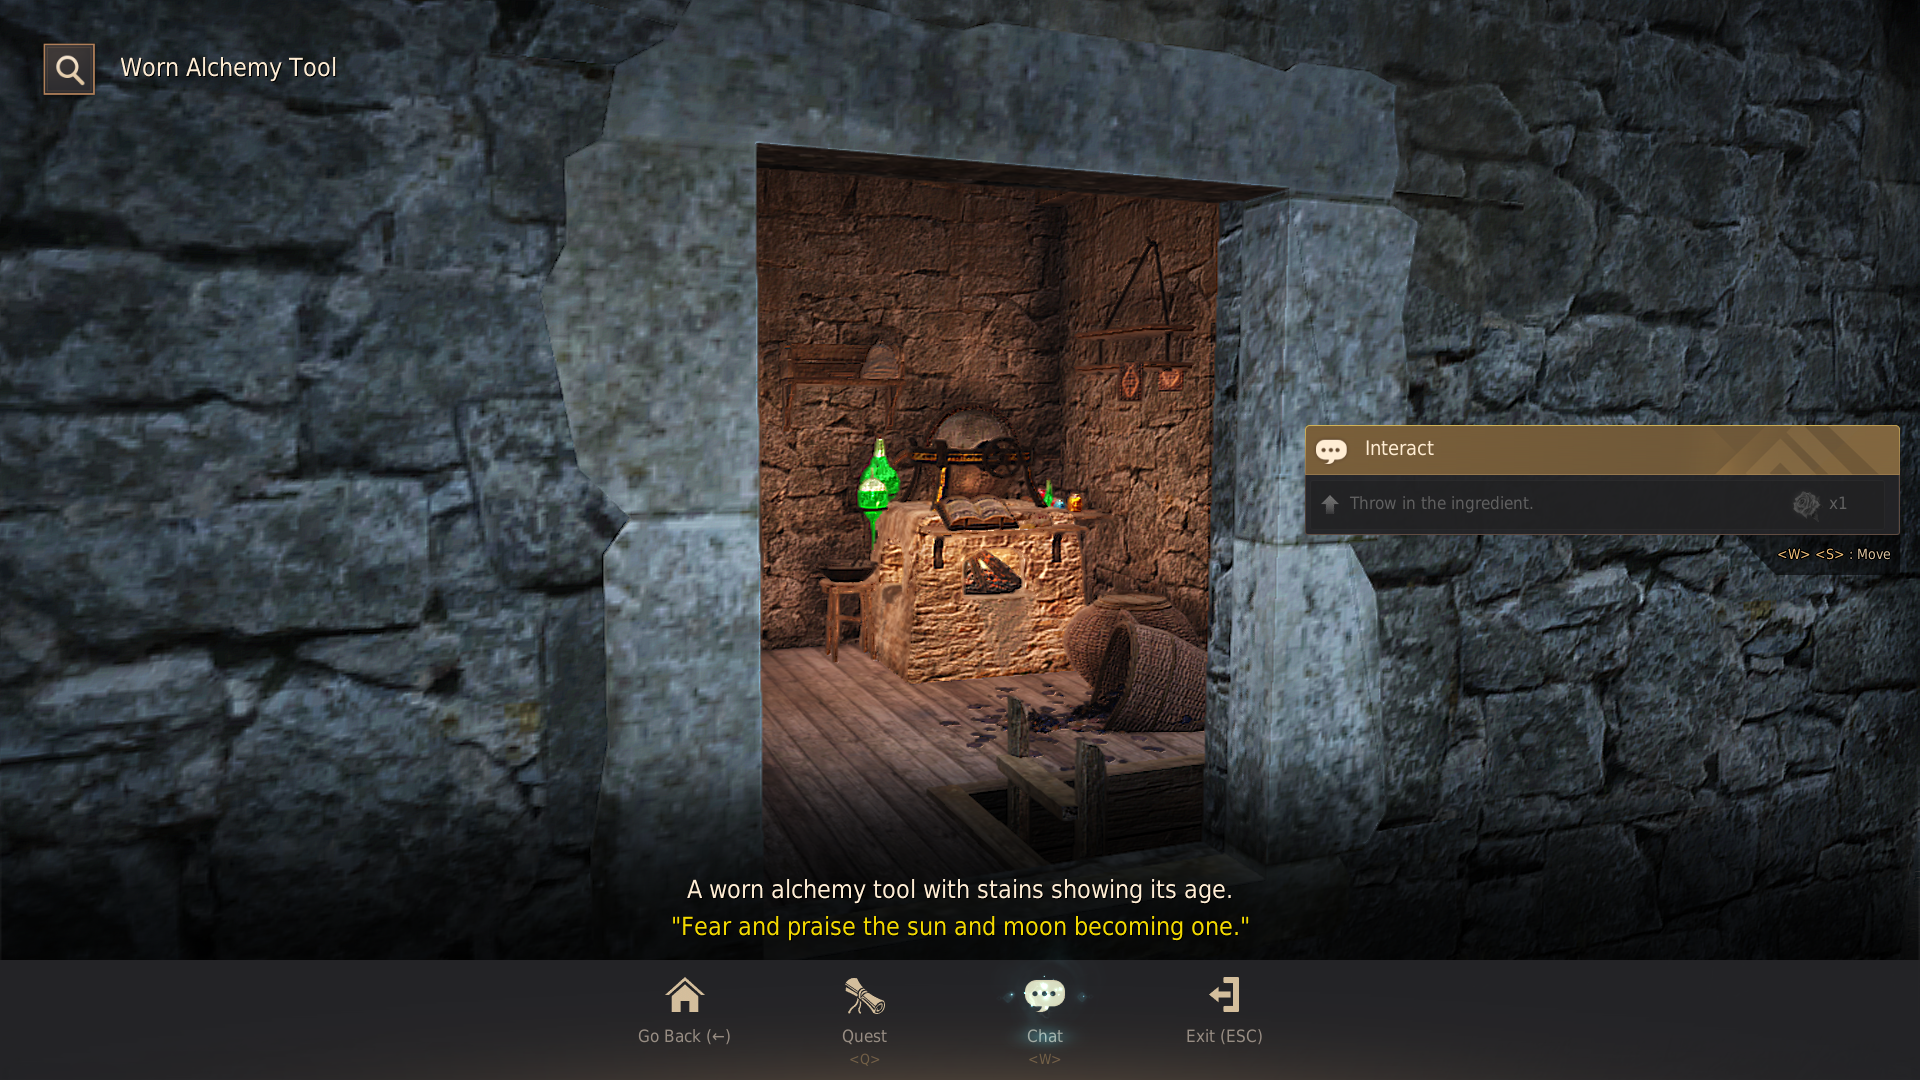
Finally, head back to Heidel and interact with the Alchemy Tool at Heidel Castle to start the next quest.
Quest #2: The Aged Lion
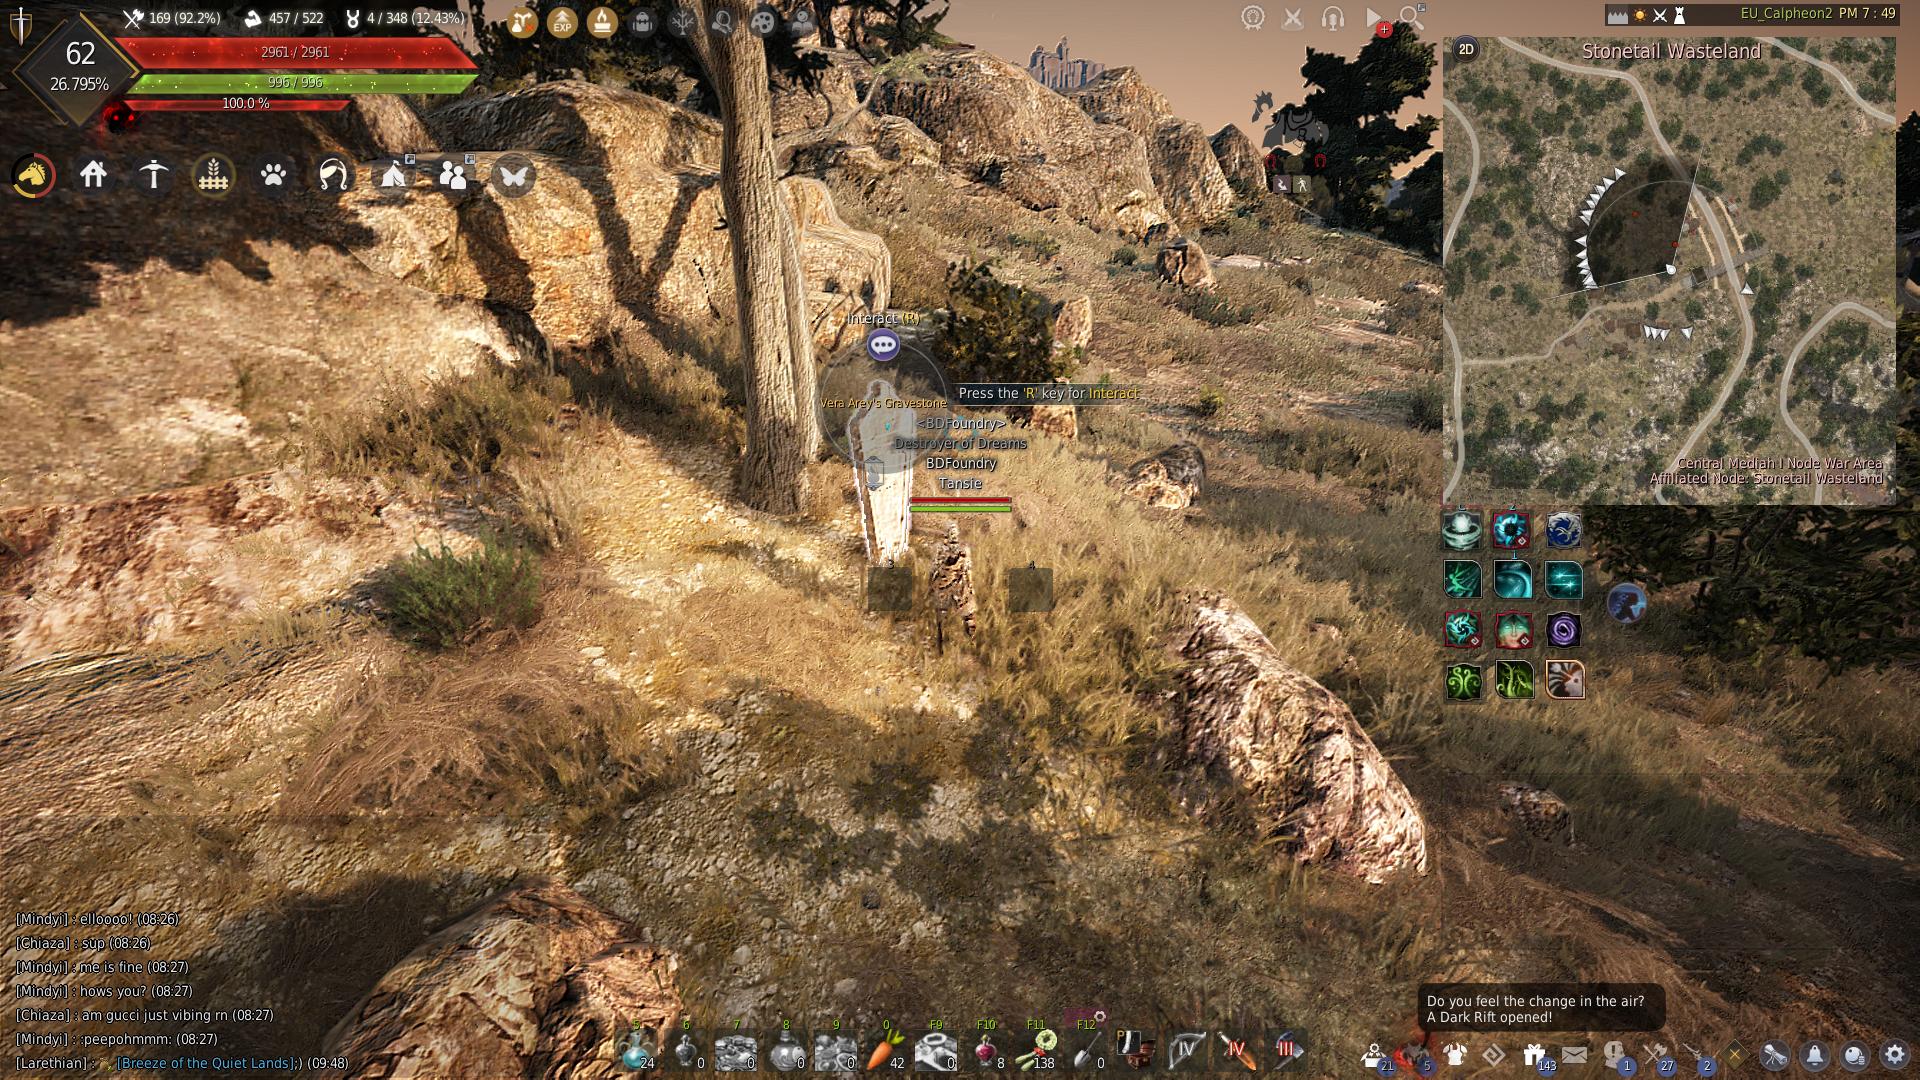
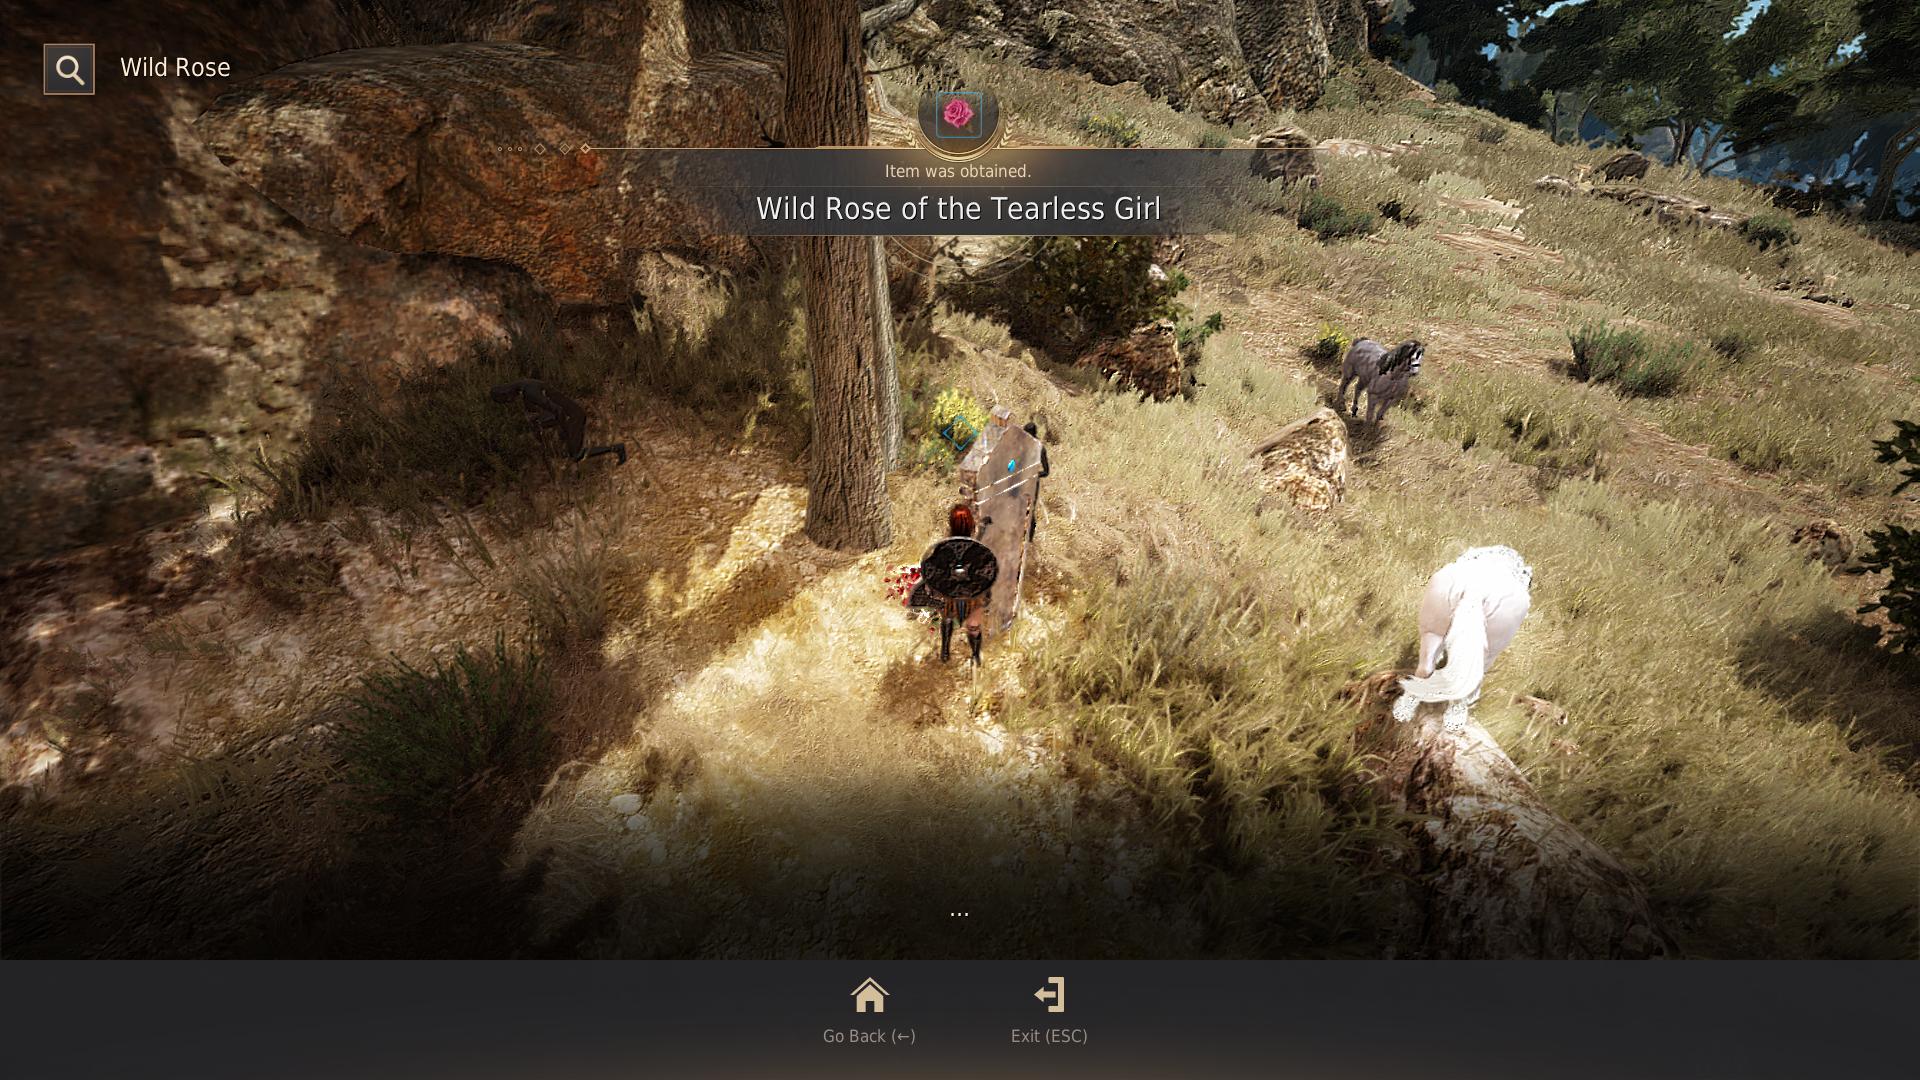
To obtain the item for quest #2. You must go to Vera Arey’s Gravestone and interact with the bed of roses there.
The Vera Arey Gravestone can be found at Stonetail Horse Ranch. There is a daily quest from Gula at Stonetail Horse Ranch who gives the quest [Repeat] Remembering the Grand Prix Champion. This quest requires you to give Horse Race Seal x10 to the grave to honor Vera Arey’s memory. Once 100 people have given the Horse Race Seals at night, a bed of roses appears behind the grave in the morning which can be interacted with to give you the item needed for the quest.
Quest #3: A Prickly Remark
This quest item can only be obtained if you have completed quest #2.
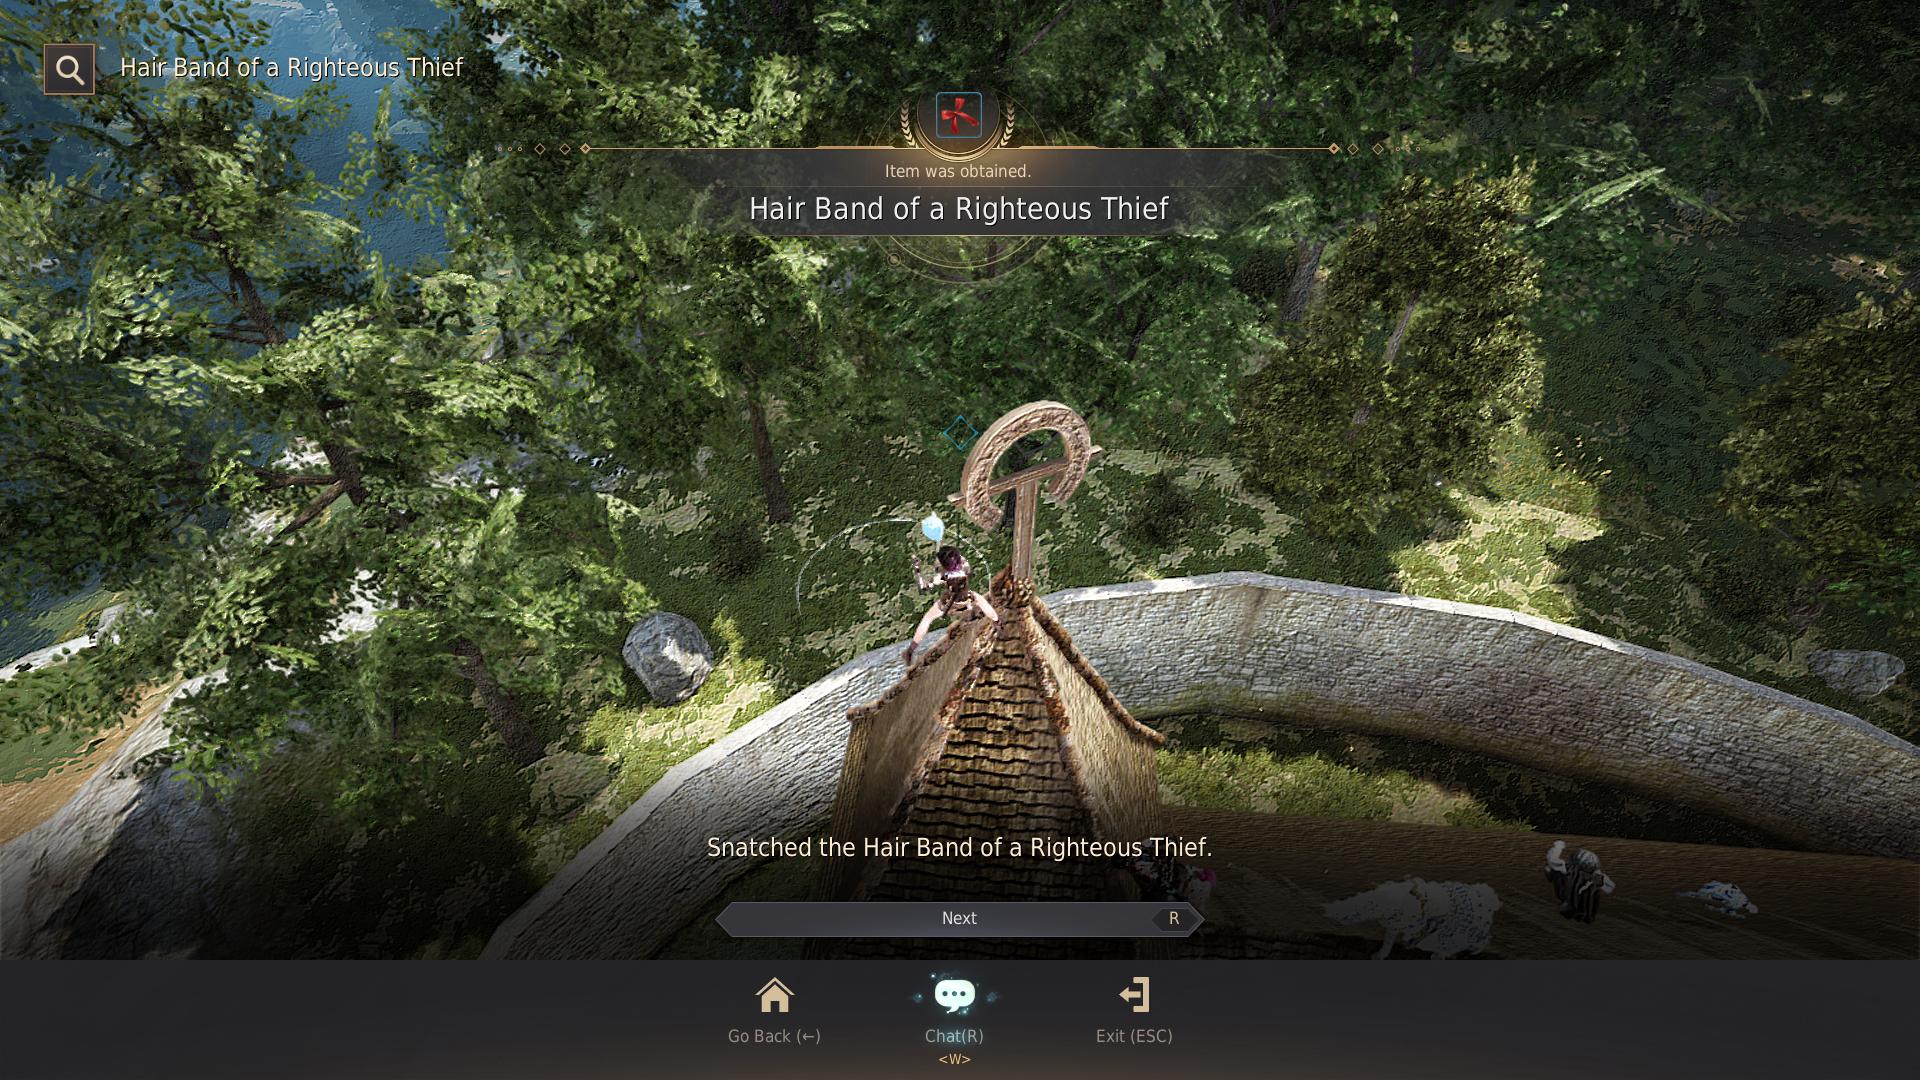
The item for quest #3 can be found by jumping onto the top of Heidel Church. You can unlock a ladder to help you get to the top of the Church by completing the daily quest called “A Thief!” from one of the soldiers located near the training dummies. The quest can only be accepted between 20:00 – 23:00 in-game time and then the thieves only spawn between 23:00 – 01:00.
I was also able to jump up using my Kunoichi and jump gear.
Quest #4: Loyalty’s Fall
This quest item can only be obtained if you have completed quest #3.
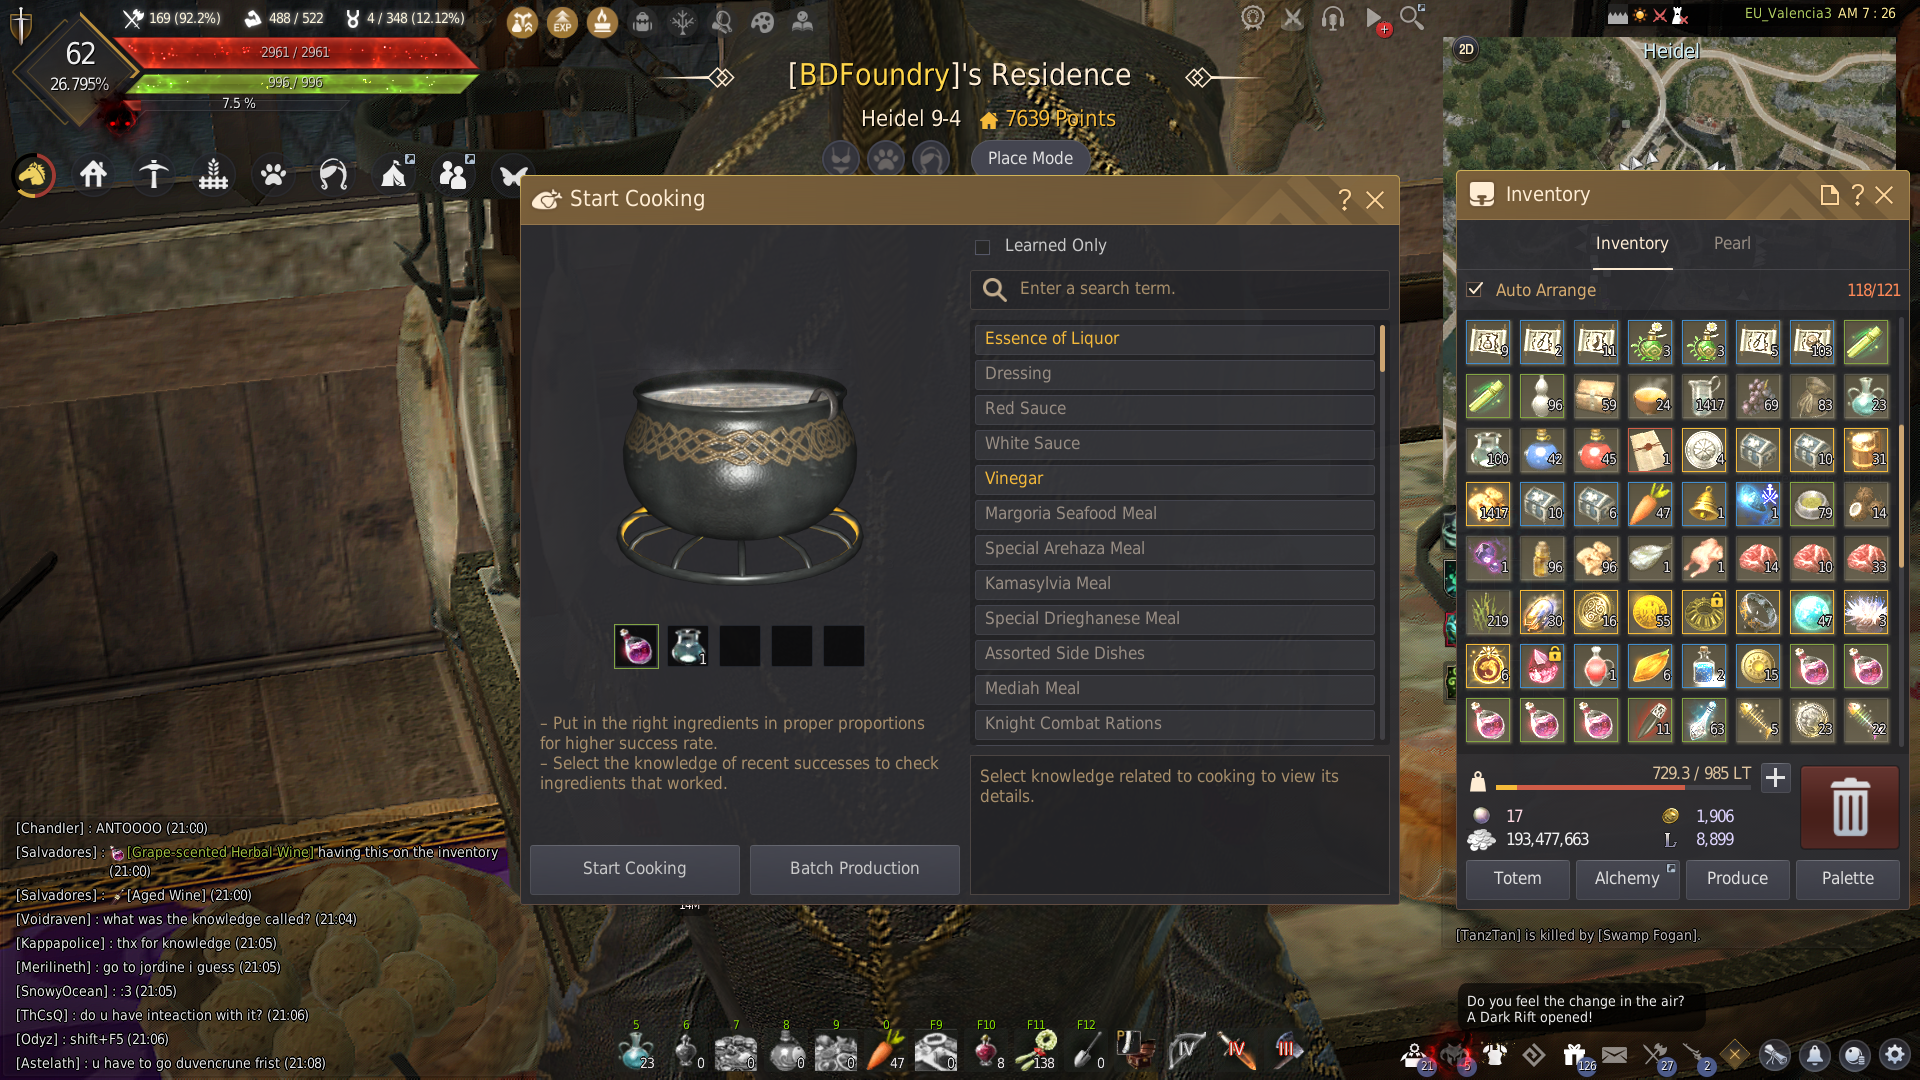
To get the item for this quest, you must first kill <Quick> Bothersome Rabbits which only appear at night in the forest west of Heidel. Only the green named rabbits will drop an item called Aged Wine which can be used to teleport you onto a floating platform above Heidel. Here you can interact with the platform to obtain the next item and it will teleport you back down. I didn’t manage to get a screenshot for this one because I was teleported down too quickly but the item was in my inventory afterwards.
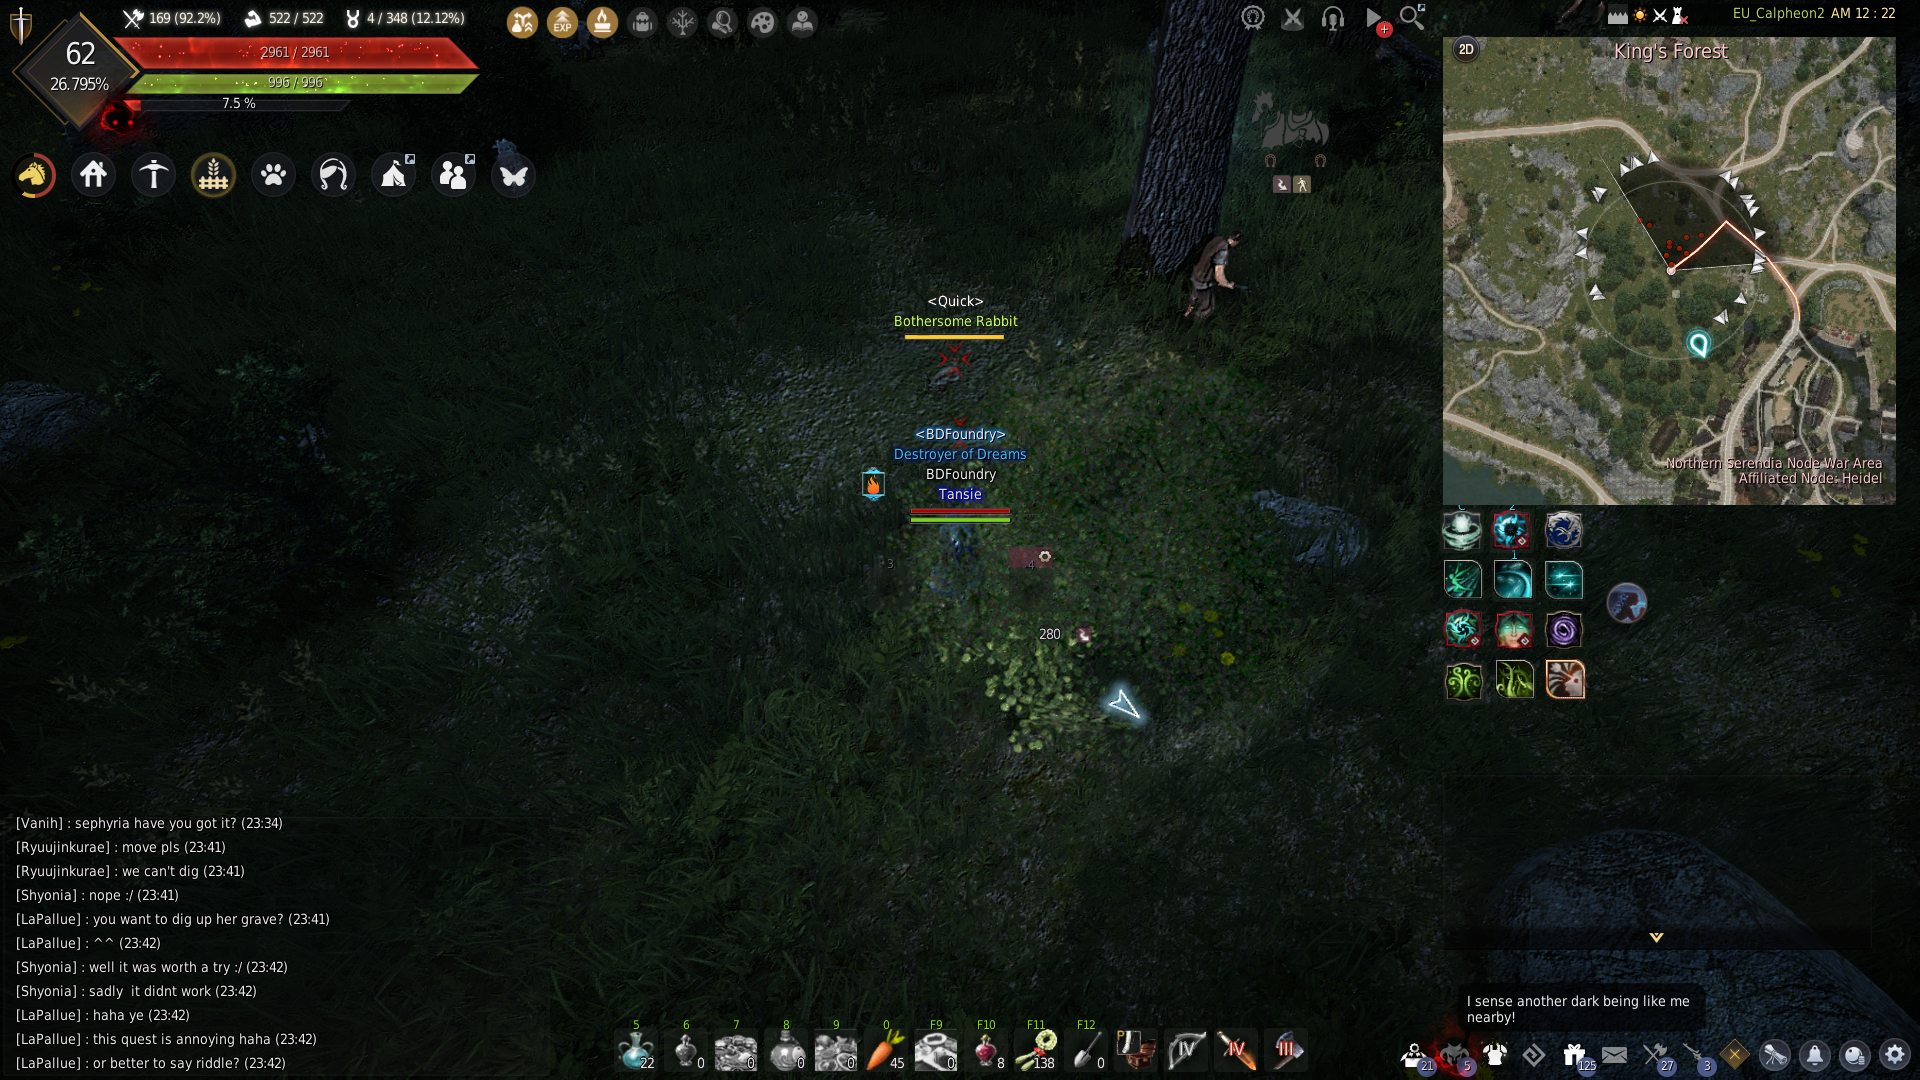
<Image from Daebong‘s guide>
Quest #5: The Young Lion
The item for the fifth quest requires you to create Refined Grain Wine.
You can make Grape-scented Herbal Wine using Simple Cooking using the ingredients below:
- Grape x1
- Leavening Agent x1 – obtained from Cooking Vendor
- Essense of Liquor x1
- Exotic Herbal Wine x1
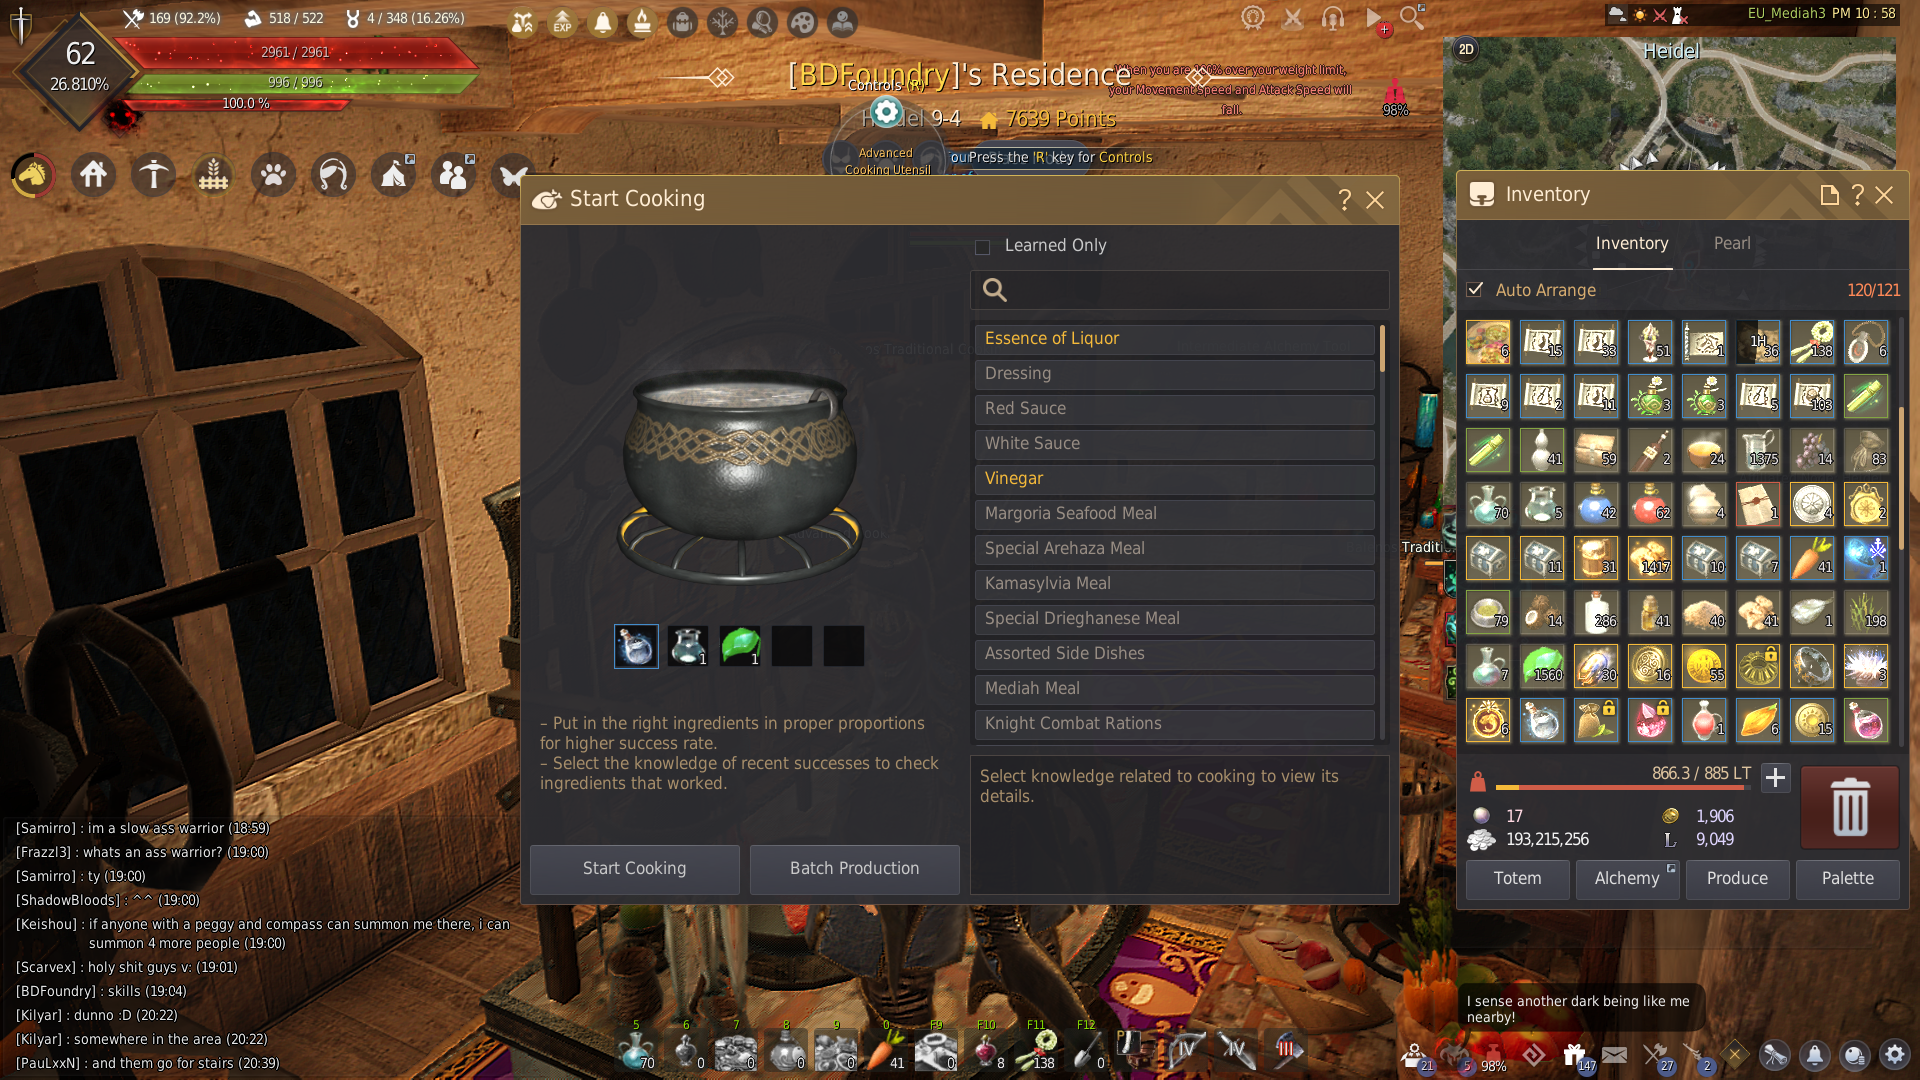
After obtaining the Grape-scented Herbal Wine you can turn it into a Diluted Grain Wine using a Cooking Utensil at your residence:
- Grape-scented Herbal Wine x1
- Distilled Water x1 OR Purified Water x1
- Recipe can fail if you use Purified Water, you may need to use up to 5 Purified Water
There is a chance you will get the Diluted Grain Wine, or you will get the Grape-scented Herbal Wine back.
You must then use a Cooking Utensil again with the following ingredients:
- Spirit’s Leaf x1
- Distilled Water x1 OR Purified Water x4
- Diluted Grain Wine x1
This has a chance to create a Refined Grain Wine or will give you the Diluted Grain Wine back. You then do this a final time with Spirit’s Leaf and Distilled/Purified Water to get the item required for this quest.
Quest #6: The King and the King
To obtain the item for this quest you will need a Matchlock and a Butcher Knife.
You will then need to make a Boss White Wolf Lure Trap or Boss King Brown Bear Lure Trap using Simple Alchemy.
The recipe for this is:
- Bird Meat x10
- obtained by killing seaguls at Orff’s Island (south of Lema Island) with a Matchlock then Butchering them for meat
- obtained by killing seaguls at Chuck Laurie using a Sniper Rifle then Butchering them for meat – you can get a practise Sniper Rifle from Chuck Laurie
- Raccoon/Weasel/Fox/Dear Meat x10
- Elixir of Gentle Scent x1
- bought from certain Material Vendors (Zaaira in Velia, Sady in Olvia)
Make sure to create a couple traps to bring with you in case you fail and need to try again. The bosses are not hard to kill and can be completed with a Beginner Matchlock
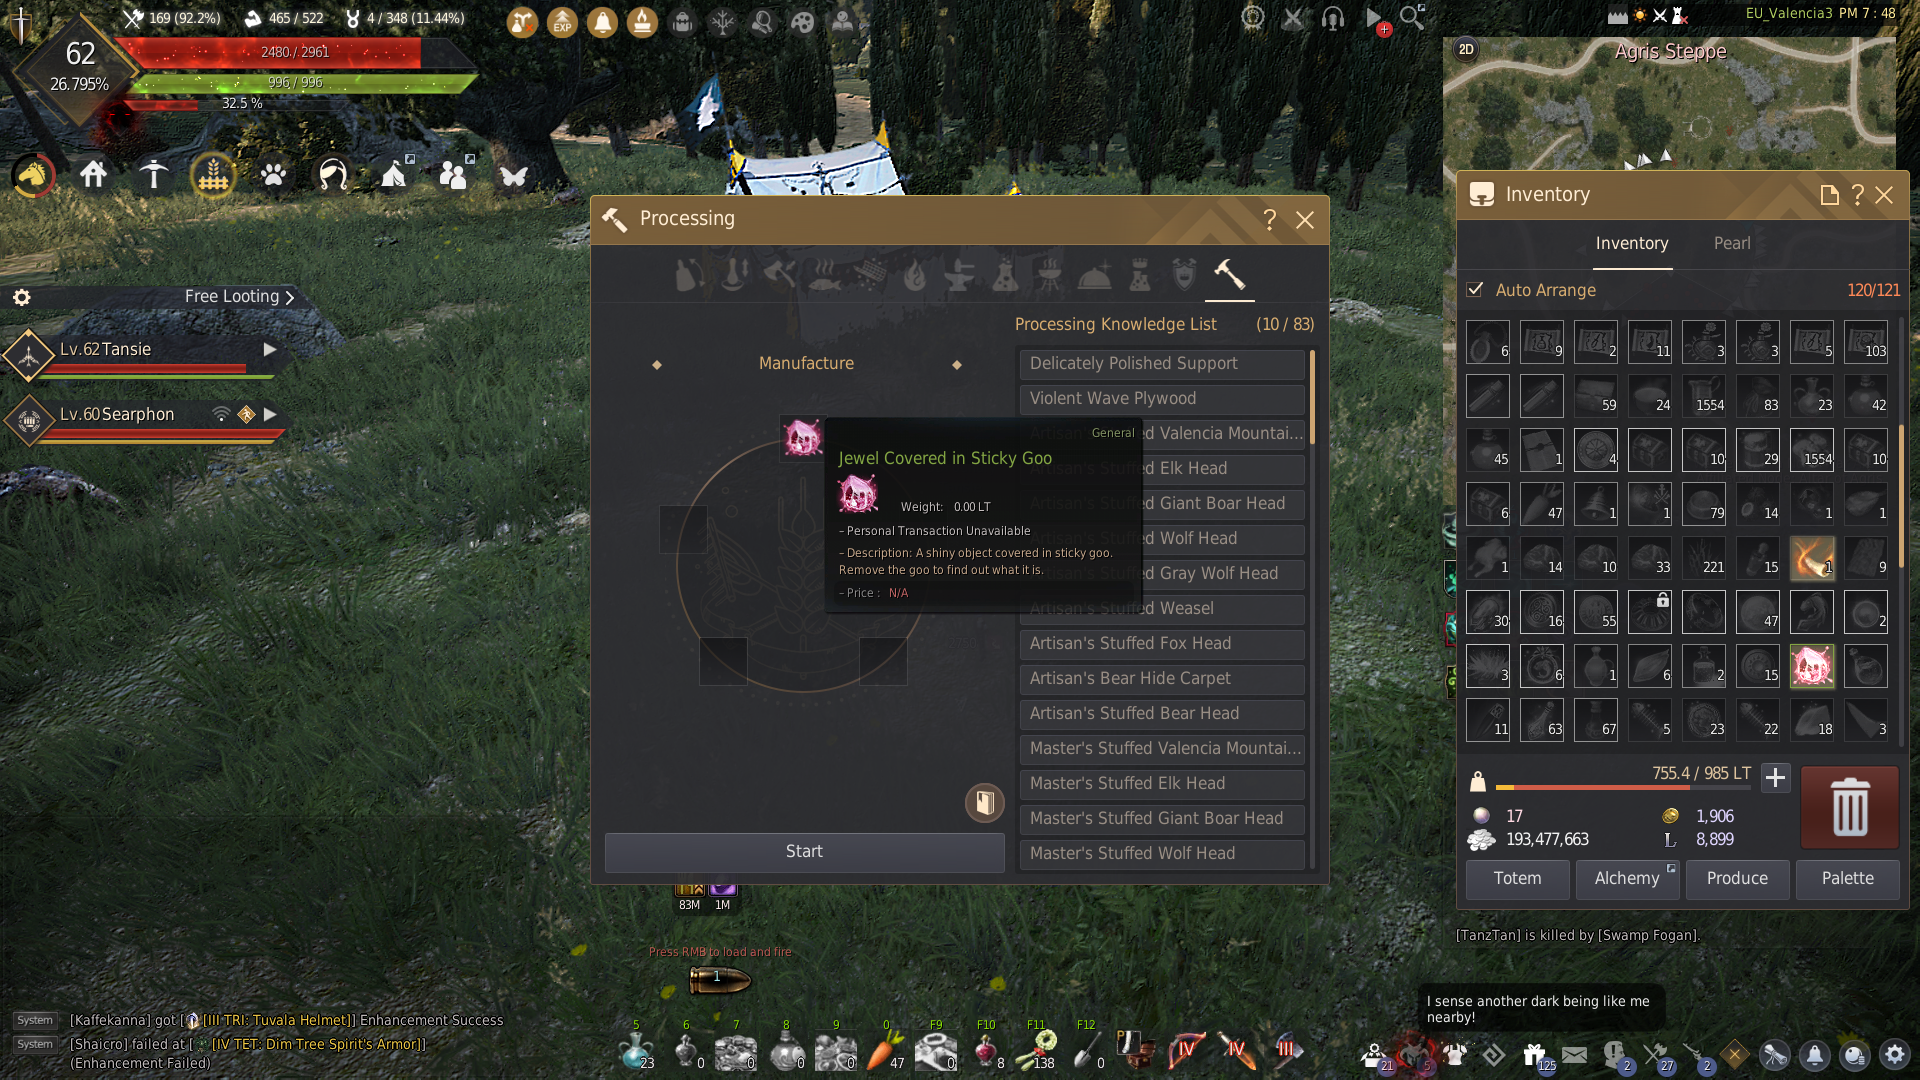
Right-click the trap in your inventory to be taken to the spawn location and summon the hunting boss. You will need to kill it with a Matchlock and then use a Butcher Knife to obtain loot from it. You should receive a Jewel Covered in Sticky Goo.
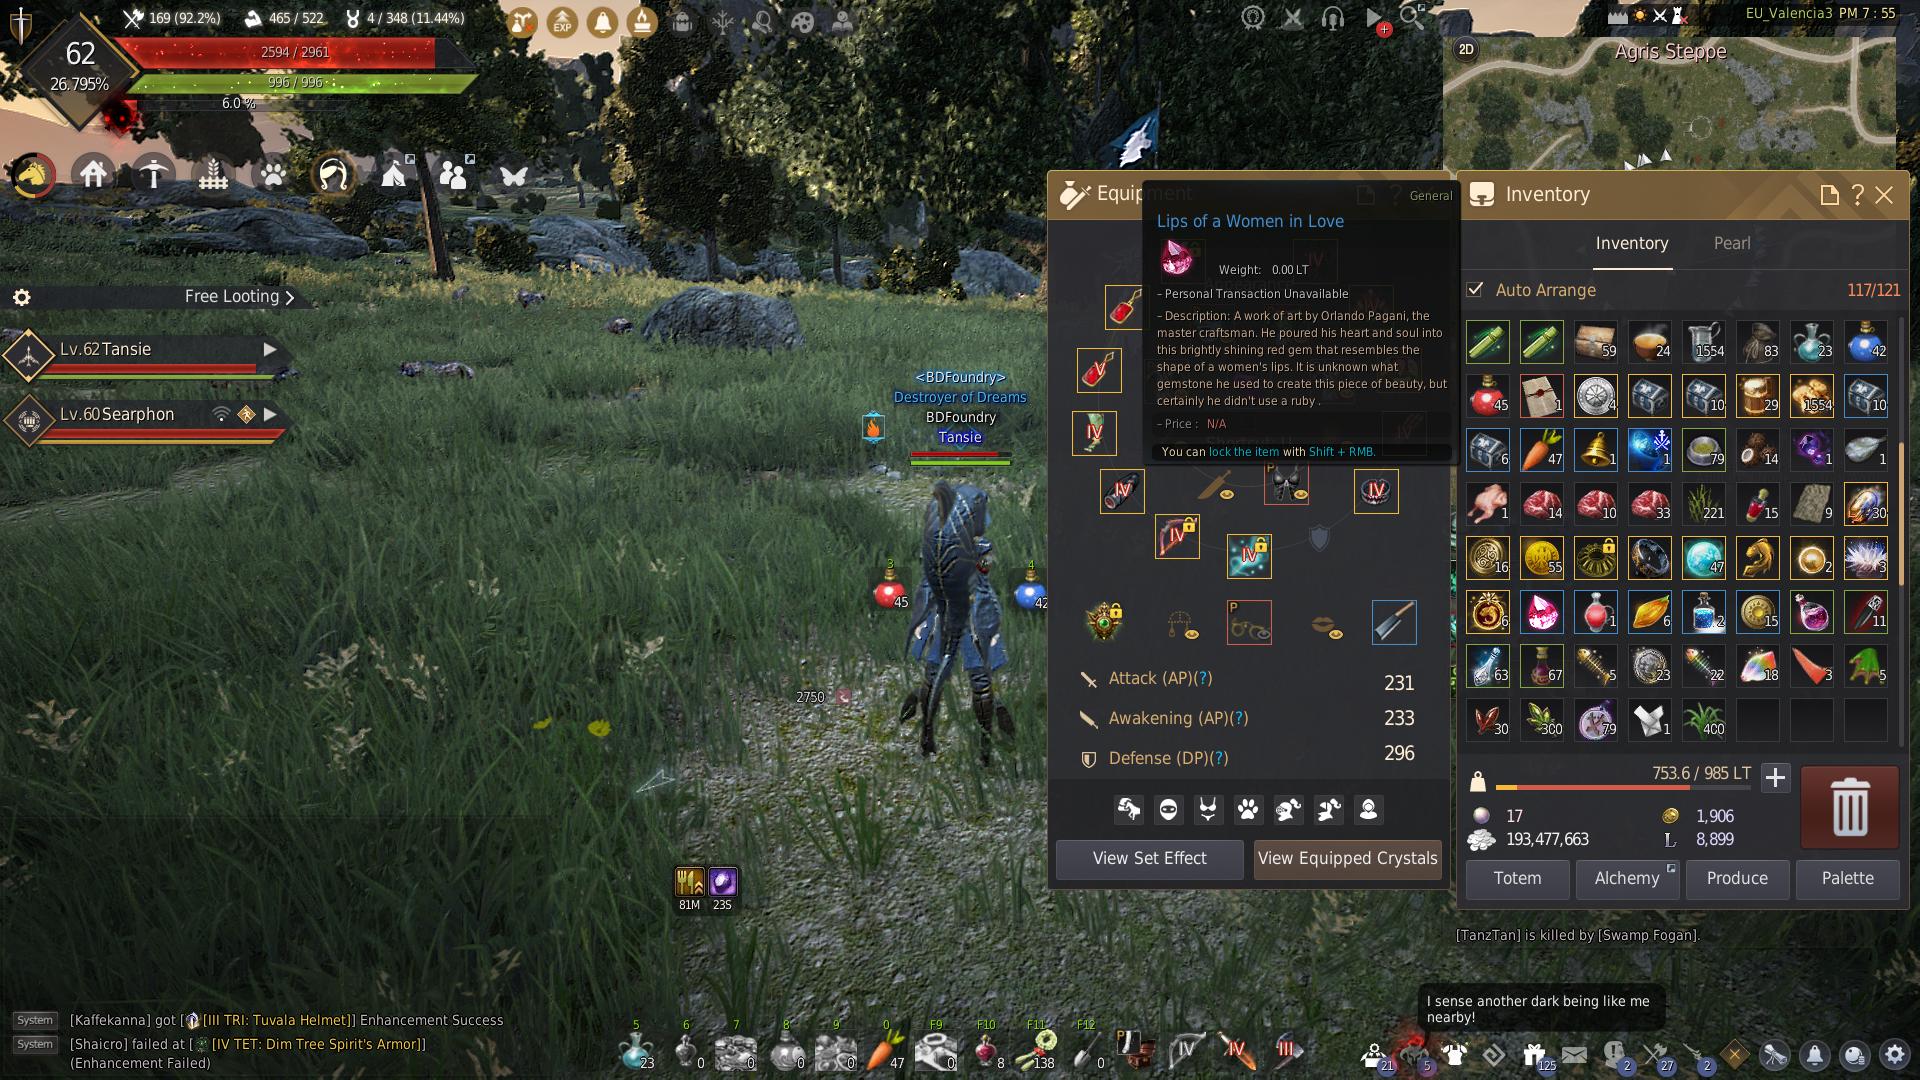
Open the processing window (L) then select Manufacture, this will turn the Jewel Covered in Sticky Goo into a Lips of a Woman in Love
Quest #7: The Prince and the Prince
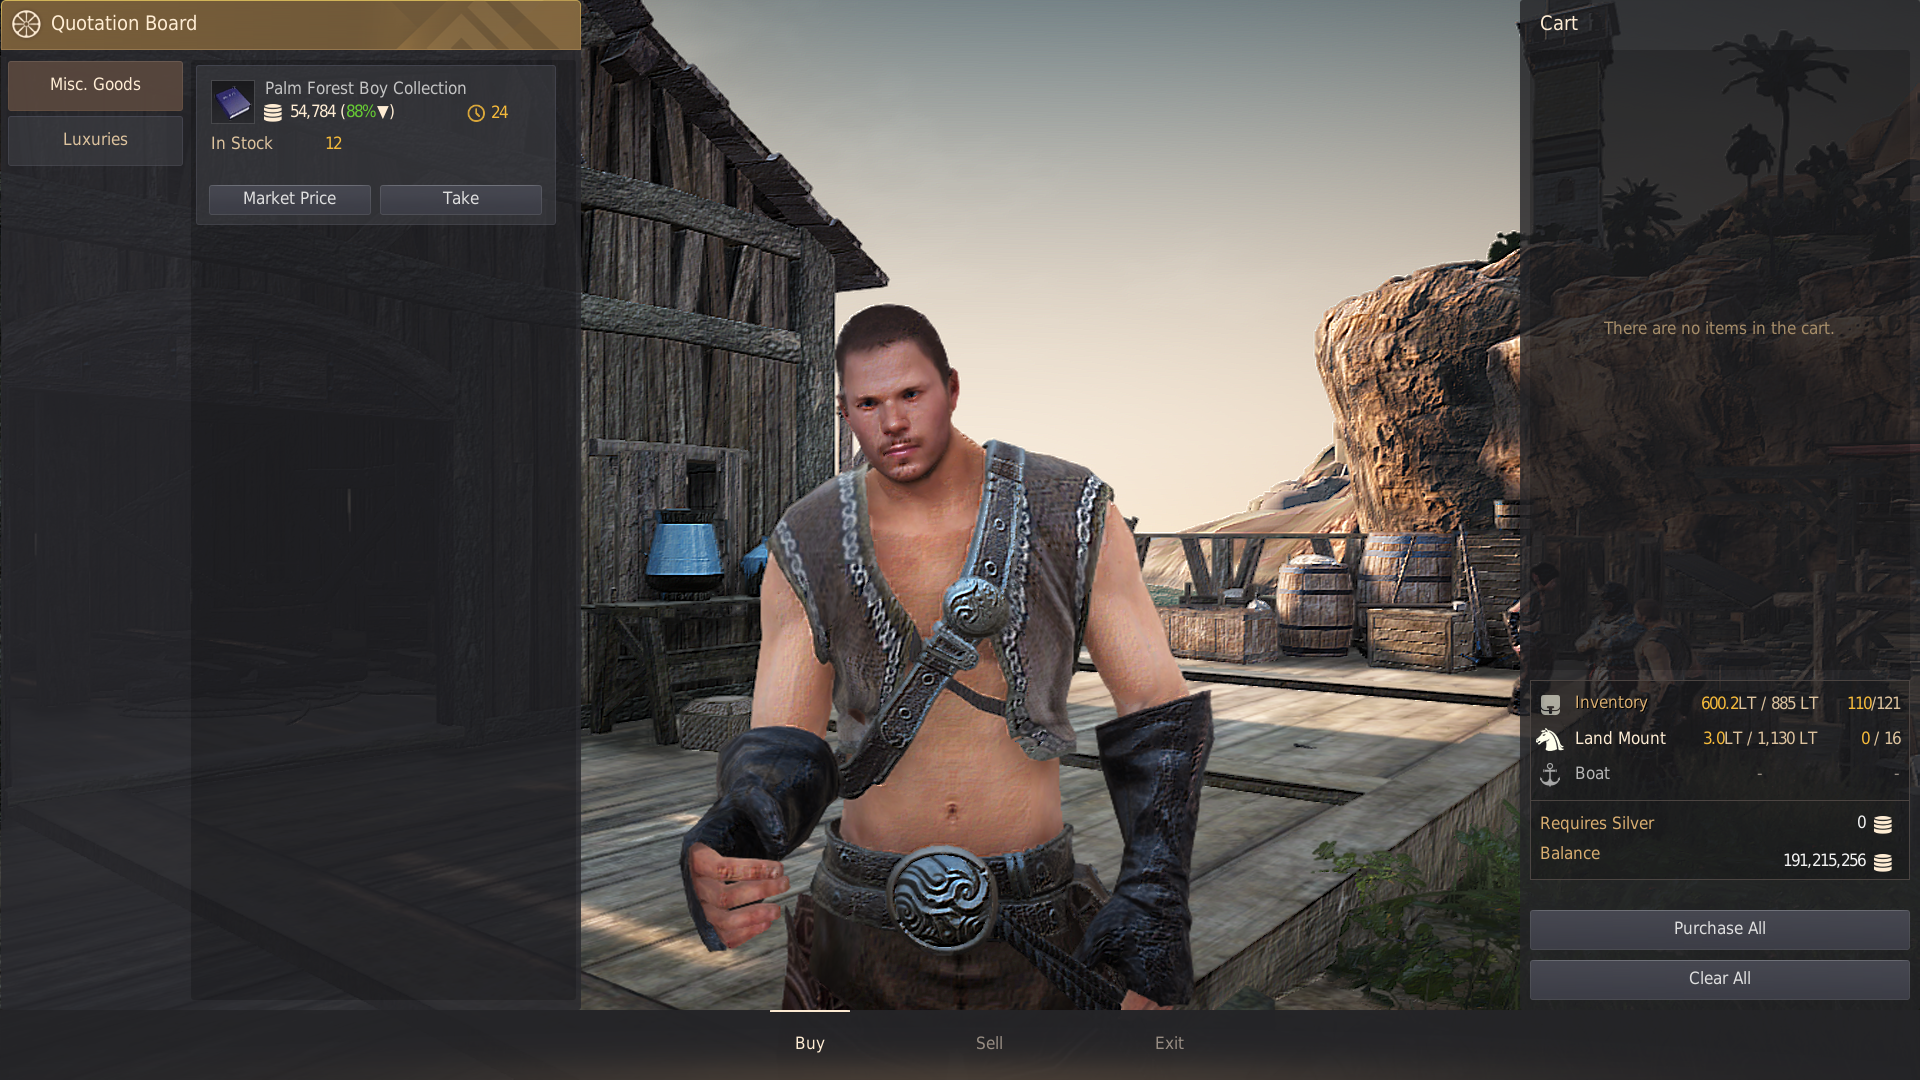
To obtain the item for this quest you need to go to Arehaza and find the Trade Manager there called “Surondula”. He will sell items called “Palm Forest Boy Collection” which you have to transport to Valencia and sell to the Trade Manager there. When you sell the item there is a chance you will get the “Cloud of Romance” item needed for quest #7. You do not need to bargain to the item and it may take you several attempts. Use a miniature elephant if you have one to make it quicker. You can transport the elephant directly to Arehaza.
Quest #8: Sheathed Claws
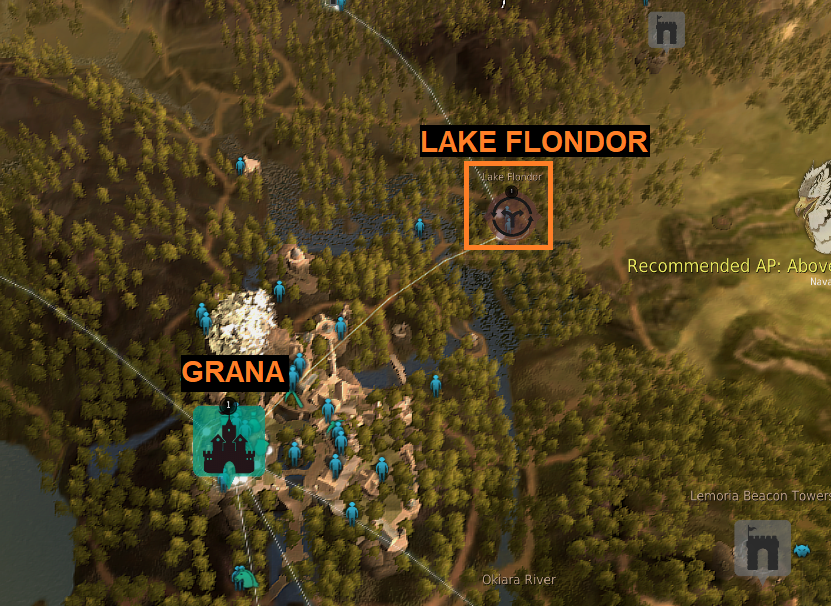
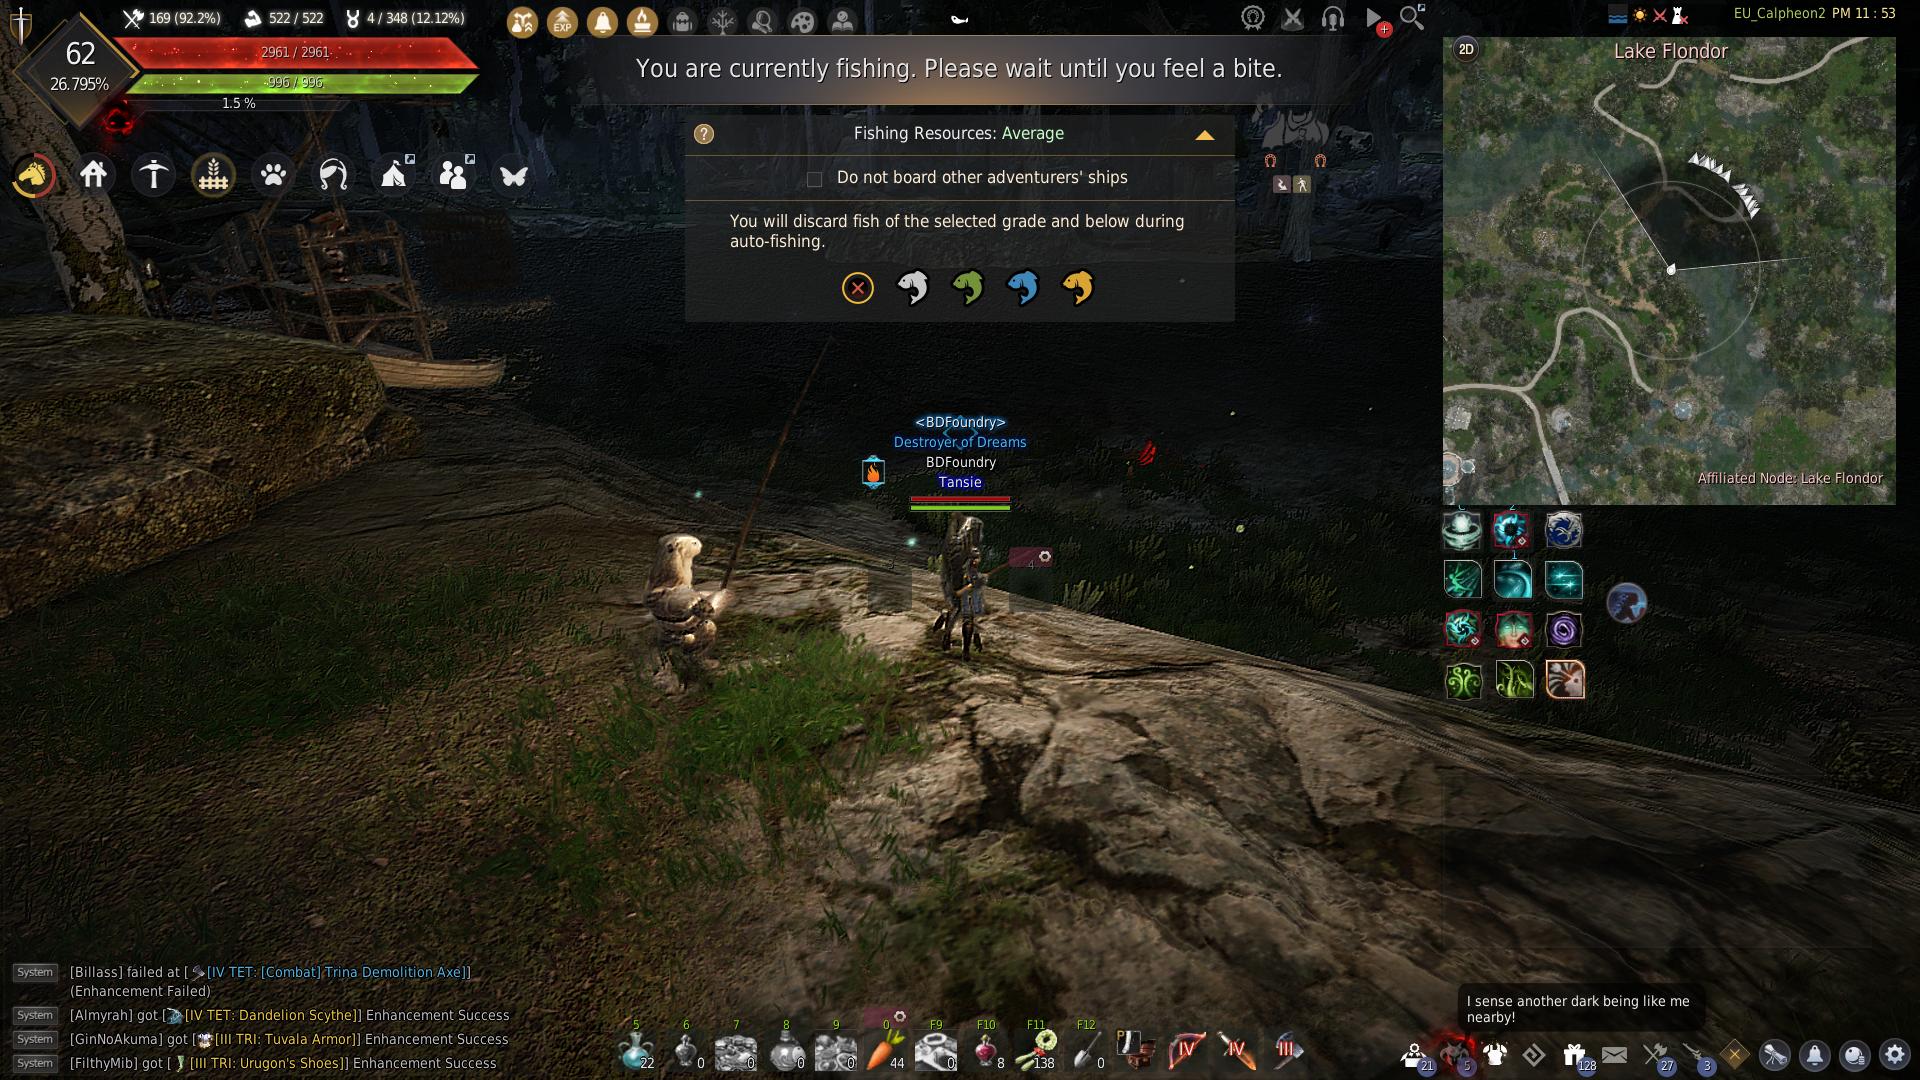
The item for quest #8 can be obtained by fishing at Lake Flondor in Kamaslyvia next to the otter in the screenshot below. You can also fish at the pond at Navarn Steppe.
Tips: Use energy when fishing or use a triple-float rod if you are having trouble with this quest. There is also a “tinfoil” theory that fishing directly on the right side of the otter increases your chances. Try standing on this exact spot if you are still having trouble with the quest – click here for location.
Quest #9: A Tempting, Secret Accord
This quest item can only be obtained if you have completed quest #8.
Collect the following quests but do not complete them and just keep them in your quest log:
- Things that Bother Us – obtained from Jerrimo near Tooth Fairy Cabin
- Requires you to complete the quest “New Business” first to unlock
- Stubborn Fadus – obtained from Khalid at Loopy Tree Forest
- New Cleaning Tool – obtained from the Archer Guard NPC at Acher Guard Post inside the tent (click here for location)
- Requires you to complete the quest “[Repeat] Supplying Acher Gear” to unlock
- A Tune for Spirit – obtained from Saphia Doucet in Grana
After collecting the quests, take this quest and complete it (including handing it in):
- Patience is a Virtue – obtained from Rolan at Lake Flondor
- Requires you to complete the quest “Fisher’s Pride” first which is obtained from the Otter opposite Rolan. Then complete “Fishing for Glory” and then finally “Lake Flondor Fisher” to unlock the “Patience is a Virtue” quest.
- Requires Fishing Apprentice Lv 1 or higher
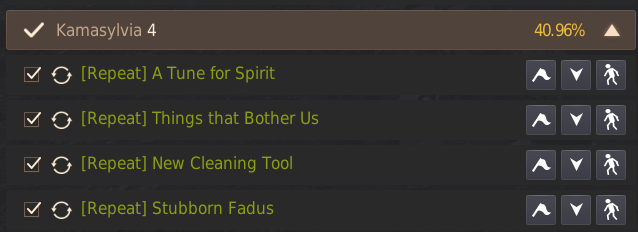
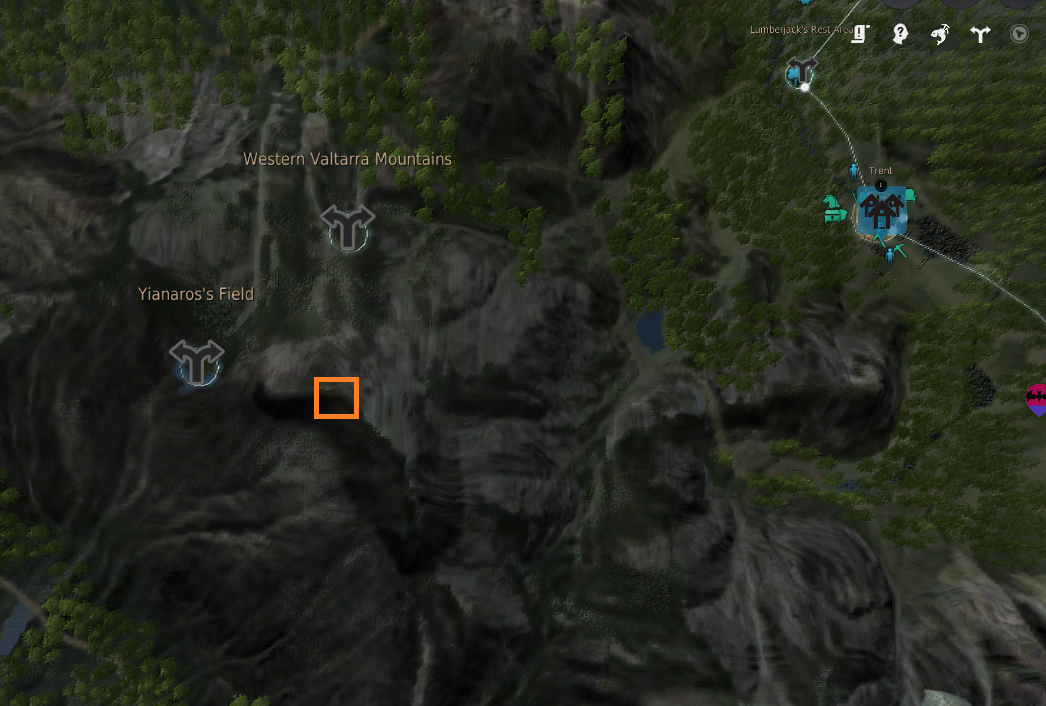
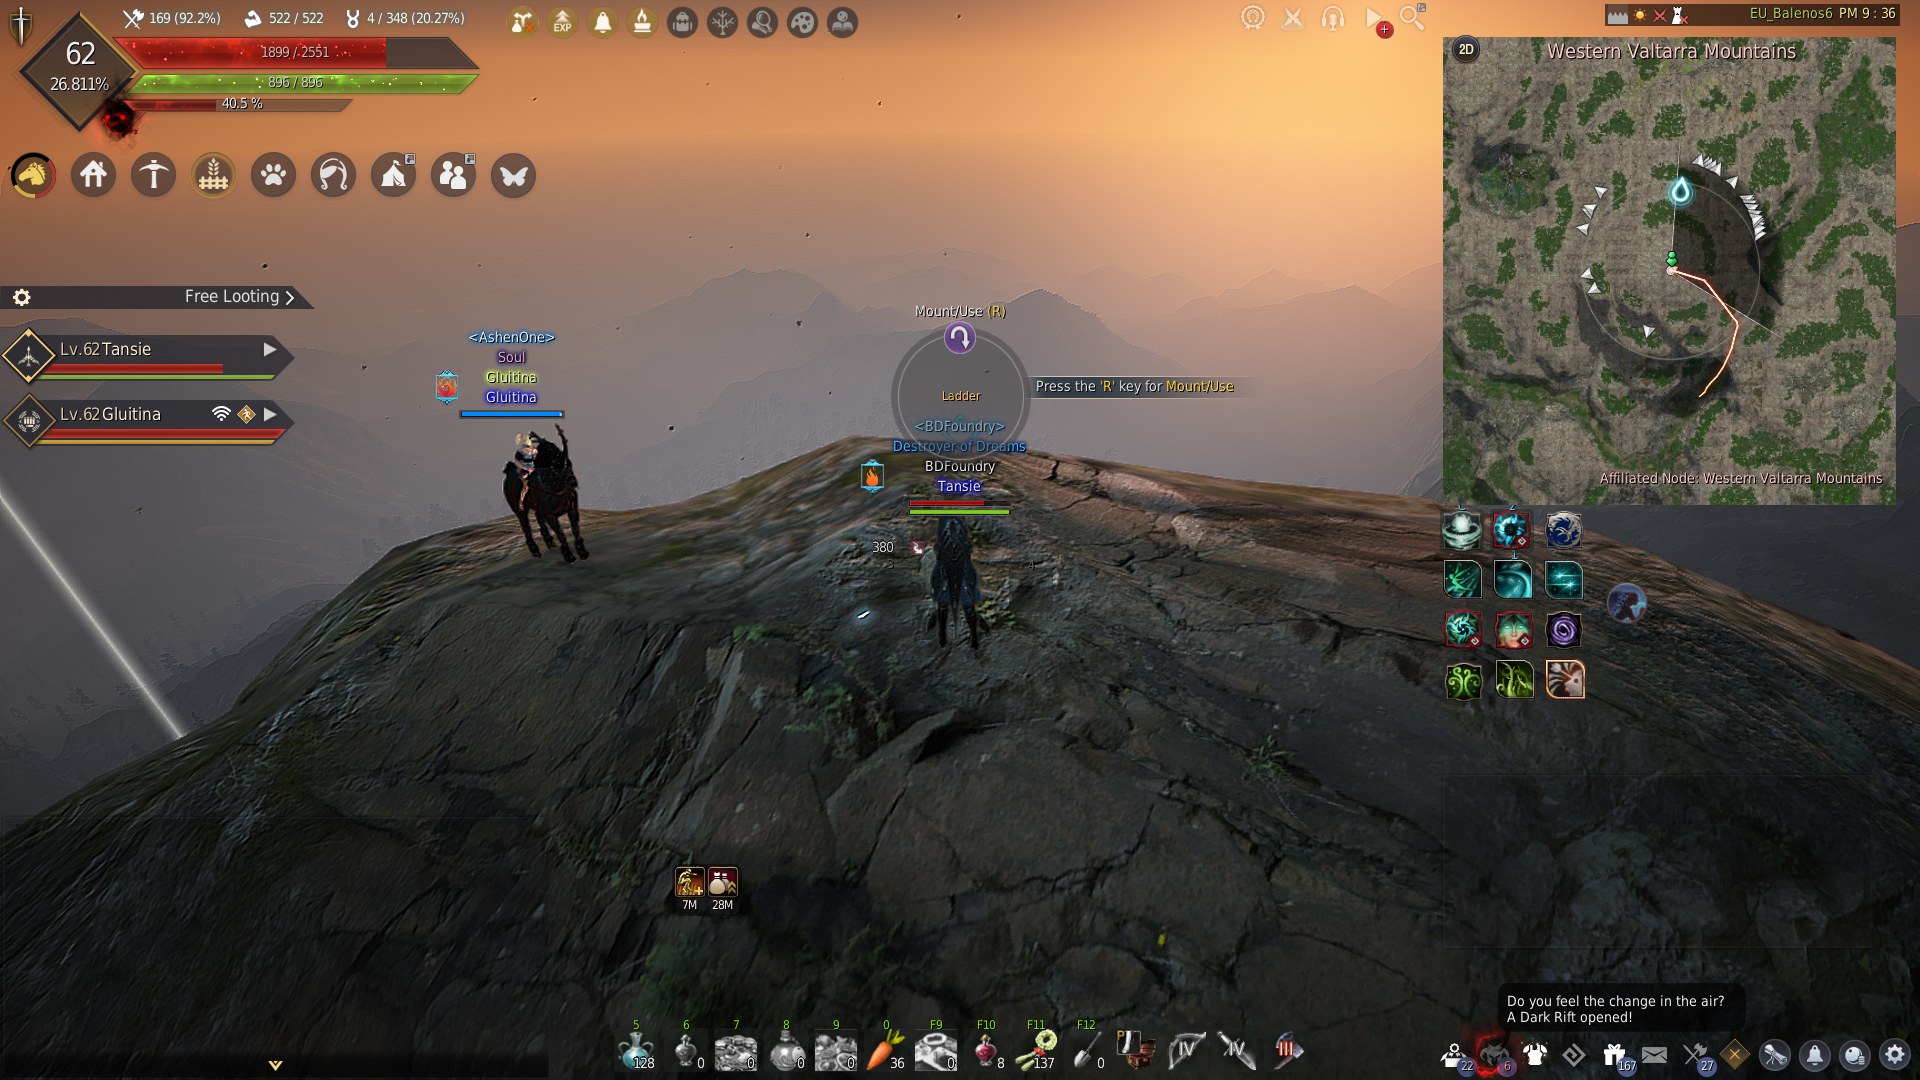
Once you have done this, you must go to the top of the Valtarra Mountain as shown on the screenshot below. I wasn’t able to climb the mountain on my ranger with full jump gear and buffs but others have managed to on other classes or using Doom/Pegasus. I presume there must be another way like the ladder at the church in the earlier quest but I have no idea what that could be. I would like to give a huge thank you Gluitina who offered to help me using his Doom, without his help I would have been stuck on this quest much longer, or may have been unable to complete it at all.
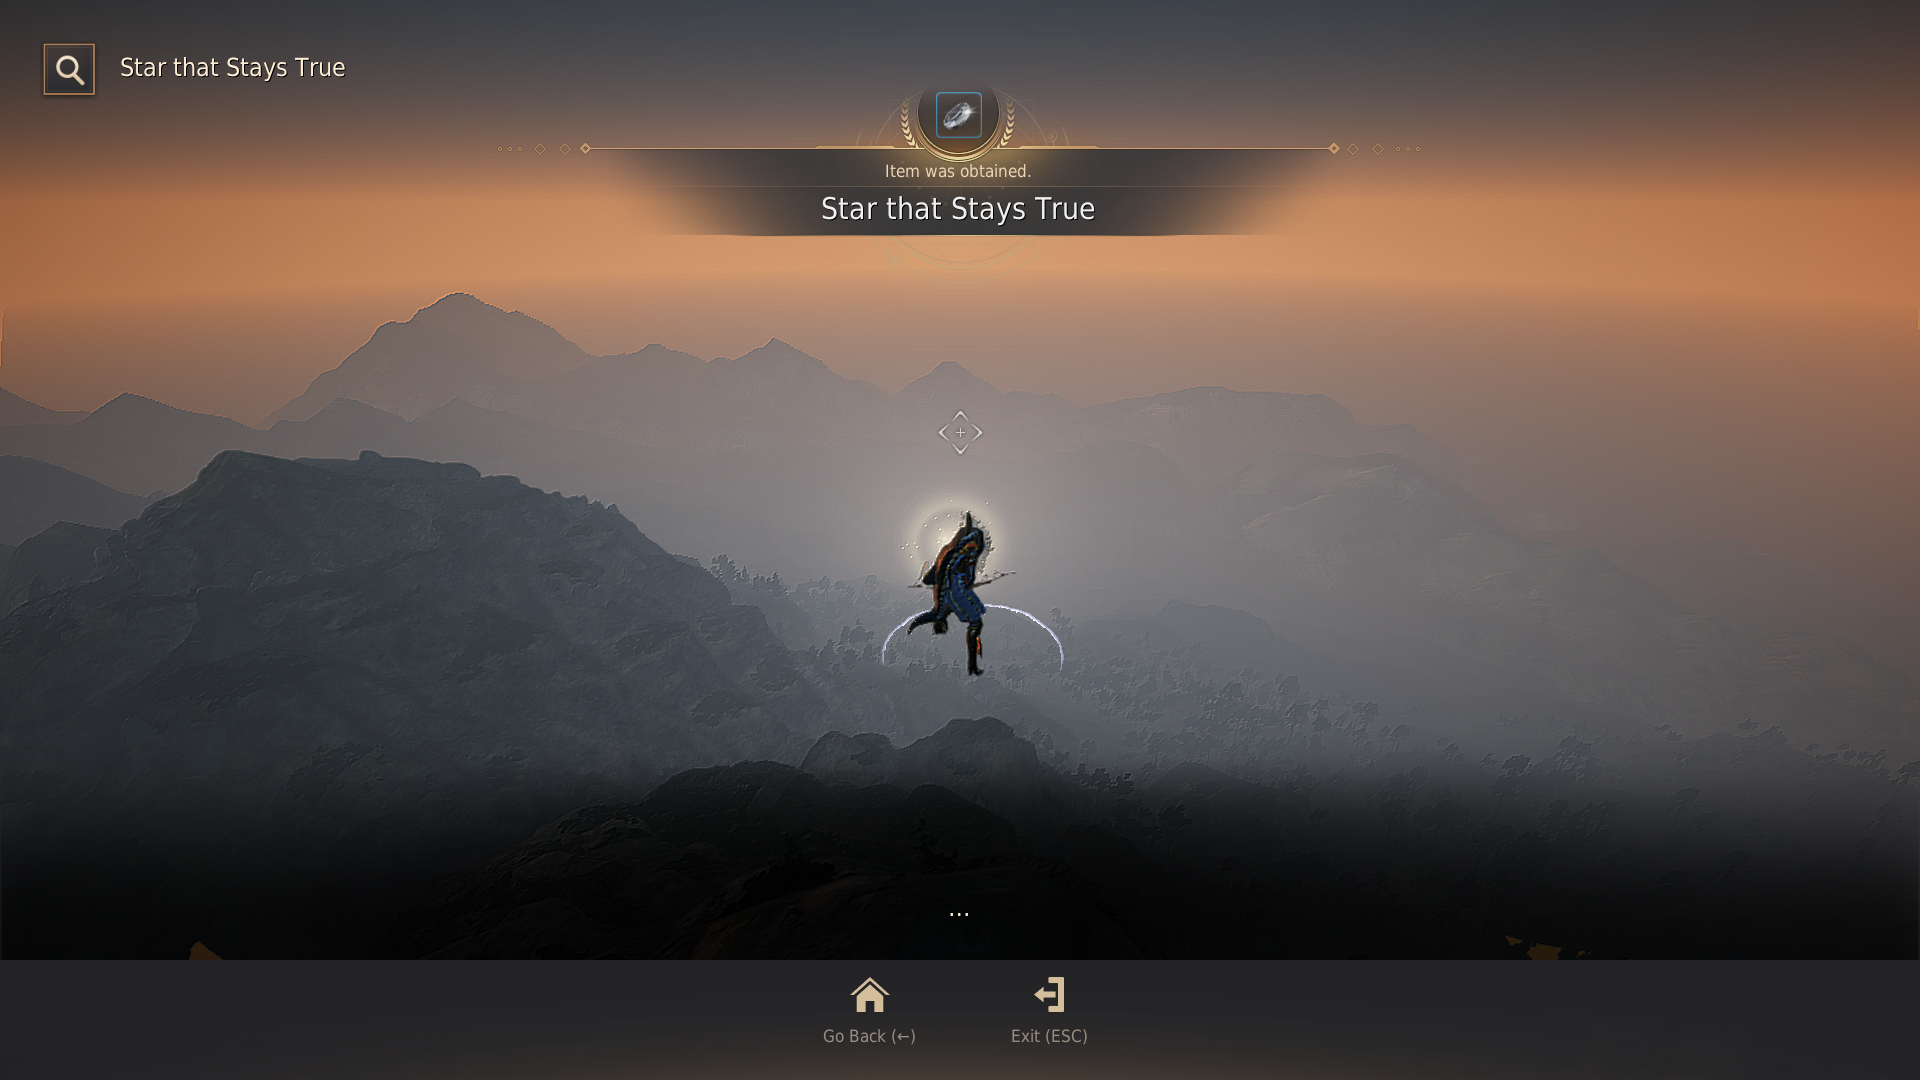
After reaching the top of the mountain, there should be an invisible ladder that you can climb to reach a platform. Interact with the platform to obtain the item. There is also a second ladder but if you interact with this one you will just fall back down.
Quest #10: An Old Man’s Tears
This quest item can only be obtained if you have completed quest #9.
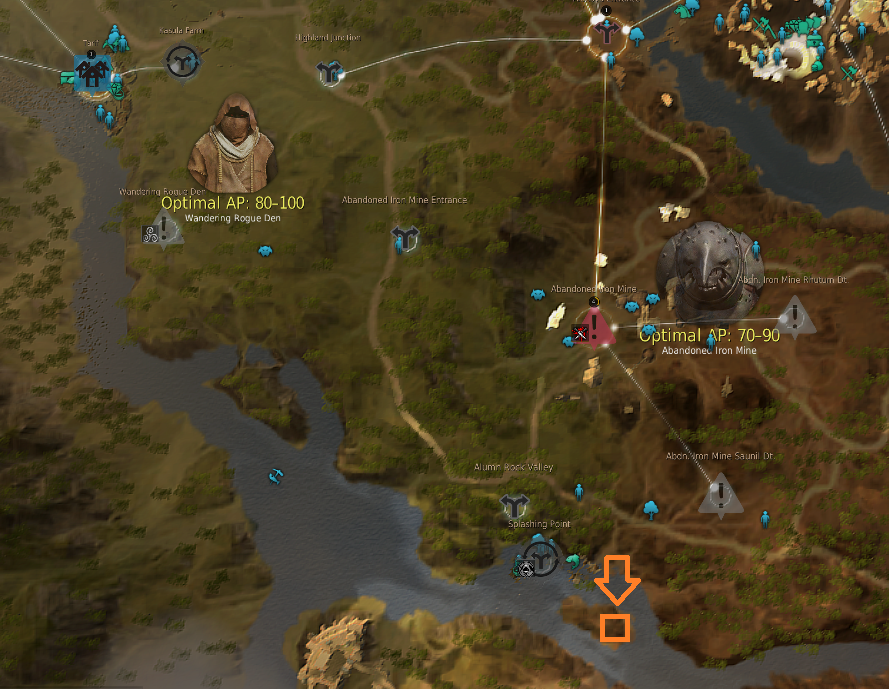
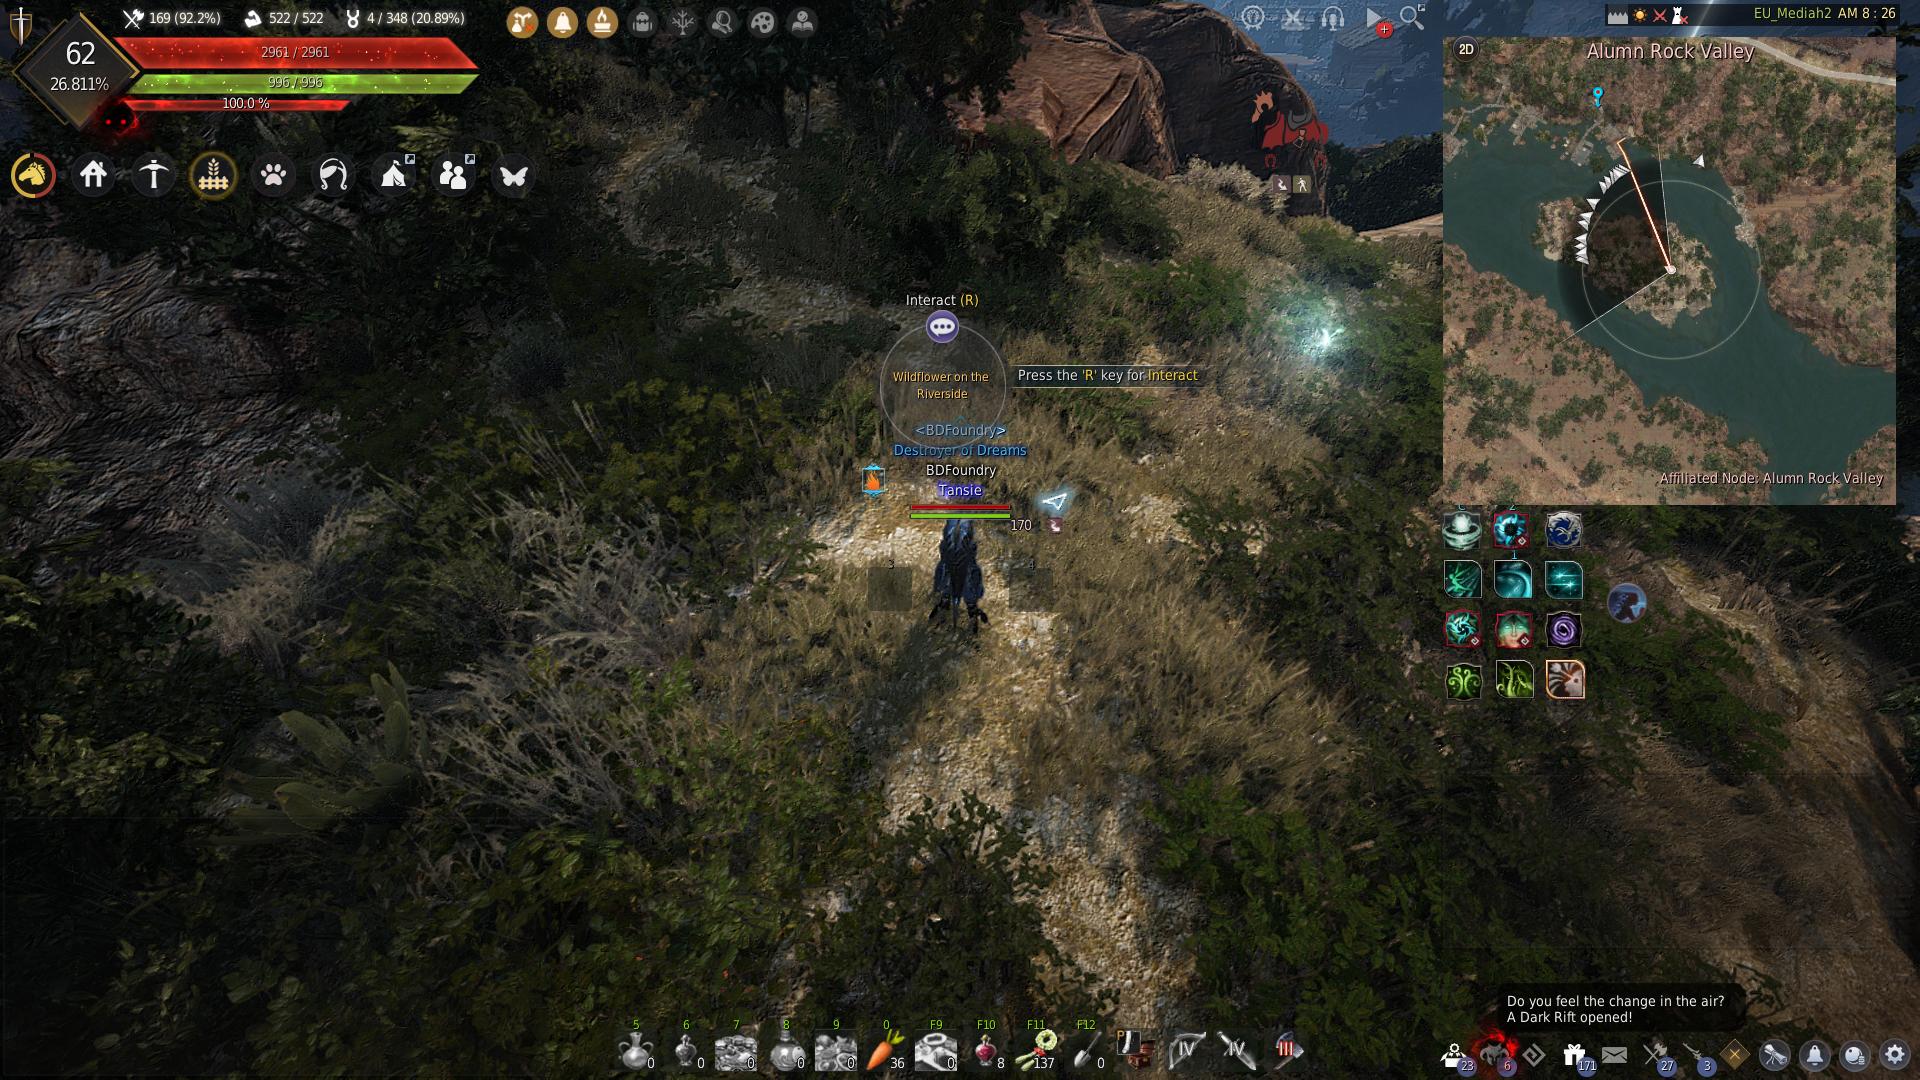
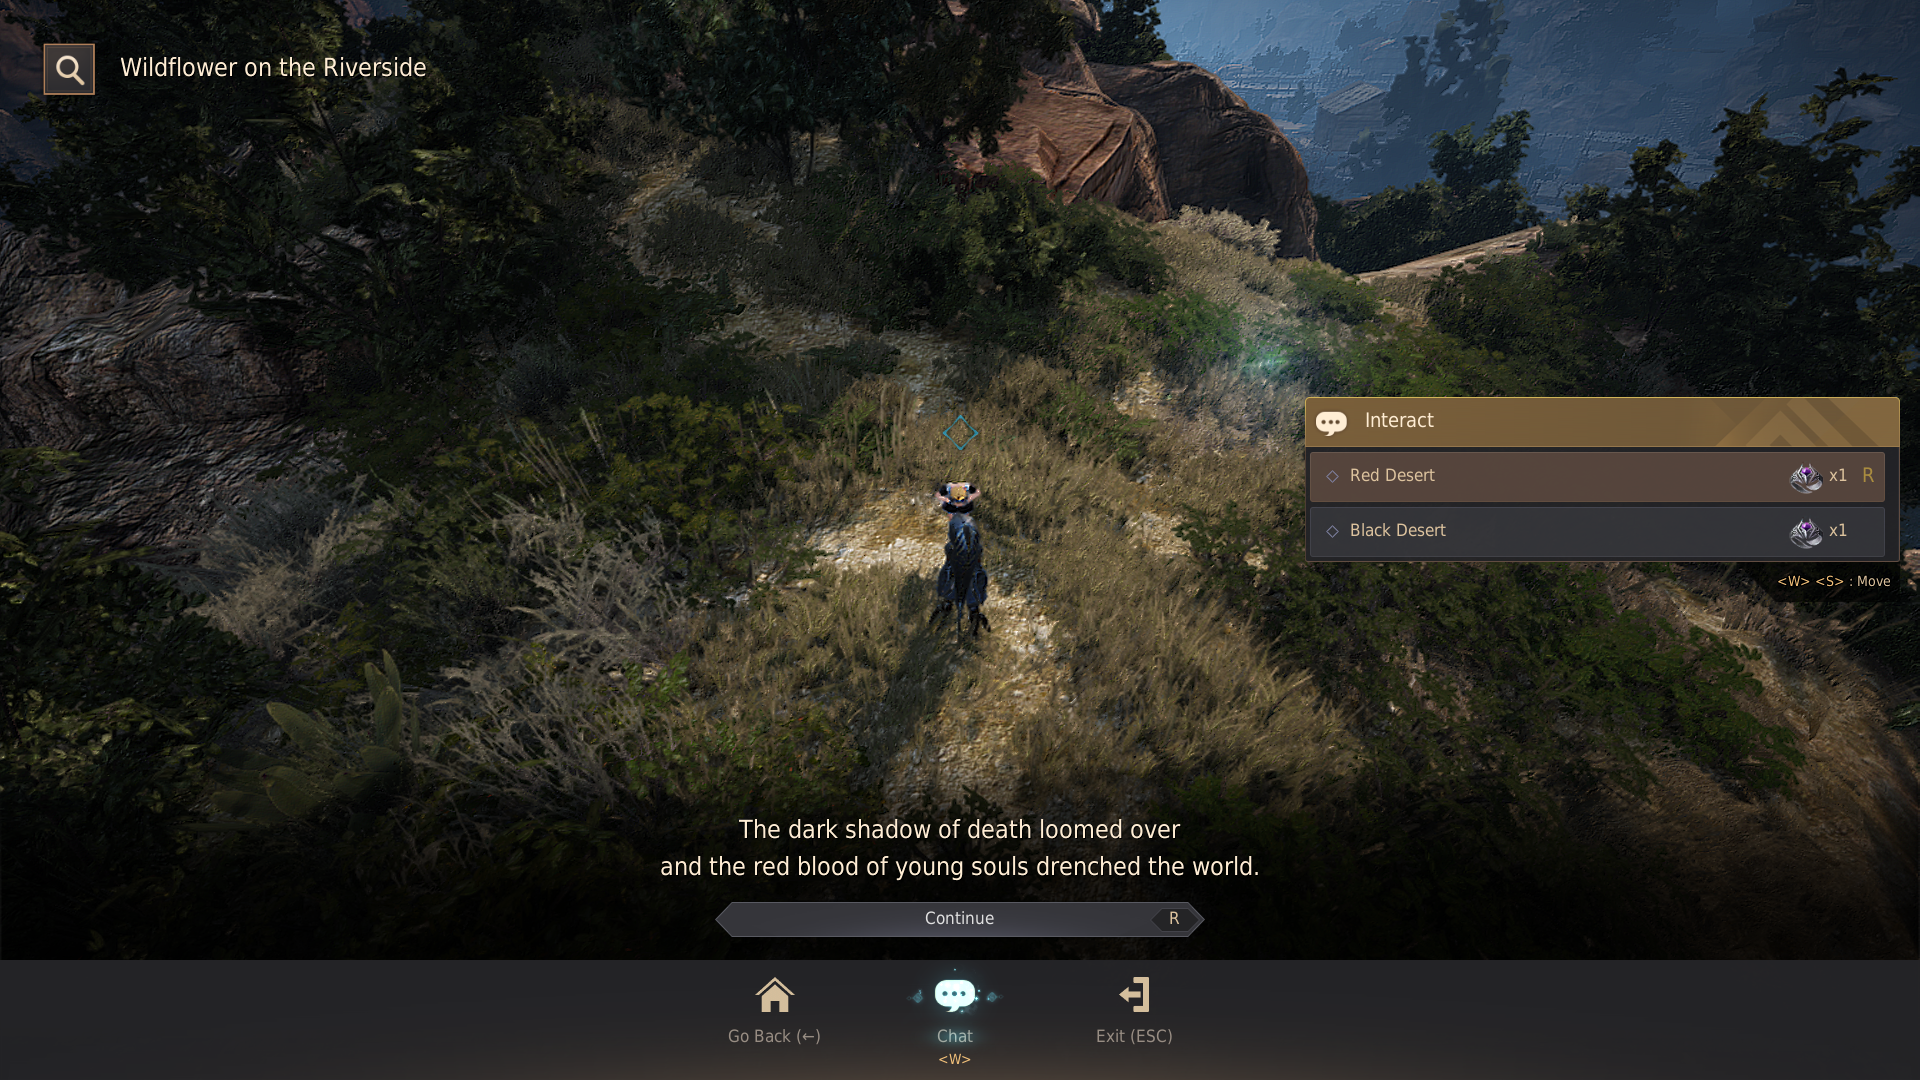
For this quest you must go to Splashing Point and swim over to the island south of the node. In the location shown in the image below, there is an invisible object you can interact with called Wild flower on the Riverside.
You must interact with it and give it one of the following accessories (you will not have the option if you have 2 different accessories in your inventory at the same time):
- Kagtum Submission Rings
- Mark of Shadow
- Shrine Guardian Token
When you give the accessory you must also pick a side. Players are currently choosing the red side because the hint indicates that you must pick the most popular side for it to work (you can spam R to auto pick Red side).
You may need to give quite a few accessories before success (up to 100 in some cases). I recommend finding a group to do this quest with so you are not spending over 100 million silver on accessories.
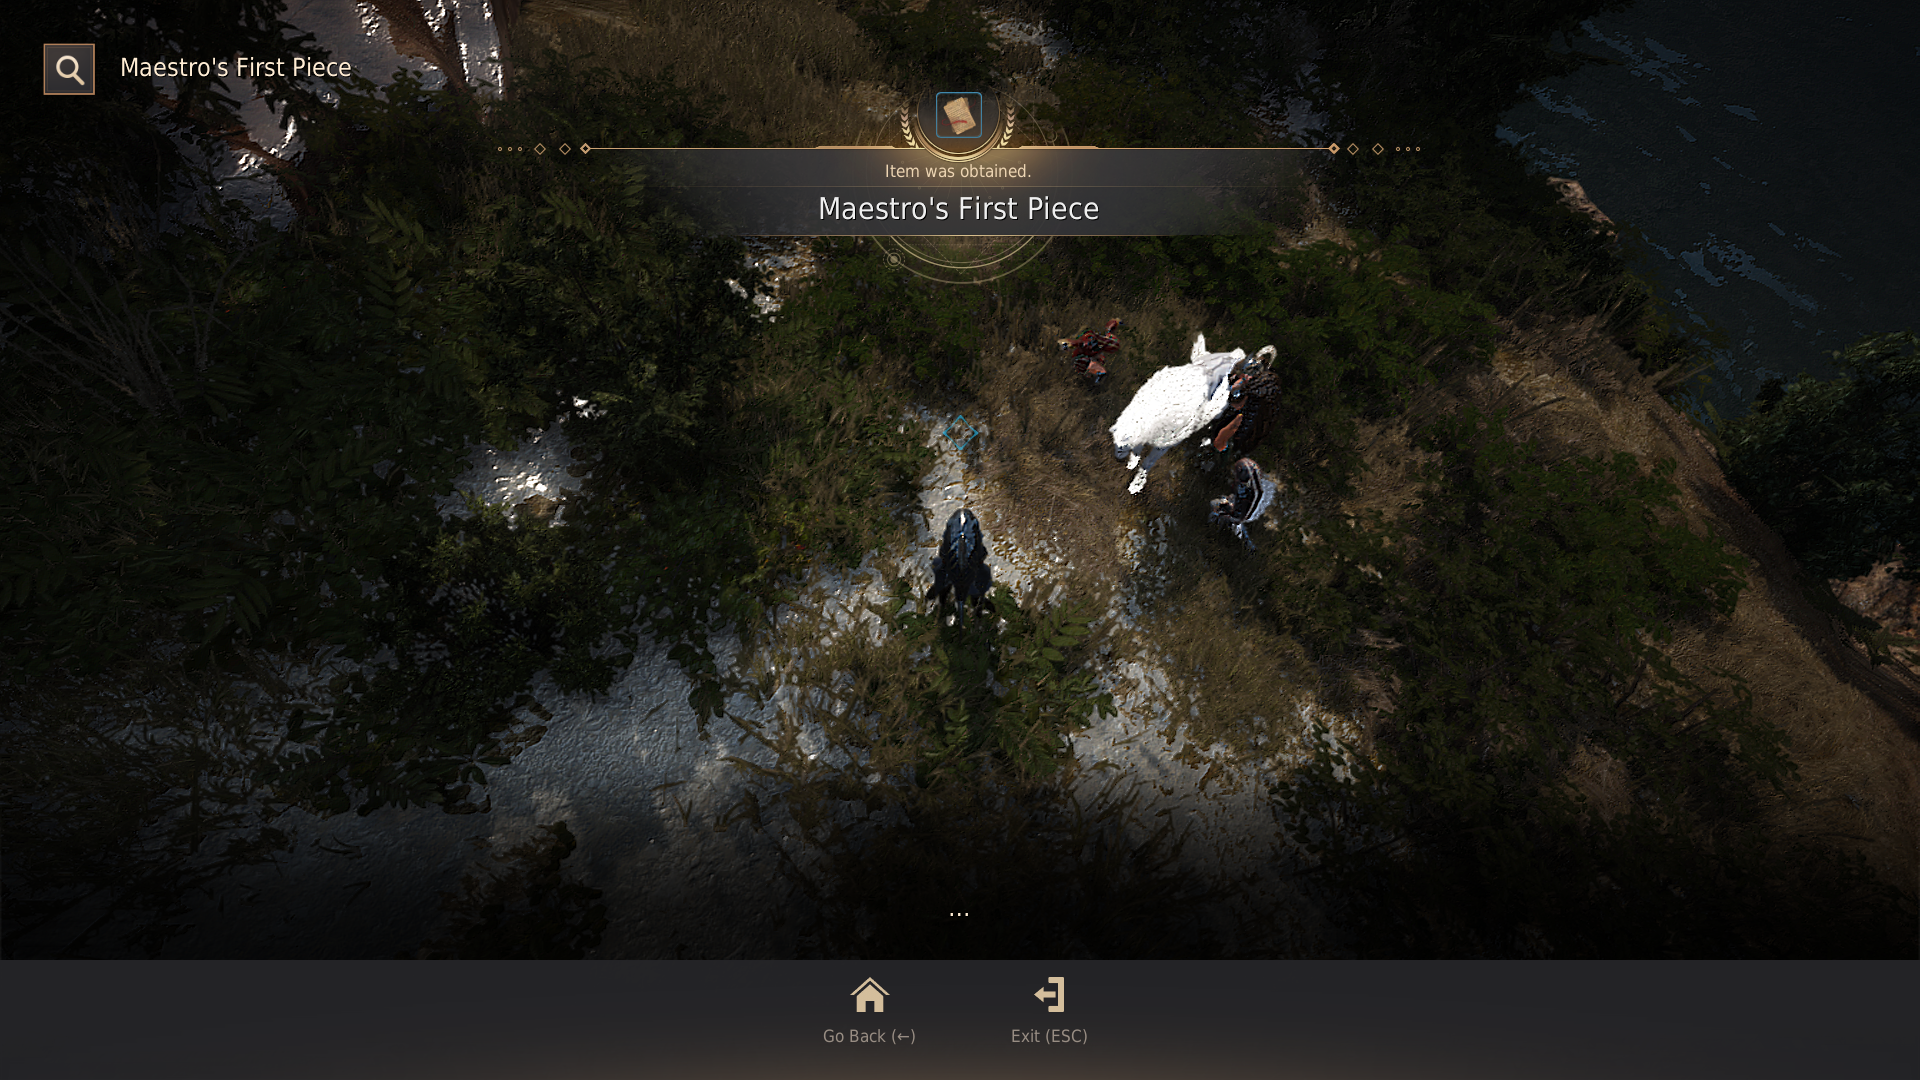
Once the correct amount has been given, the NPC will disappear and the Maestro’s First Piece will appear next to it. Interact with this and you will get the item needed for quest #10.
Quest #11: The Abandoned
To get the item for this quest you must fish at Porgy hotspots which appear to not be in their original position. It seems that normal hotspots for other fish are being replaced by an “Event Porgy hotspot”. Event hotspots spawn all over the ocean, in Velia, Epheria, Grandiha, Arehaza and Margoria.
You can see if the hotspot is an Event Porgy hotspot by the colour the fish jumping out of the water. The fish are a dark orange/red colour.
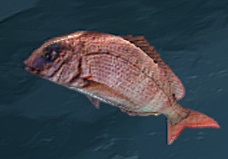
Event hotspots only appear for 5 – 6 minutes but will disappear after 2 casts. You can still cast your line and catch the Duck after the seaguls disappear so keep fishing until you get blue or green fish. If you fish at the Event Porgy hotspot there is a chance you will get a Object Tangled in an Abandoned Net. You can then use processing (L) and Manufacture to turn it into the Rough and Tough Stuffed Duck
The chance of the event hotspots spawning was increased “slightly” with the maintenance on 26th August.
Tip: Use a low level fishing character to find the hotspots easier since you will see less hotspots and only see Event Hotpsots. Players have also had the most success by going to Arehaza and going up and down the coast between Hakoven Island to just south of Arehaza Town. Refer to this image made by andeluvian from the Event Discord – click to view.
Quest #12: The Eagle’s Lament
Clorince in Velia has a new scroll called “Prepared Gunner’s Signal” which you need 500 amity to unlock the buy option from her (click here for best topics to gain amity). The scroll costs 100 amity each and 1 million silver.
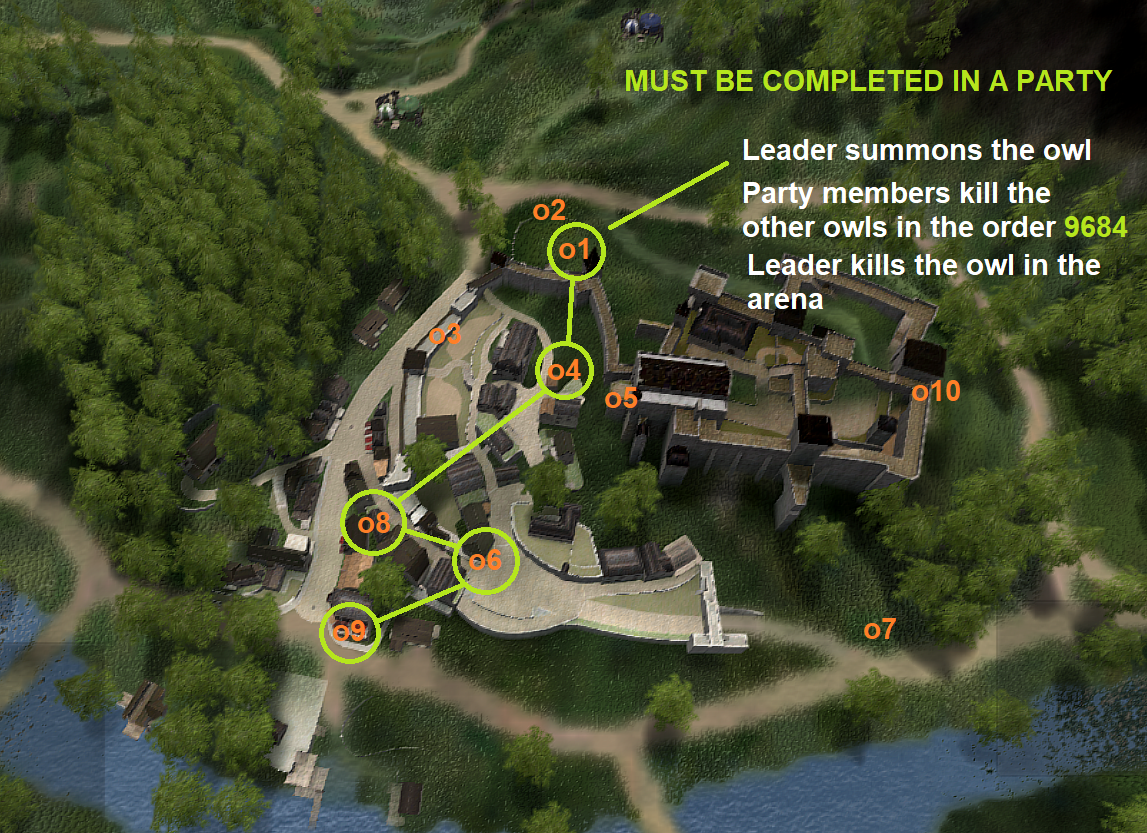
After buying the scroll from her you can use it to summon an owl in Heidel Arena. 9 other owls also spawn around Heidel which have a number assigned to them. We must kill the owls using a Matchlock or ranged abilities in the order “9684” OR “9864” then return to the owl located at the arena and kill that as well. After you are successful the owl will leave the item on the floor for you to loot and all members of the party are able to loot it.
It is recommended to do this quest in a party because you only have a small amount of time to kill the owls when they spawn. The leader of the party should summon the owl and stay in the arena while the others kill the 4 owls. Then the leader must kill the owl in the arena while the others are running to the arena.
However, it is also possible to solo it and you can use a matchlock on your horse to make it a bit faster. In our party we all stood at the owl while one person killed the owls on their horse then we all hit the arena owl to receive loot. This only worked on the 2nd try so it’s currently unknown if the owls were killed too quickly after spawning, or if there is only a chance to get loot.
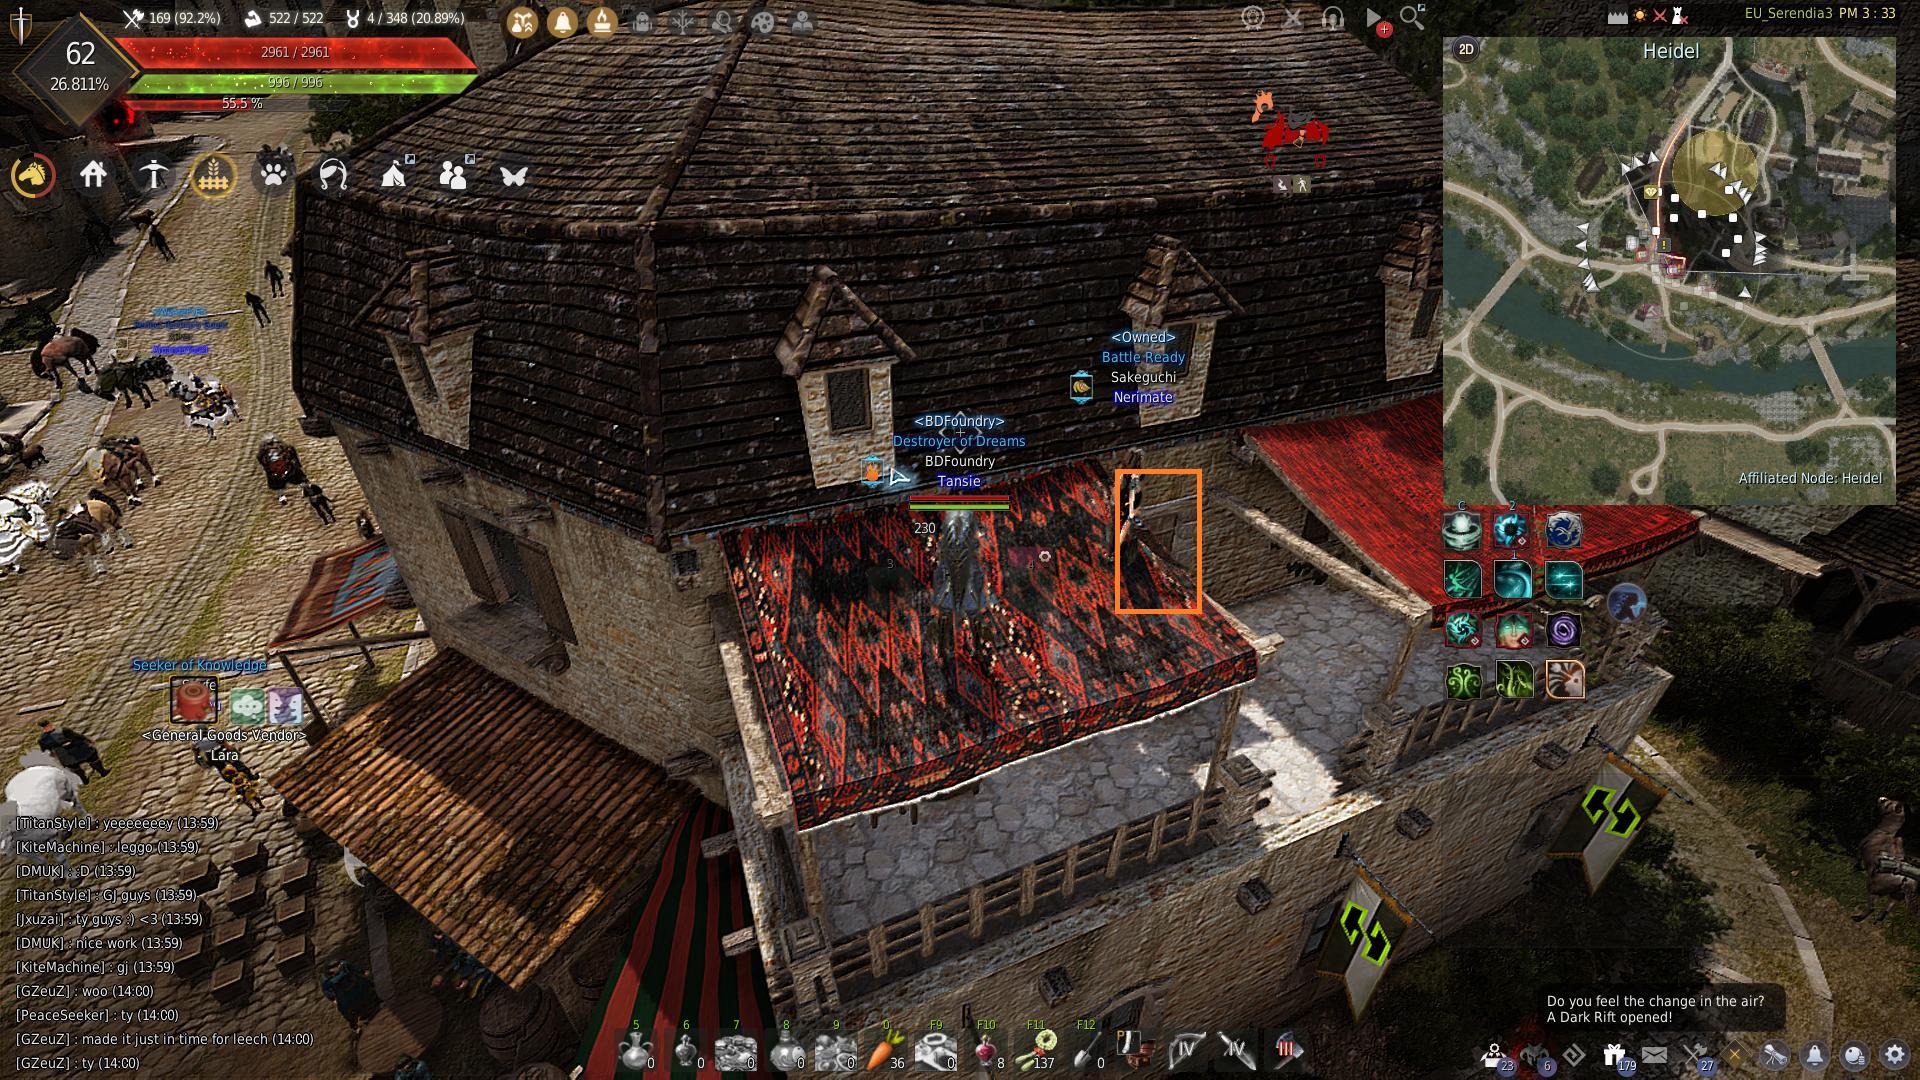
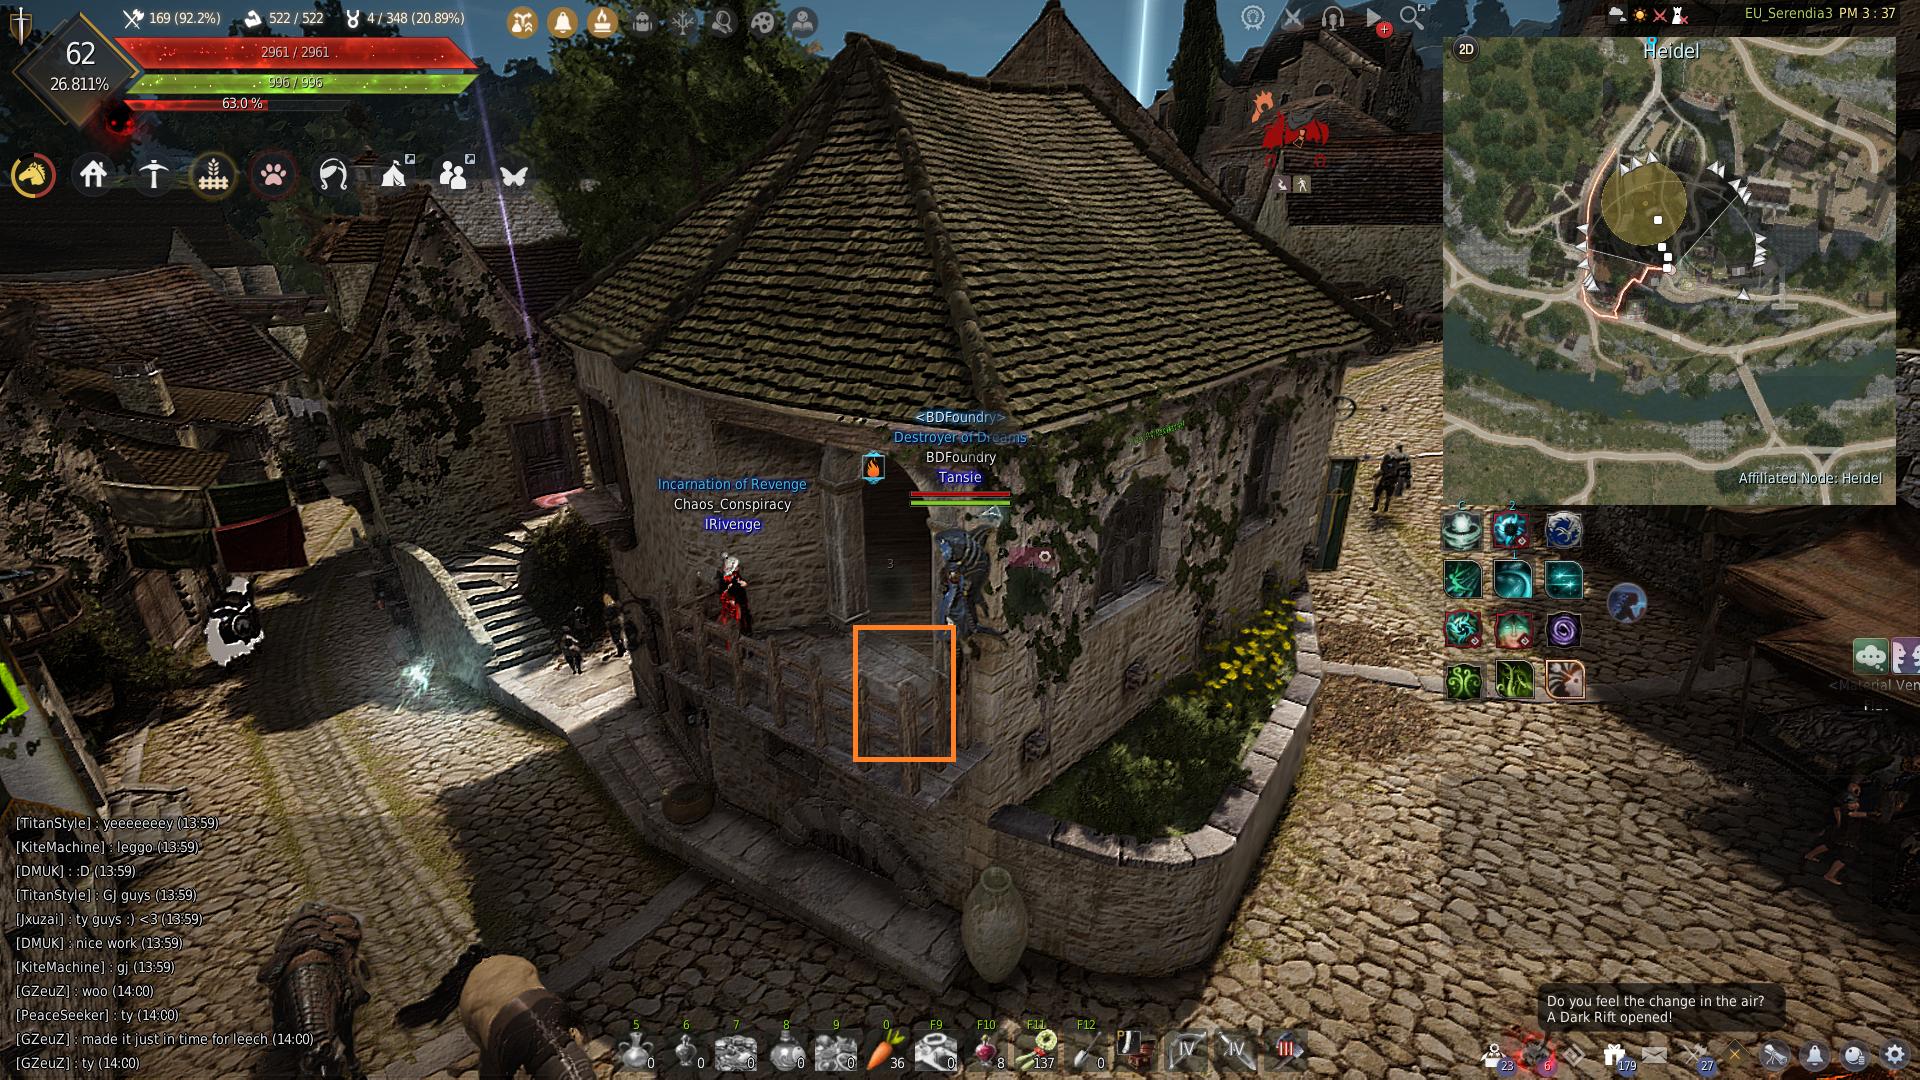
You can join the Event Discord to find a group. Owl locations in order can be found in the screenshots below.
- Owl #9: Located on top of the red awning above the Tavern
- Owl #6: Located on the balcony of the house
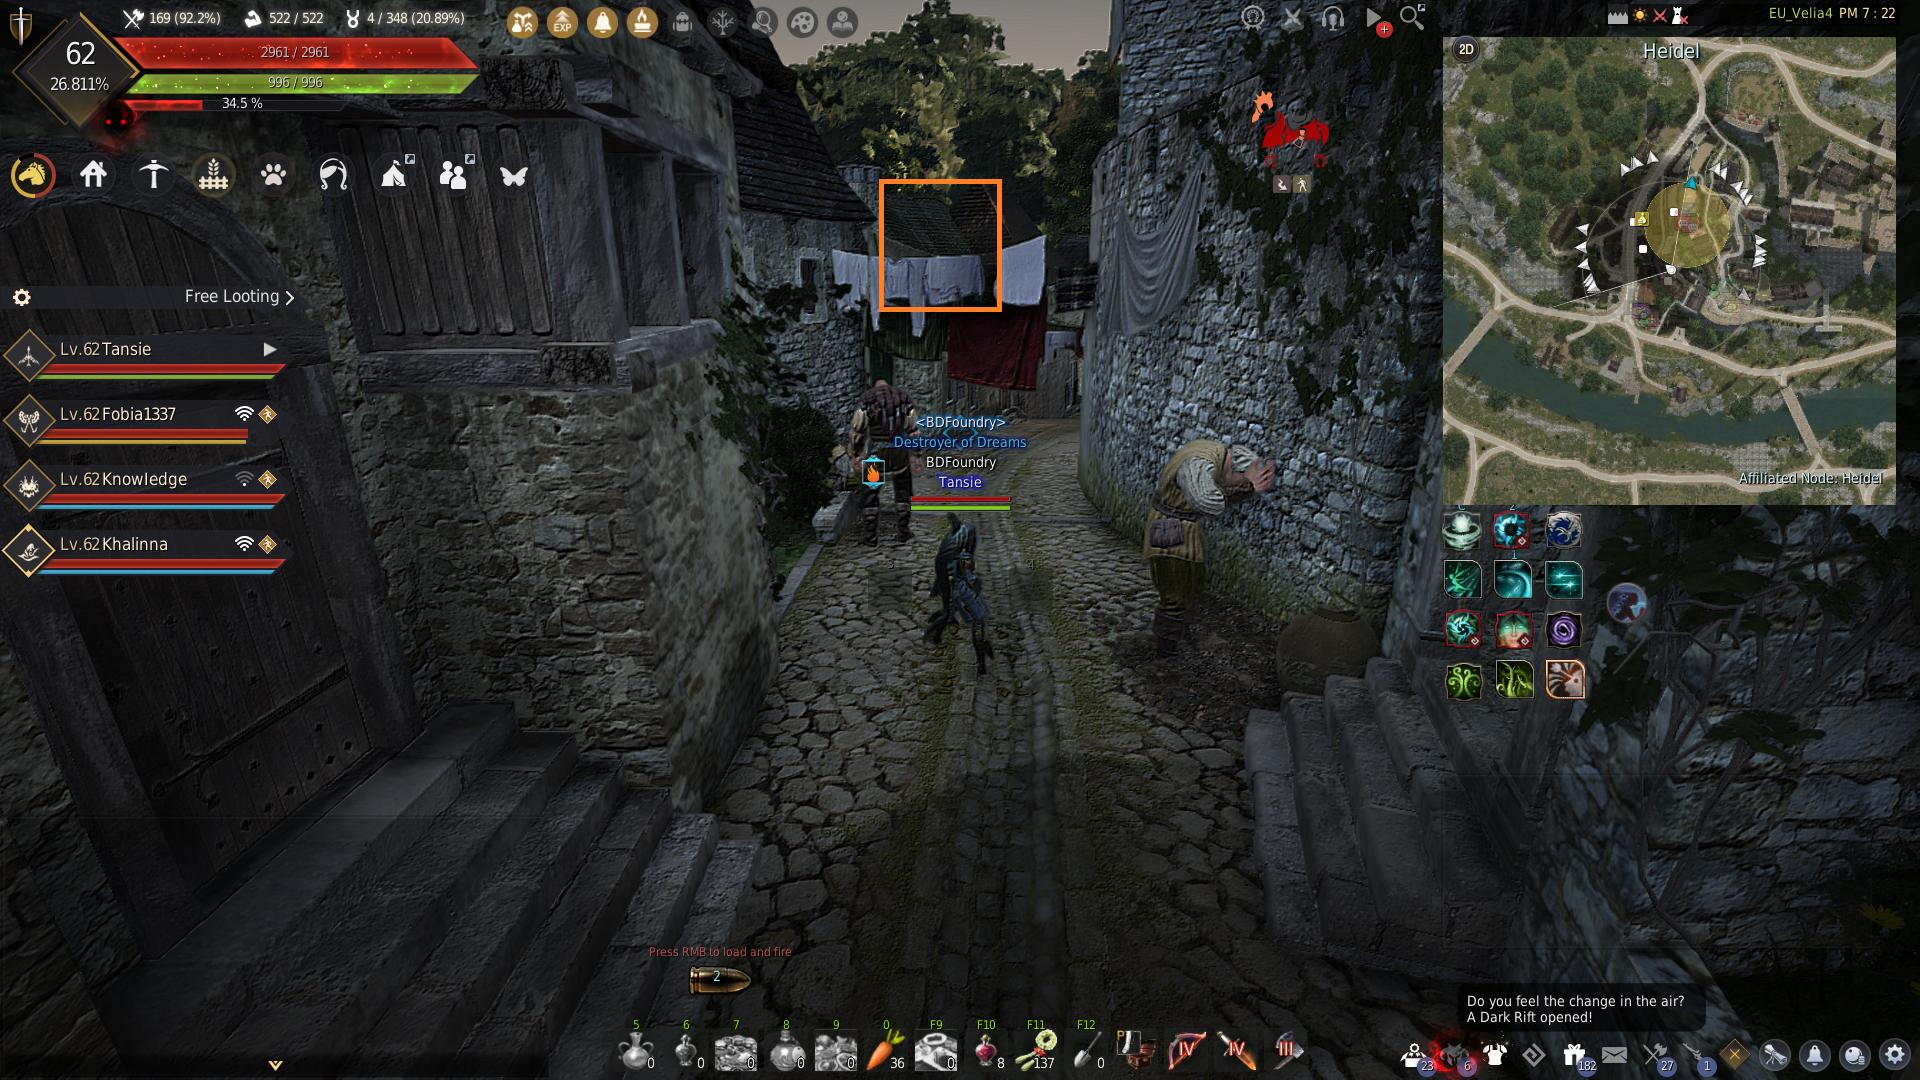
- Owl #8: Located on the laundry line in the alley way
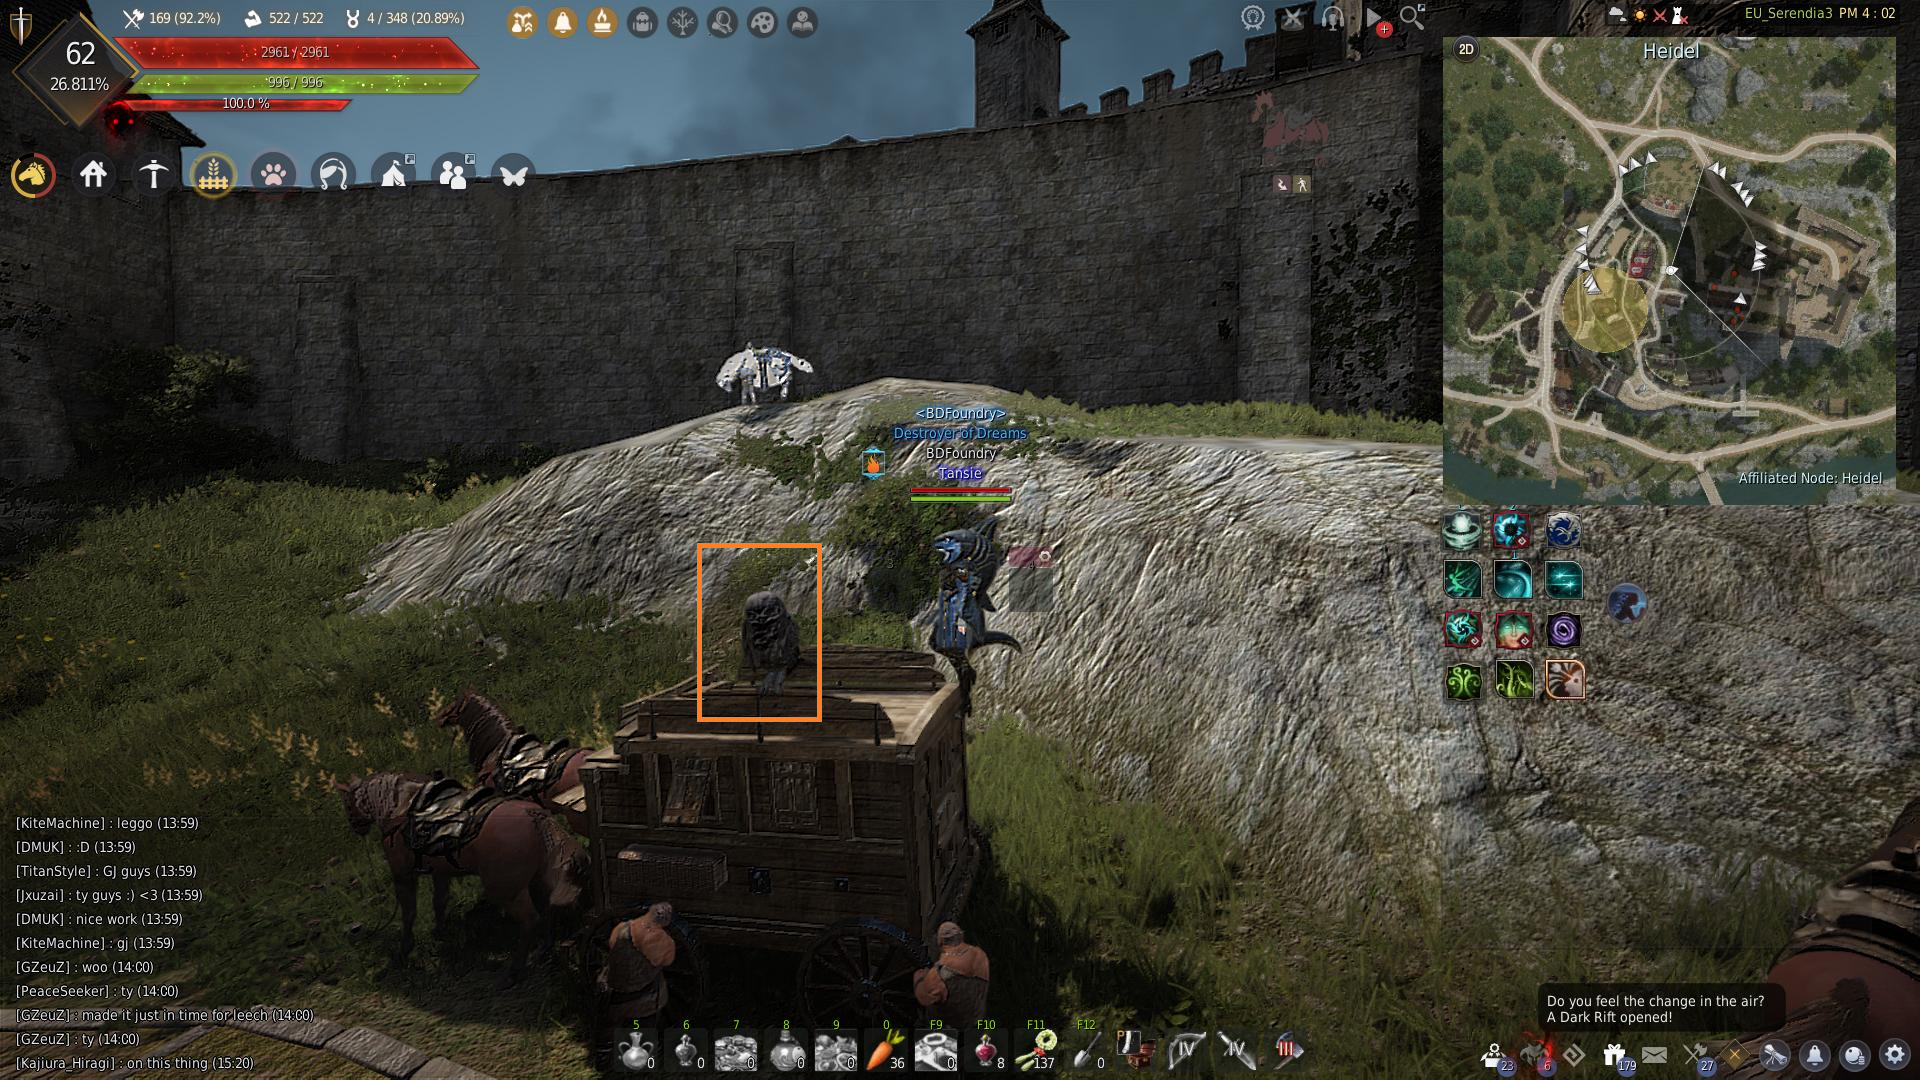
- Owl #4: Located on top of the horse wagon
- Owl #1: Located in the arena
Quest #13: The End of Philandering
This quest item can only be obtained if you have completed quest #12.
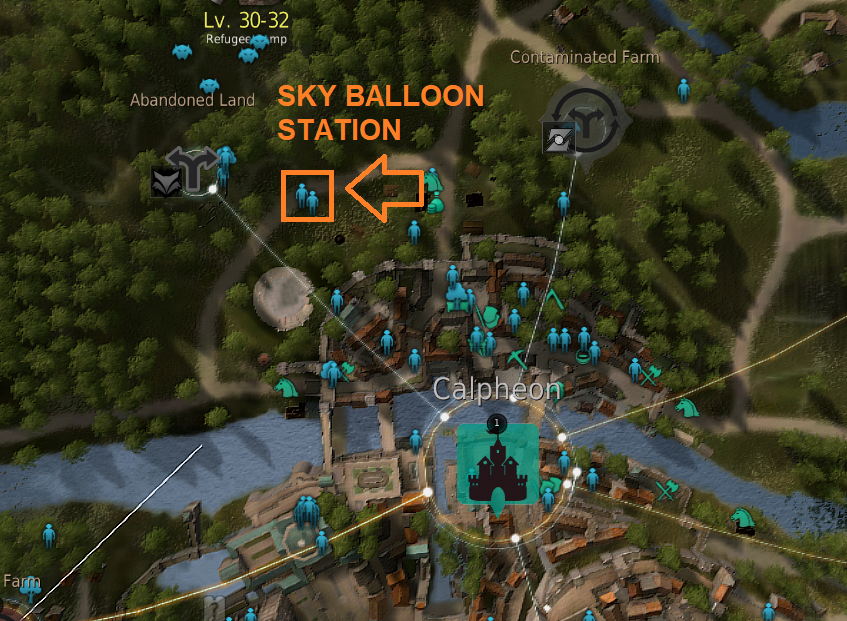
To get the item for quest #13 you have to take the sky balloon from Calpheon to Grana. This costs Black Stone (Weapon) x1 or Black Stone (Armor) x1.
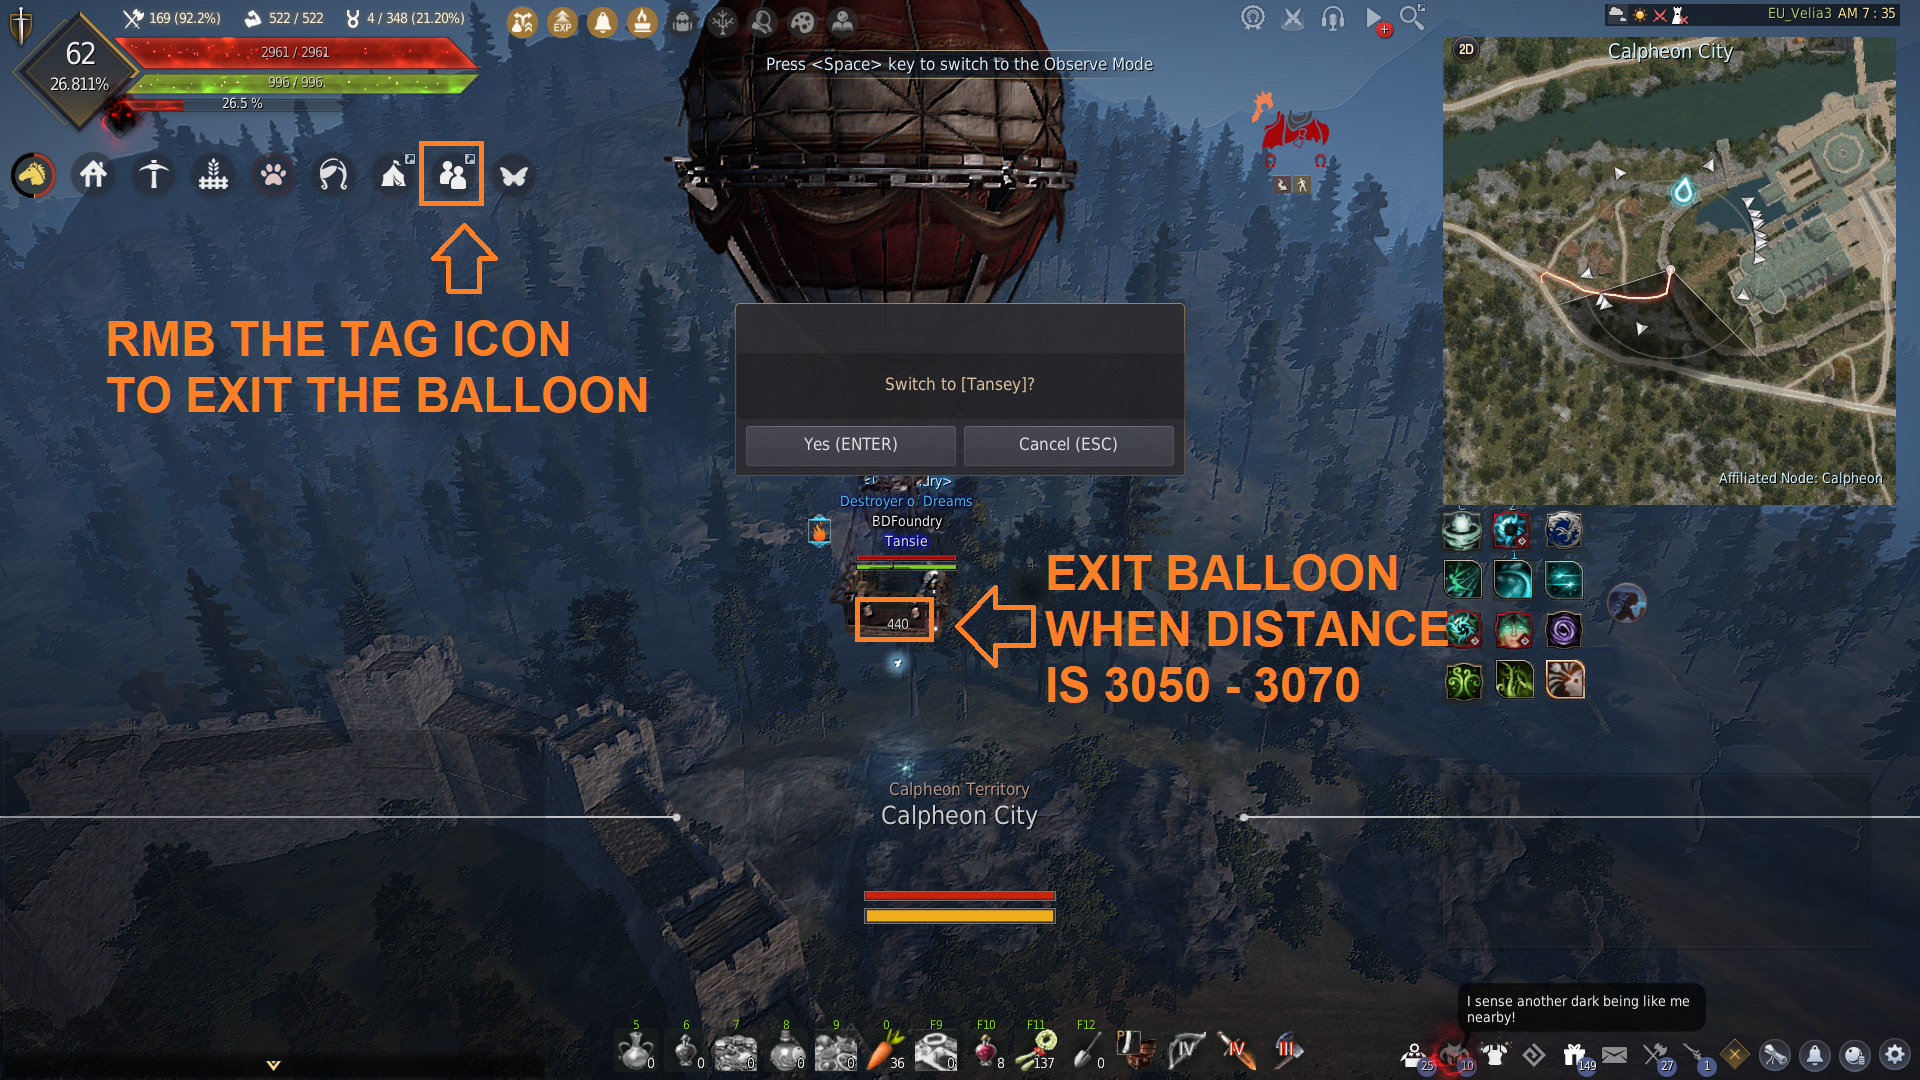
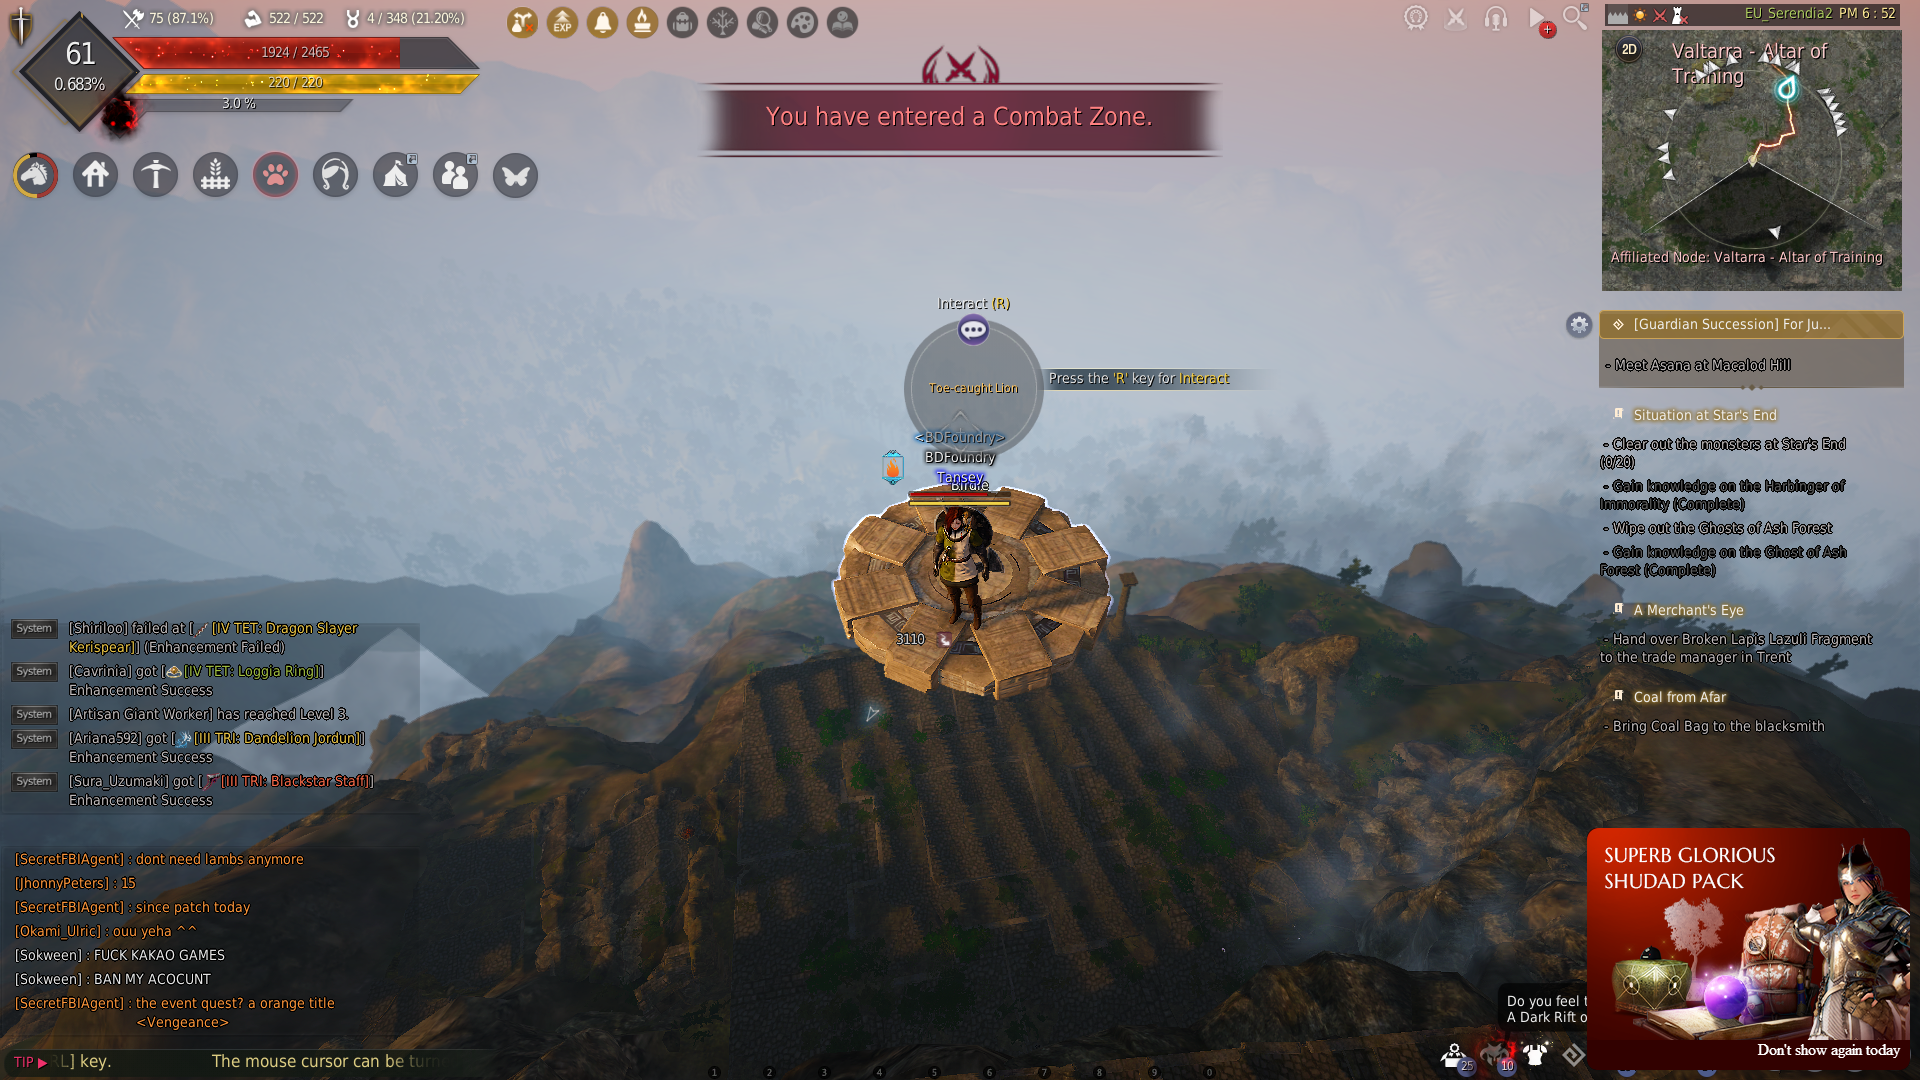
When you are over the Valtara – Altar of Training you have to exit the sky balloon to fall onto a platform which you can interact with to obtain the item for this quest. The easiest way to exit the balloon is to use the character tag system and to switch characters. Make sure to have the character swap confirm screen up beforehand so you can time it easier. You can do this by right-clicking the tag icon. You can also exit the balloon by going to character select or swapping channels. Press “V” to keep track of your character tag cooldown.
Another trick is to keep your waypoint at the Abandoned Land node, and when the distance to your waypoint is between 3050 – 3070 you should exit the sky balloon. The timing is different depending on your computer and ping but this is a good guideline to use and then work from. The platform has a distance of 3110 to the Abandoned Land node. You can also get the item by spamming “R” even if you miss the platform slightly. If you do miss the platform you will die from the fall, but there is no penalty to dying.
The sky balloons have different routes they take and don’t all go over the platform. If the sky balloon goes through the middle of Calpheon Arena then you are on the correct sky balloon route. Otherwise you can exit the sky balloon early to save yourself some time.
Update 26th August: The height and width of the platform floating in the air of the ‘Serendia 2 EU/NA’ channel has been adjusted. On all channels other than the ‘Serendia 2’ server, you can challenge the quest with the same difficulty as before.
Quest #14: A Sudden End of Hostilities
This quest item can only be obtained if you have completed quest #13.
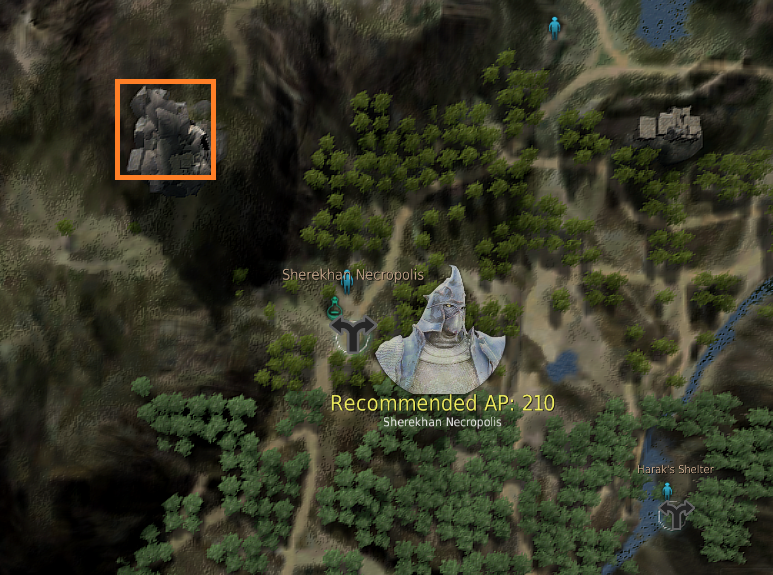
First, go to Calpheon and pick up the quest “Prancing Lamb” from the Xian Merchant Guild NPC in Calpheon. The only requirement for the quest is that you are level 35 or higher. You then speak to the NPC next to him to get the Green Herbs, then place them to spawn a Lamb. Pick up the lamb so that it is in your inventory then go to Sherekhan Necropolis.
Update 26th August: Permanent Platforms have been added so you no longer need to gather the 55 lambs and can go straight to Sherekhan Necropolis.
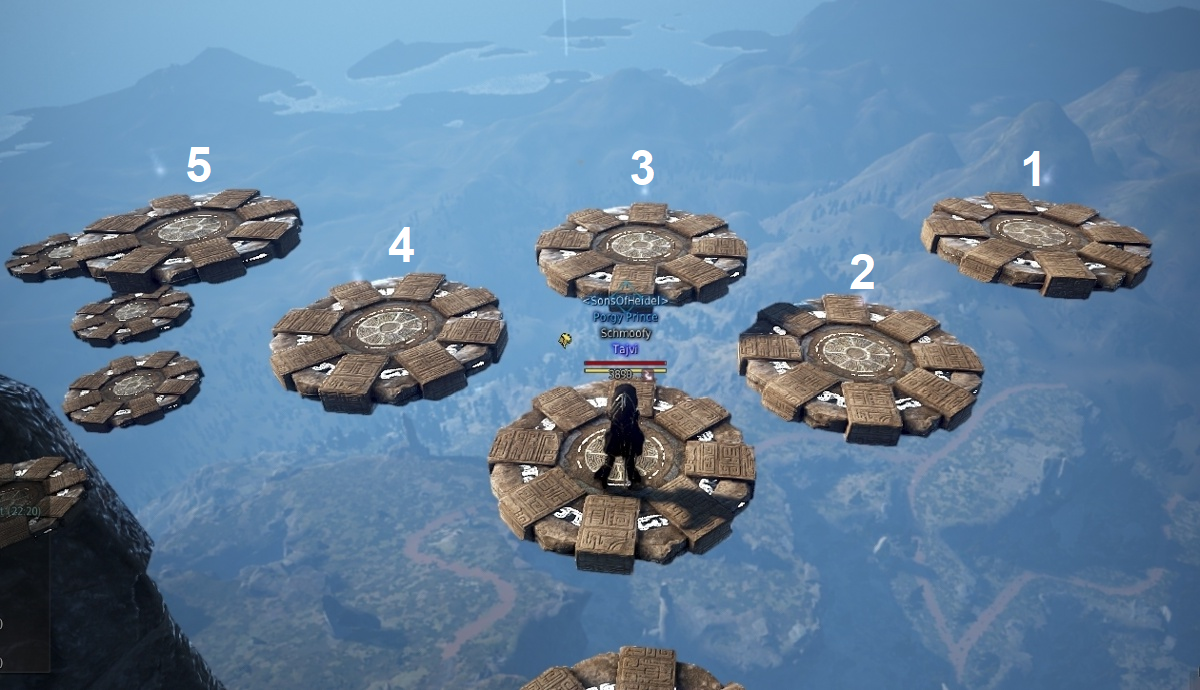
Platforms can be found at Sherekhan Necropolis at the tower. After jumping up the platforms there are 5 different platforms at the top which you can interact with. The platforms are called “Summer Snowflake” and when you interact with them you have the option to sacrifice the lamb.
To get the item, you have to sacrifice 55 lambs all on platform number 5. This can be done in a group to make it easier. You can also do this quickly with 2 people, one person must keep placing the Green Herbs whilst the other person picks up the lamb until they have enough lambs. To do it solo you will need to abandon the quest and take it again to keep collecting the sheep. The sheep will stack in your inventory.
After sacrifing the lambs, 8 more platforms will appear which all move and will despawn after 5 minutes. If there is a player on each of the 5 platforms below then the extra platforms do not disappear. Climb up the platforms to the top and there is another platform you can interact with to get the item. It also appears that you may need 5 people at the top platform for the item to appear at the end. Players who have finished this quest are not able to see or land on the platforms so they are unable to help others.
Quest #15: The Kidnapped Princess
This quest item can only be obtained if you have completed quest #14.
This quest item requires you to get a scroll called Calling from the Dark Nature from Eileen in Velia. The scroll requires 500 amity with her to buy and costs 100 amity and 1 million silver. You can quickly gain amity with her using the gift option and giving her some of her favourite items.
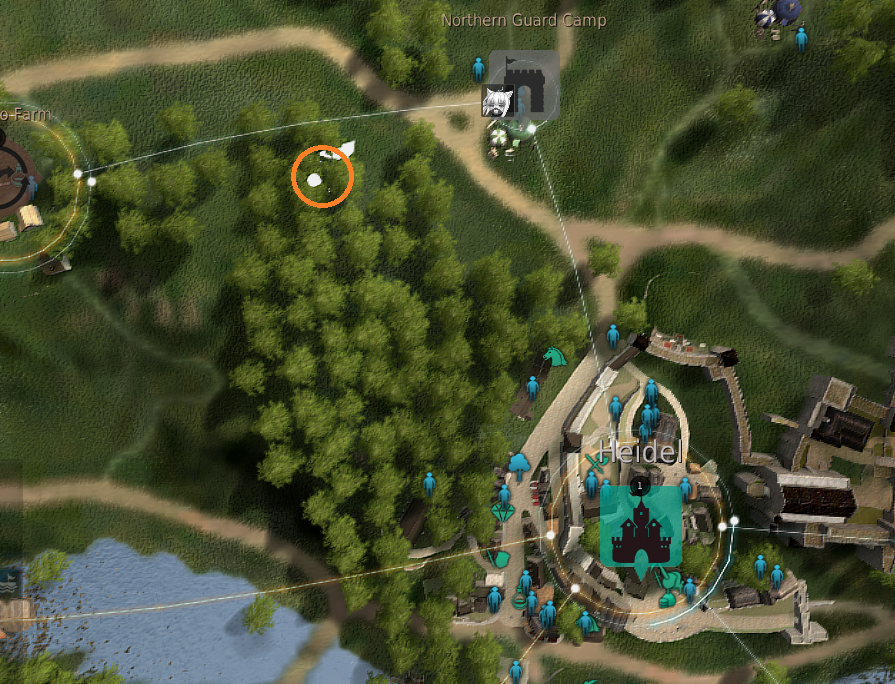
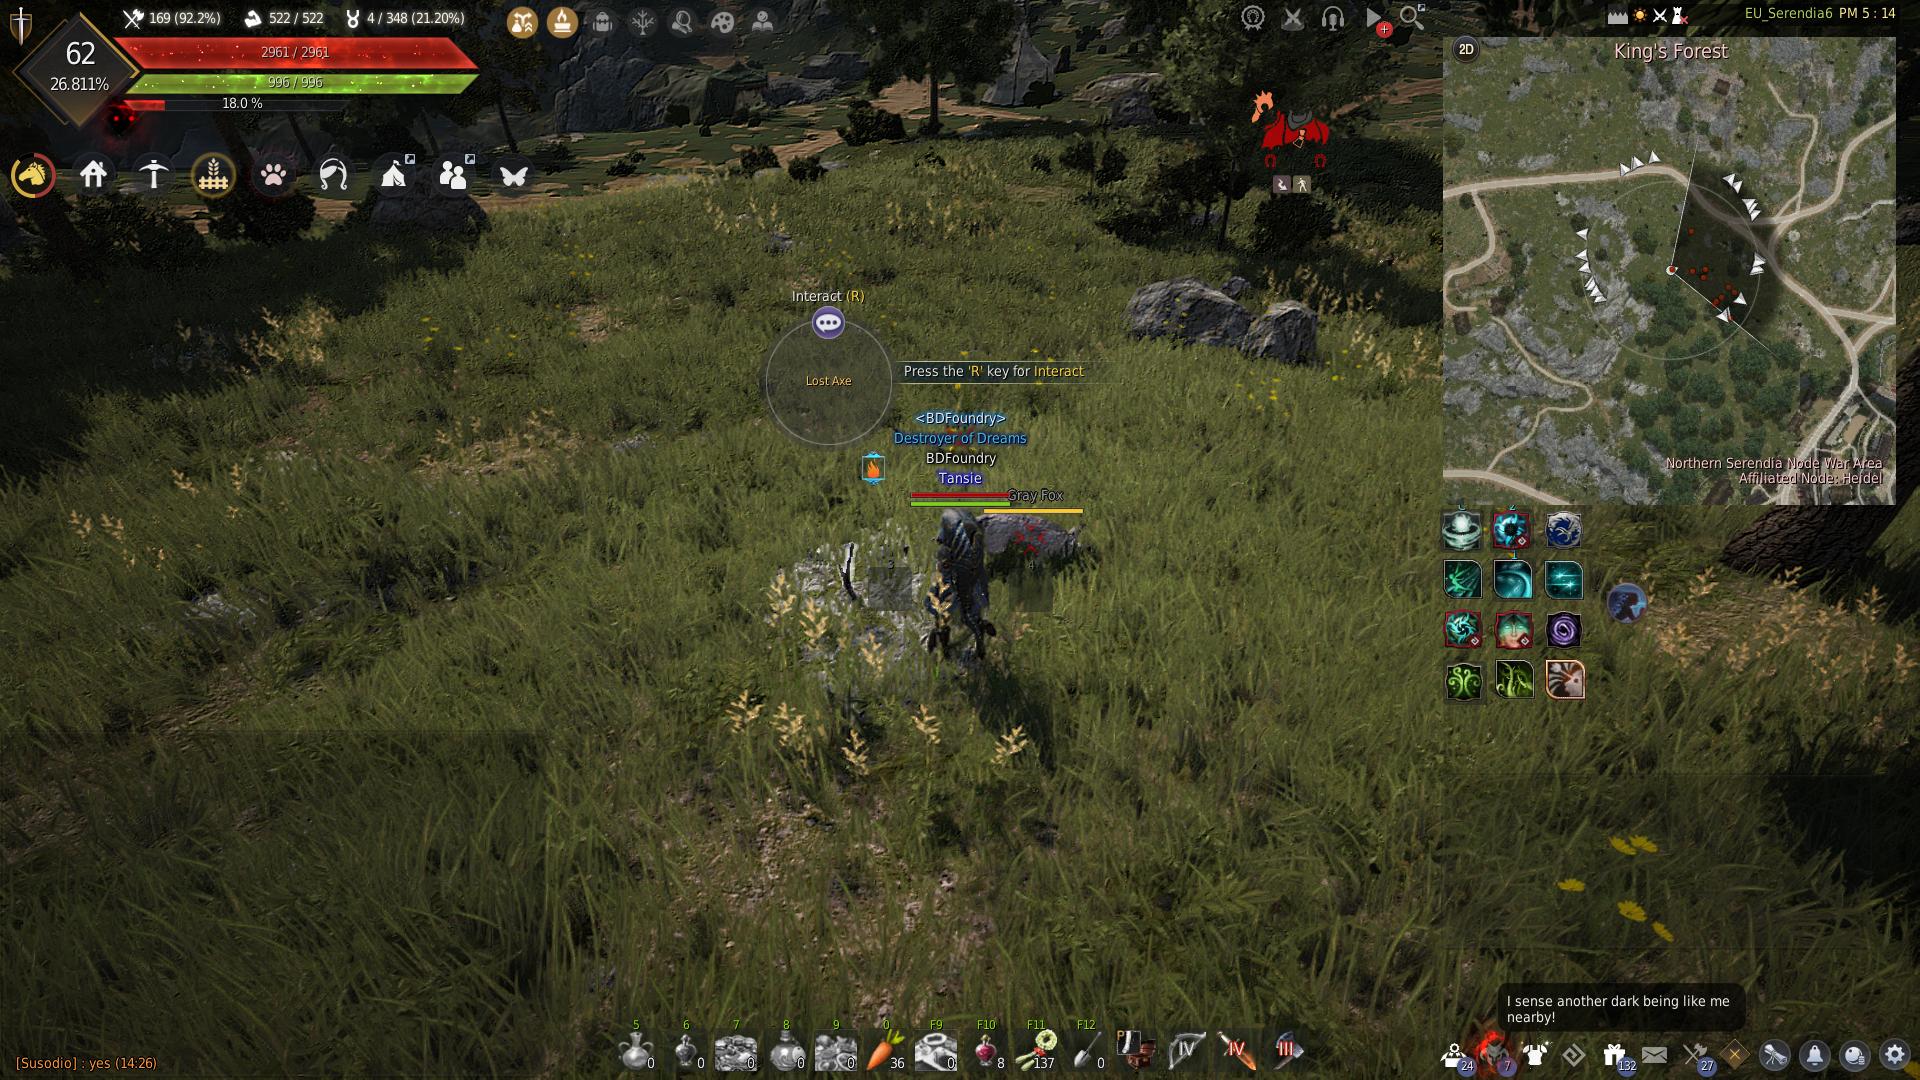
After you have the scroll, go to the forest north west of Heidel and use the scroll to summon a Dim Tree Spirit. If you are in a party you will not be able to use the scroll. You now have to kill the Dim Tree Spirit using an axe. To get the axe, interact with the “Lost Axe” nearby (refer to the screenshot below for the location). You can still use the axe when it is on 0 durability and it will still deal damage.
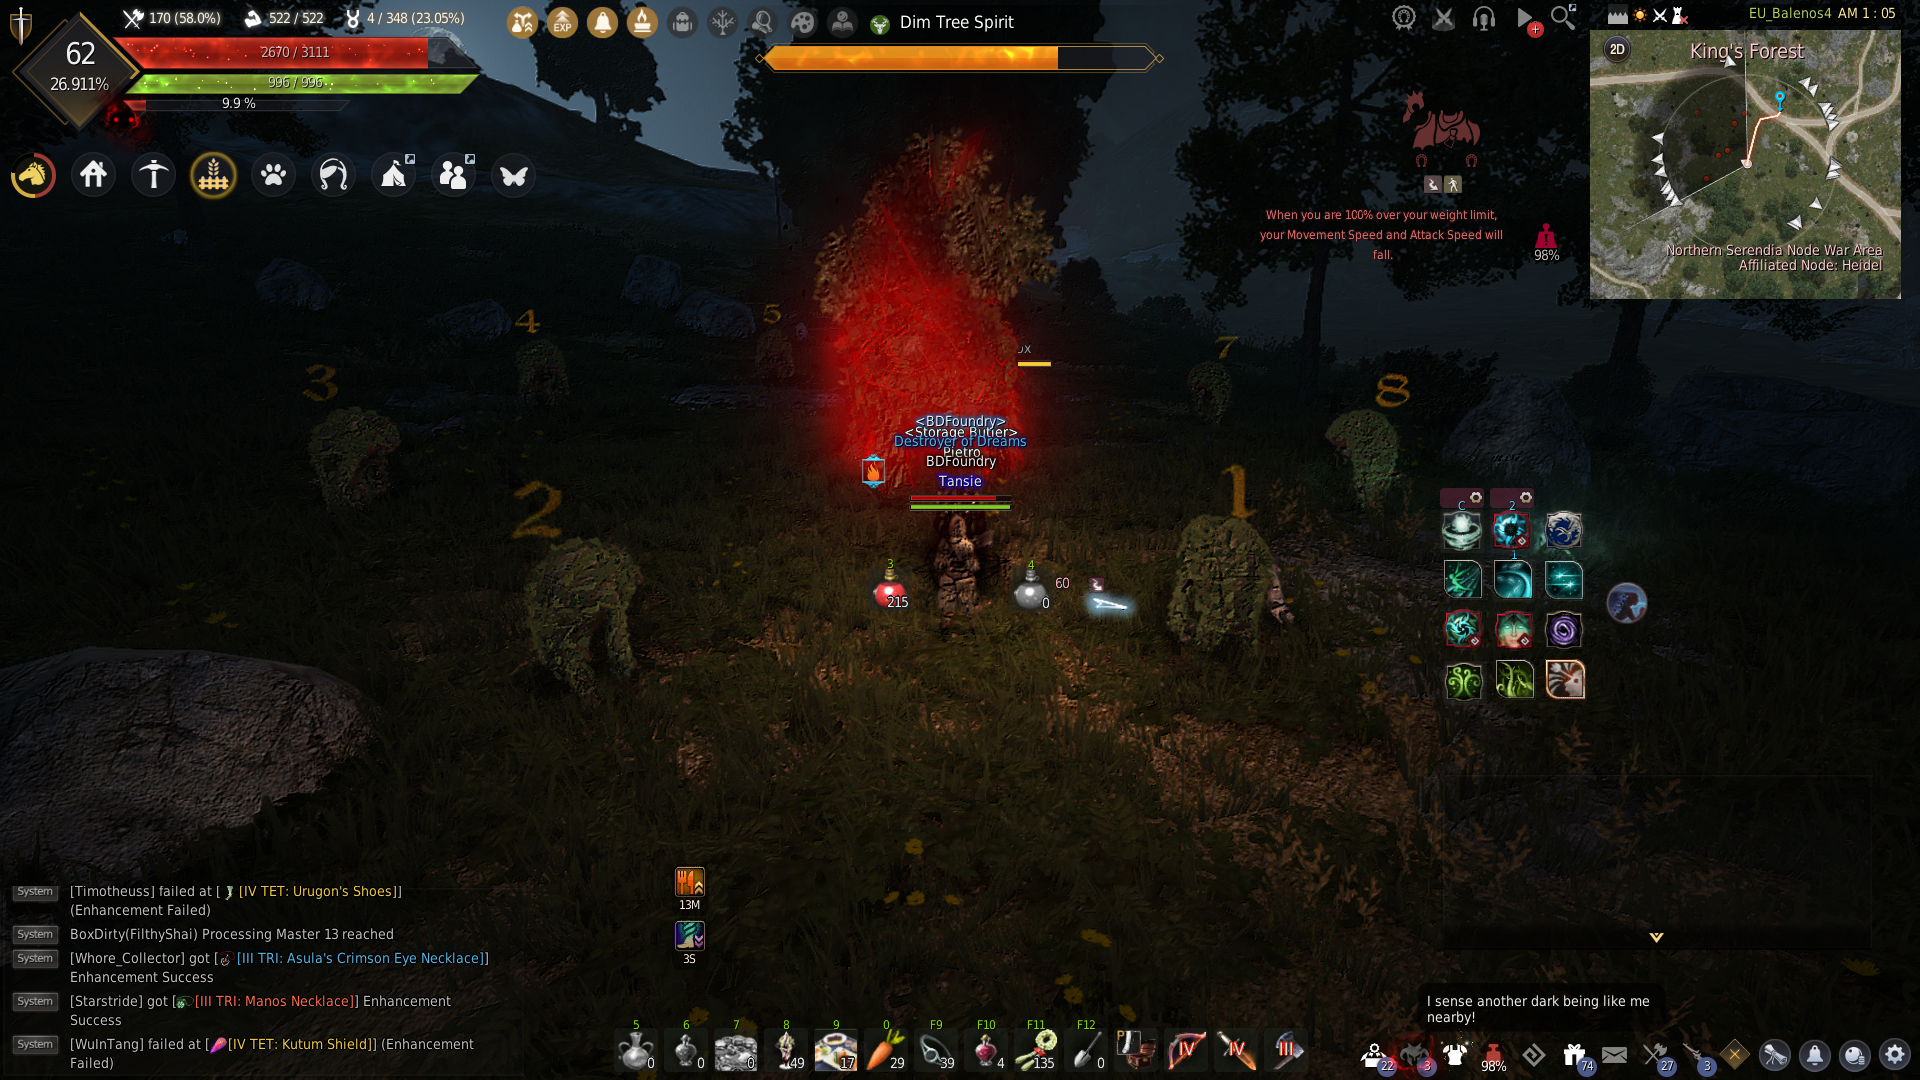
During the battle, small Dim Trees will spawn in a circle and each have a number above them that will disappear after a couple of seconds. You have to remember the order of the small trees and then kill them in a specific order, otherwise you will die to the boss.
The order is:
- Stage 1: 4623
- Stage 2: 8157
- Stage 3: 6385
Use this image to help you easily kill the small dim trees in the correct order. After killing the Dim Tree Spirit he will drop the item as loot.
Quest #16: War Hero
This quest item can only be obtained if you have completed quest #15.
Make Portable Firewood using Process (L) and the Manufacture option using the recipe below:
- Fire Horn x5
- Powder of Flame x5
- Standardized Timber Square x1
- Obtain by Processing (L) > Chopping, Usable Scantling x10
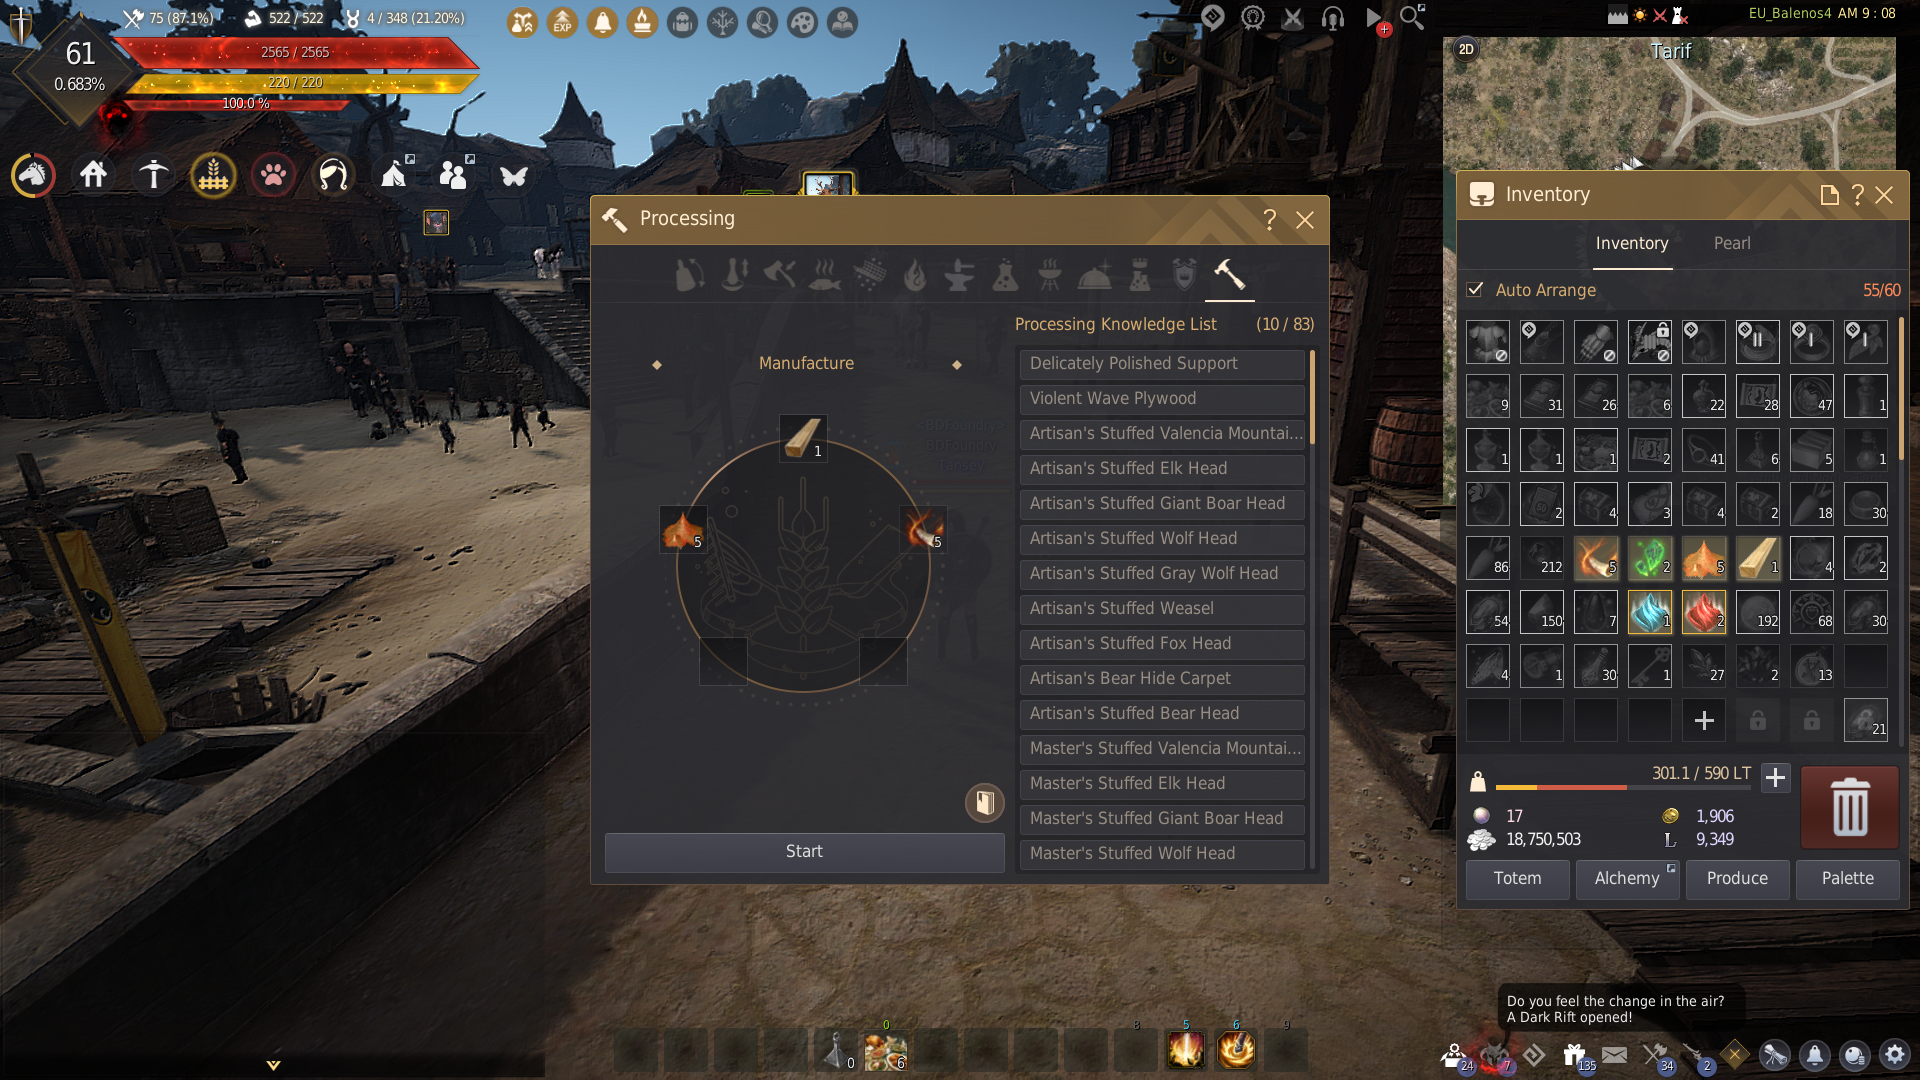
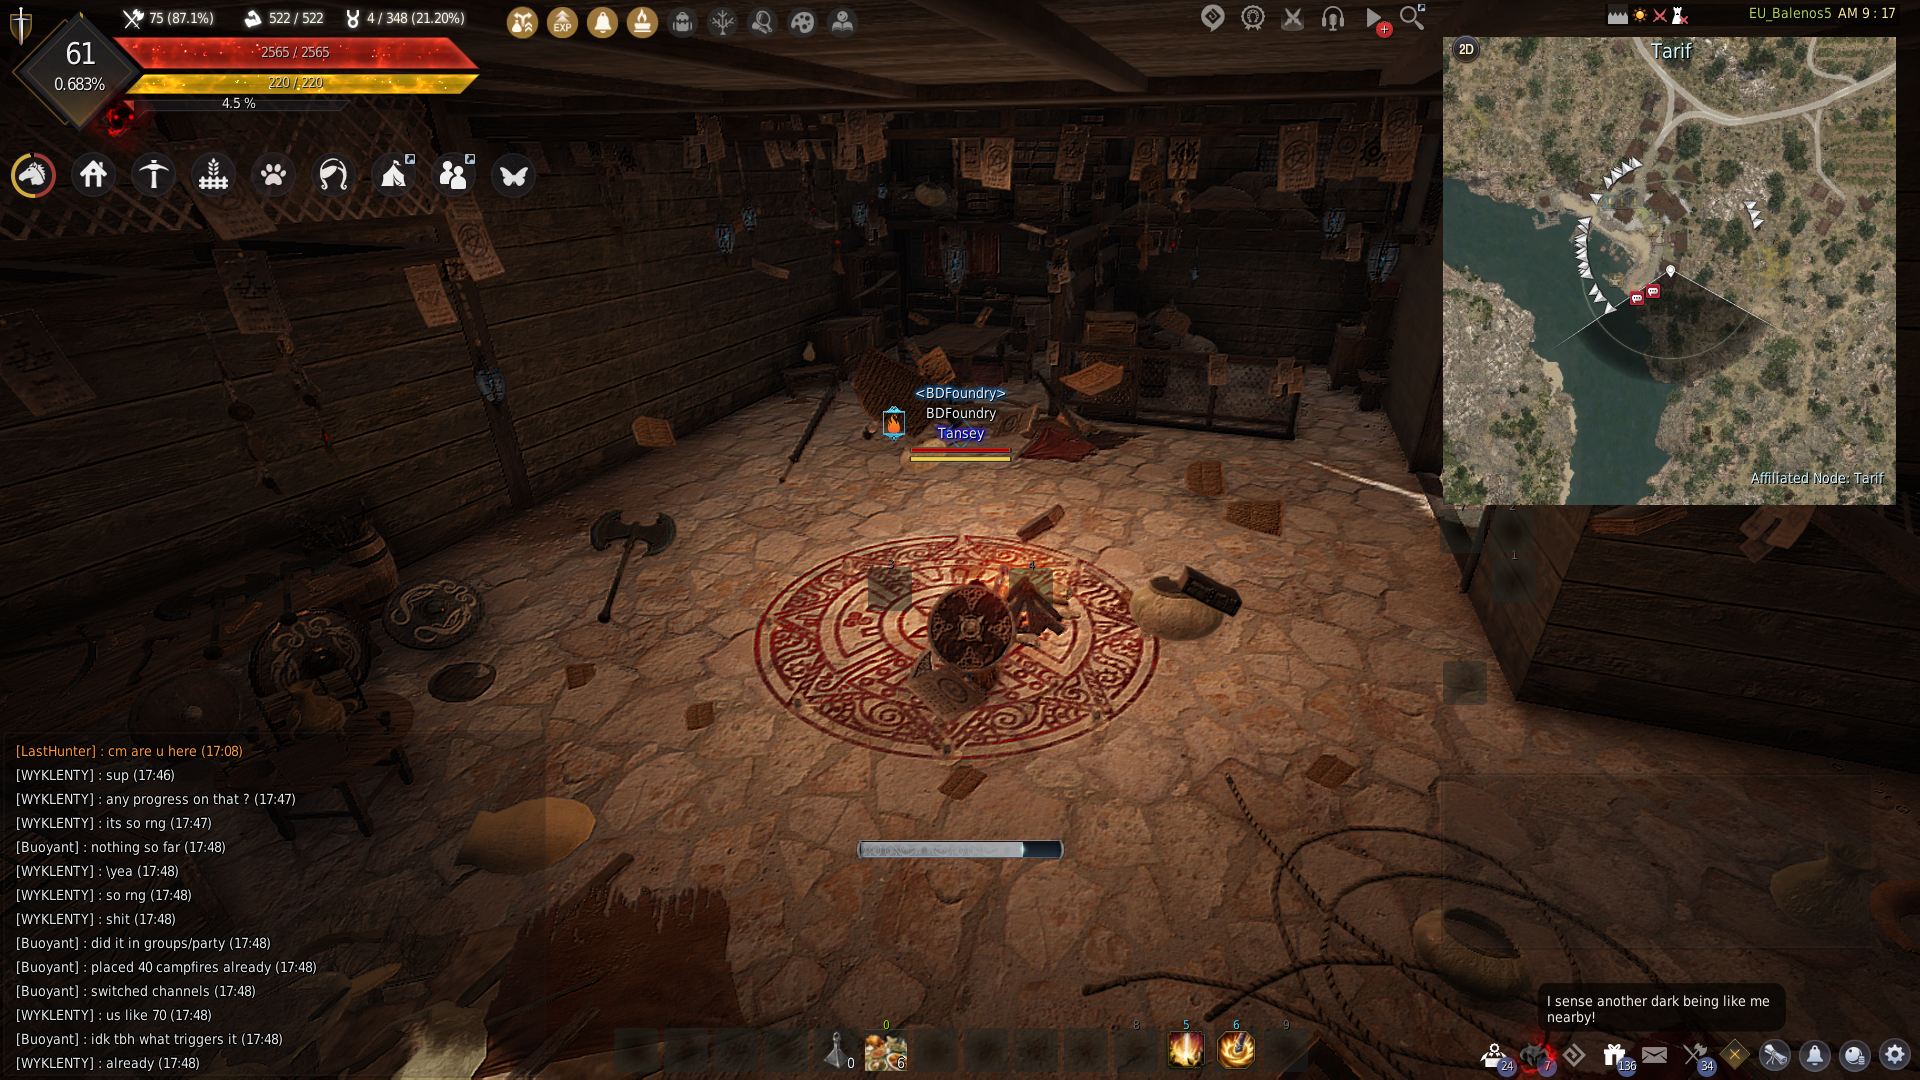
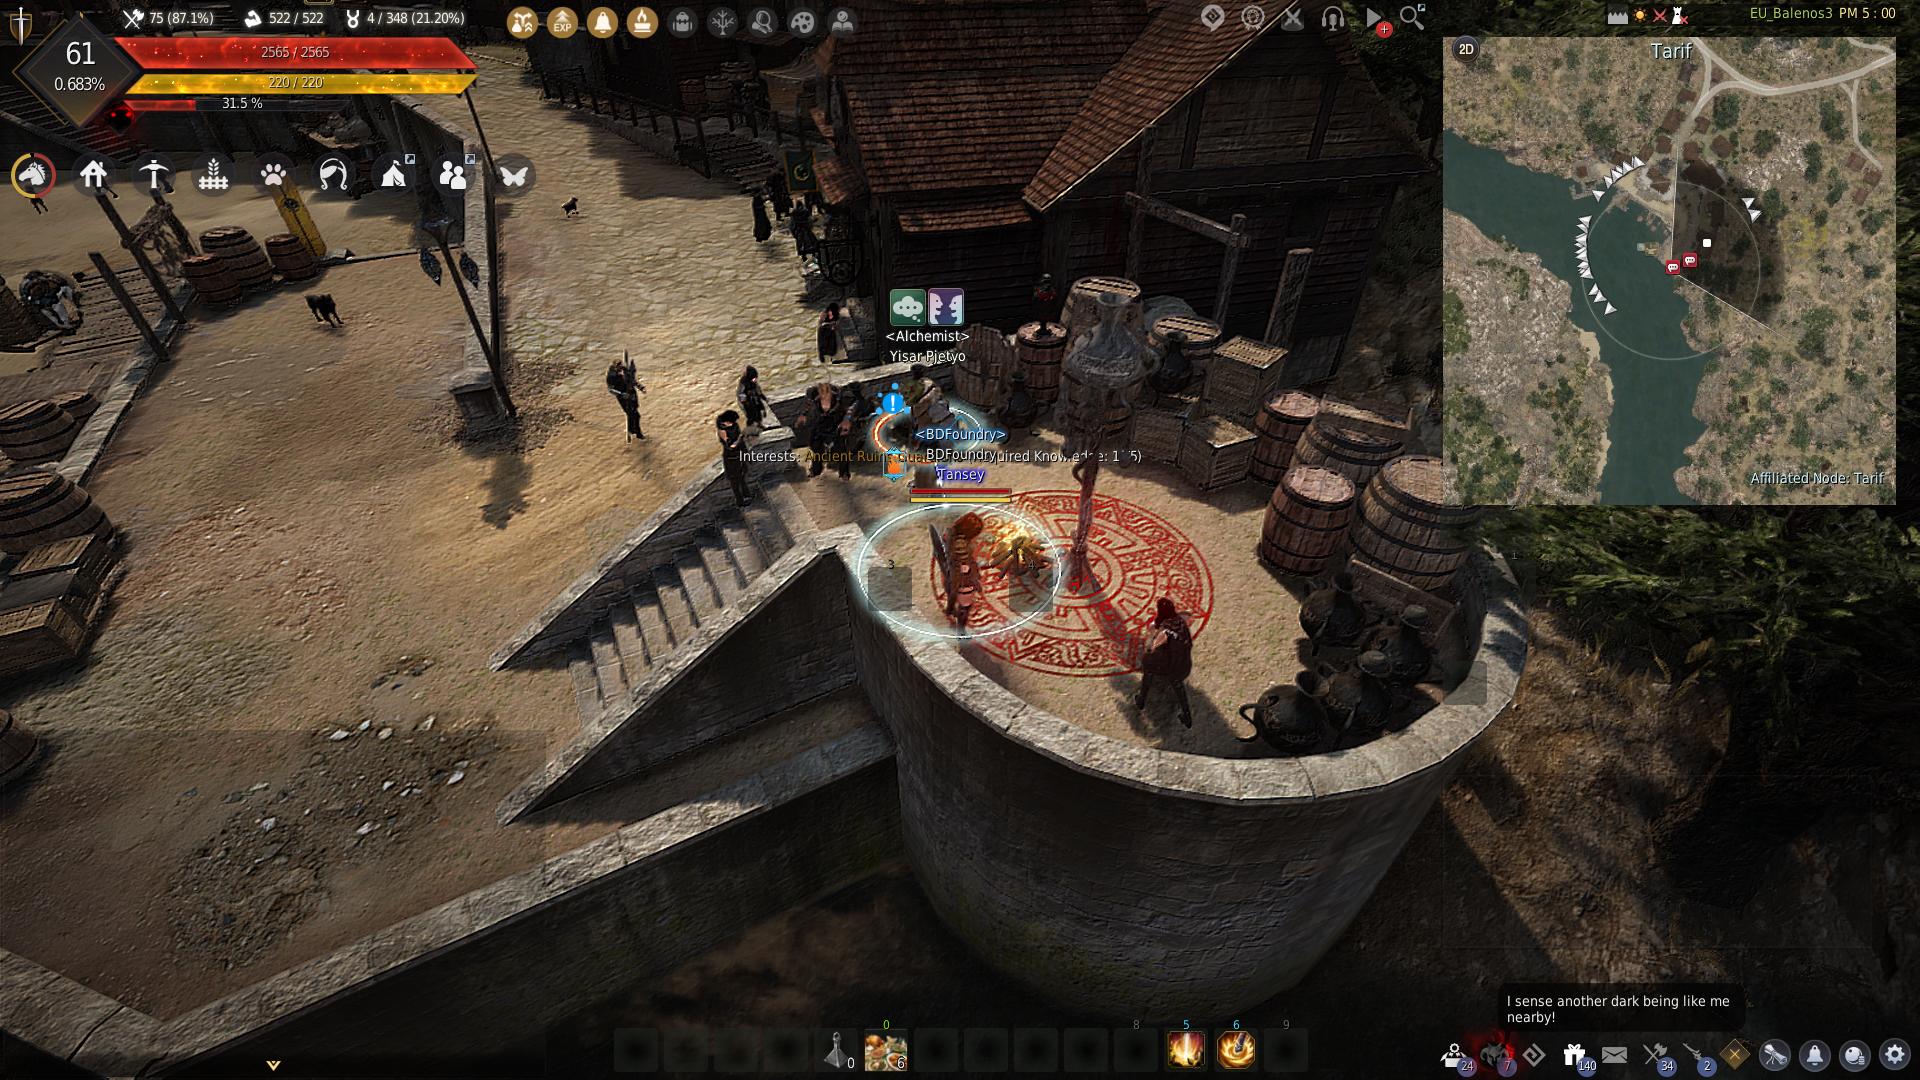
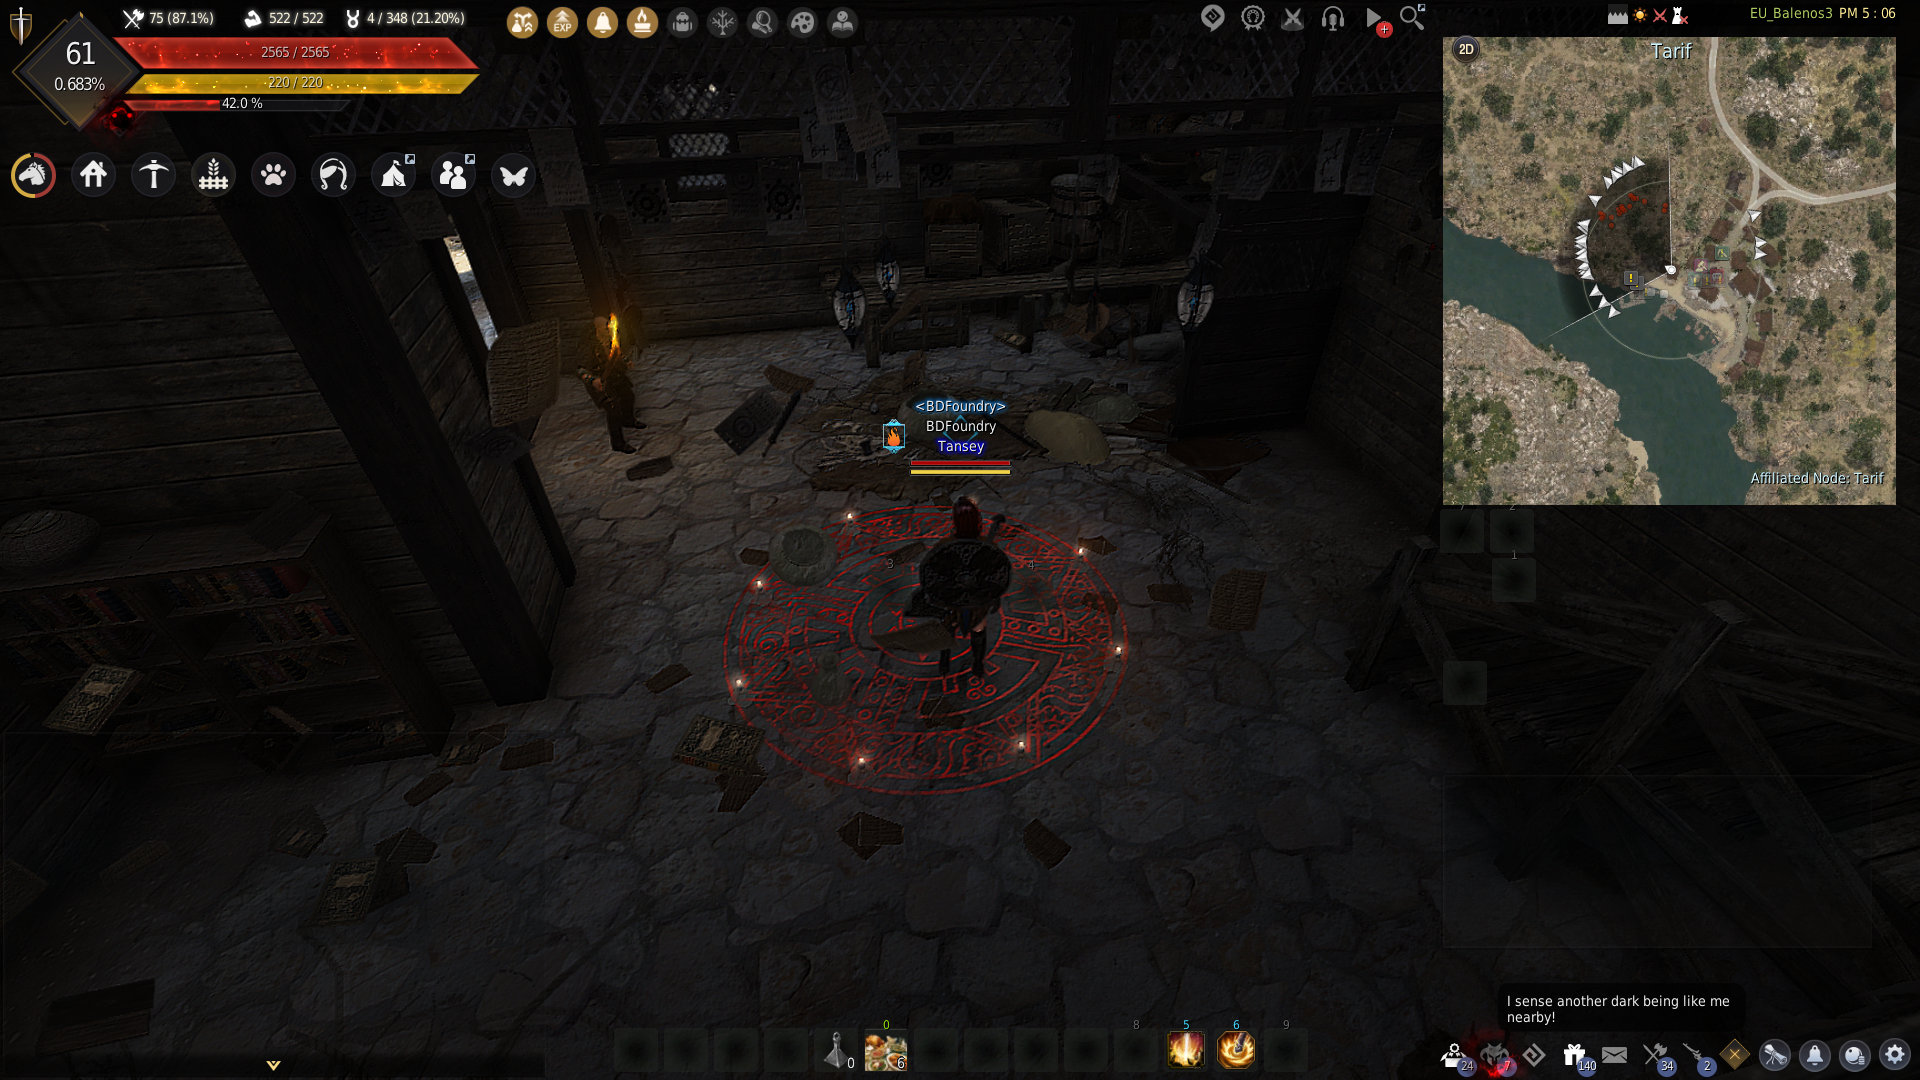
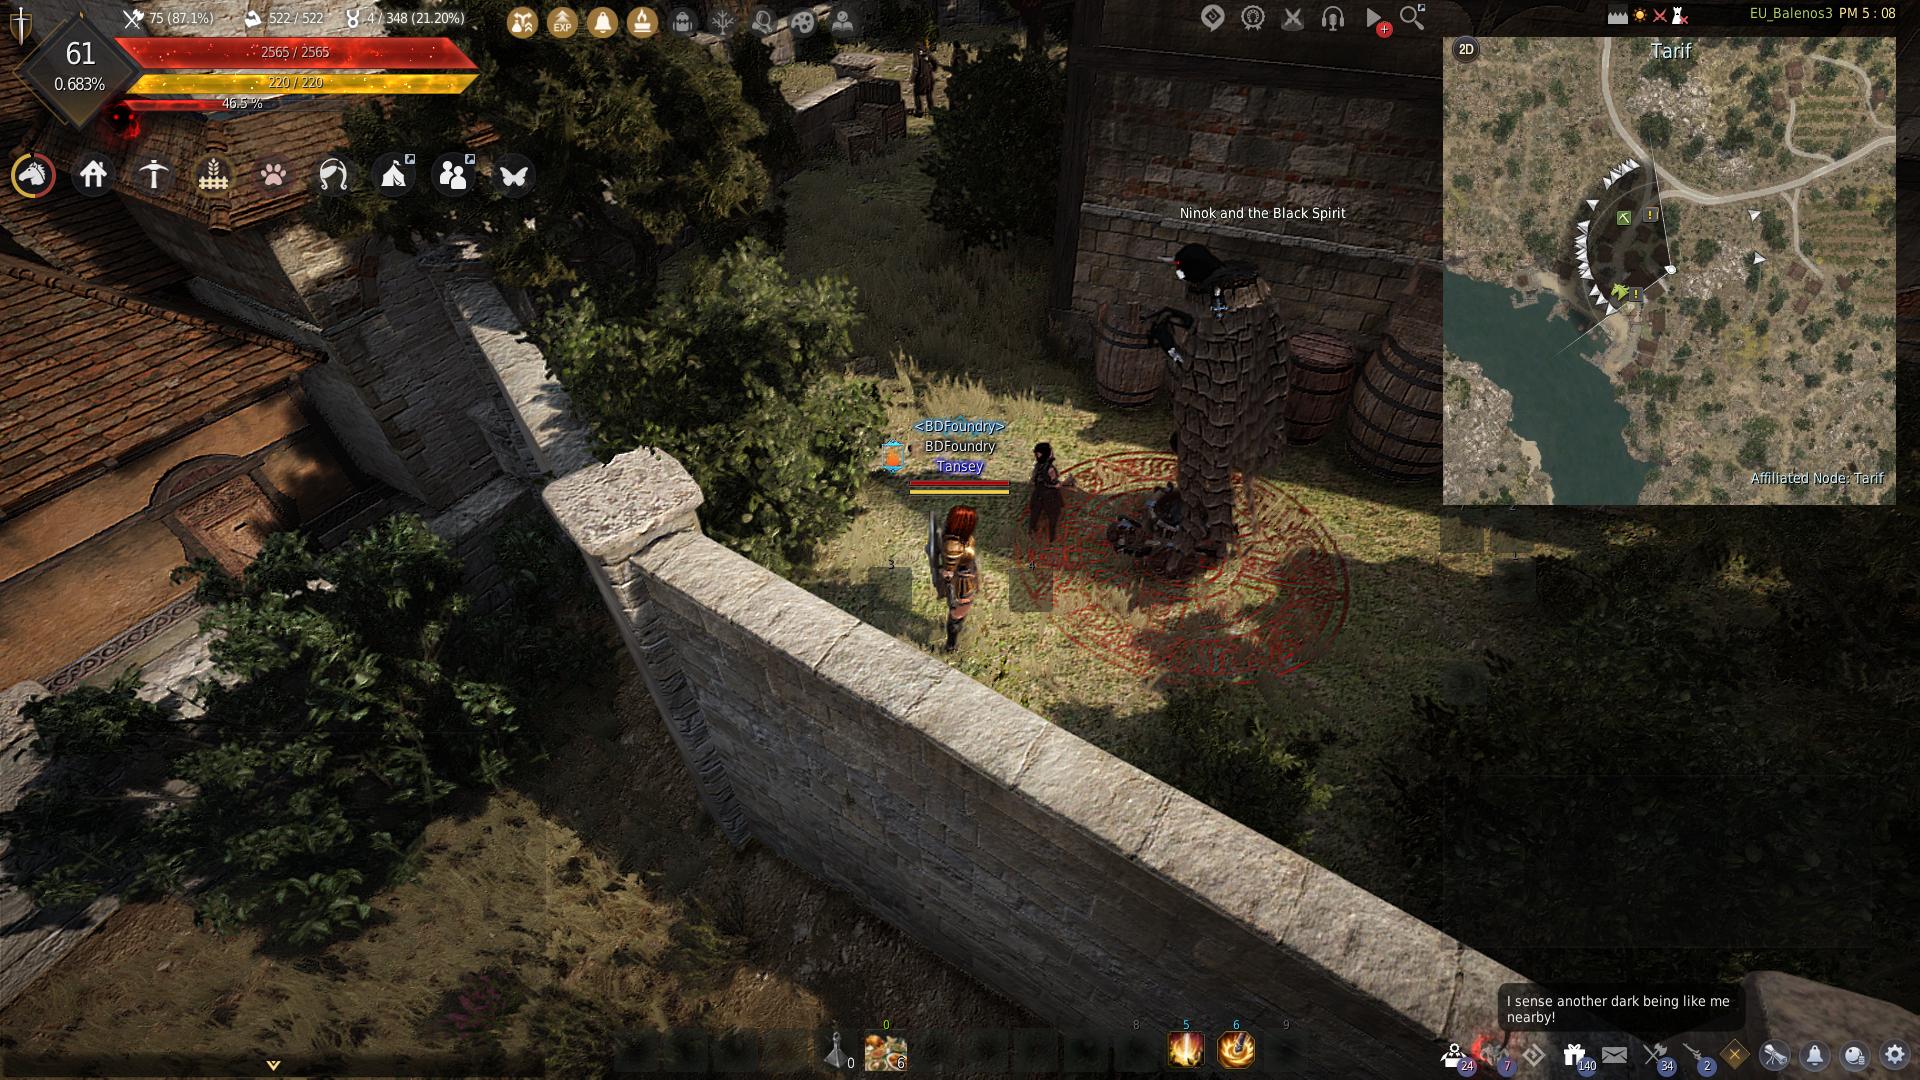
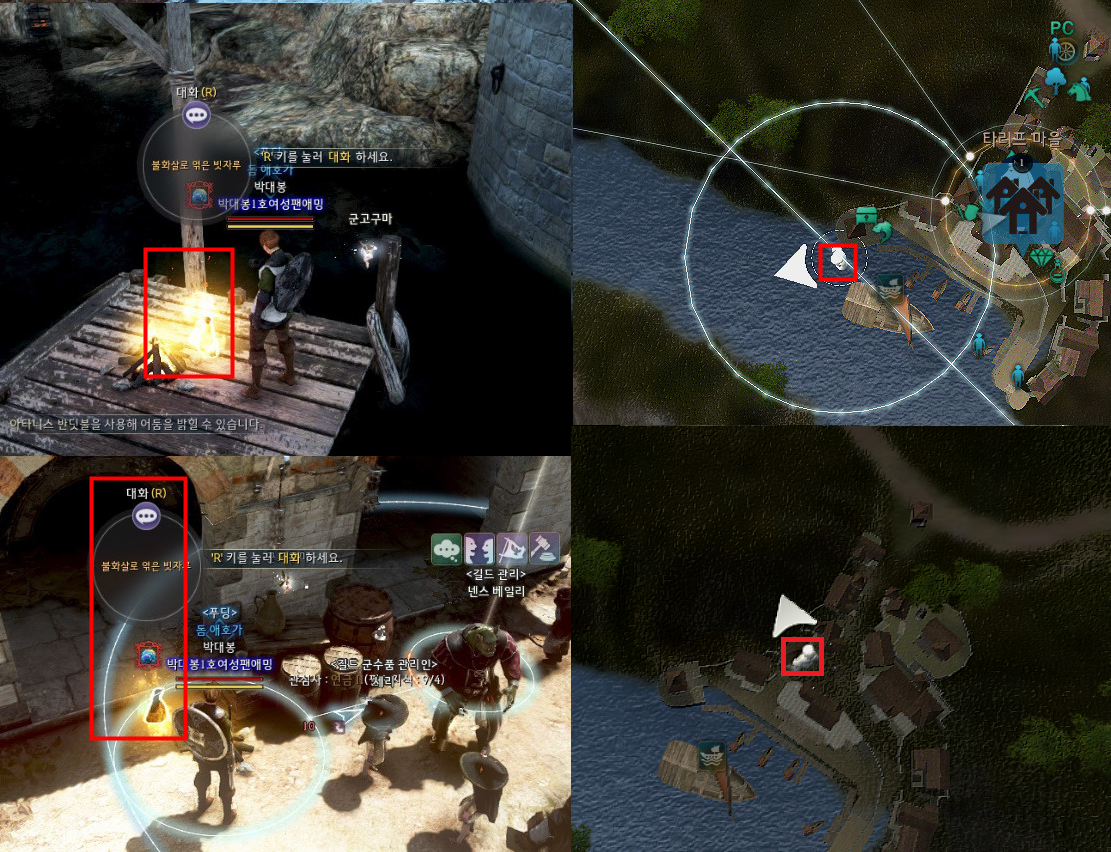
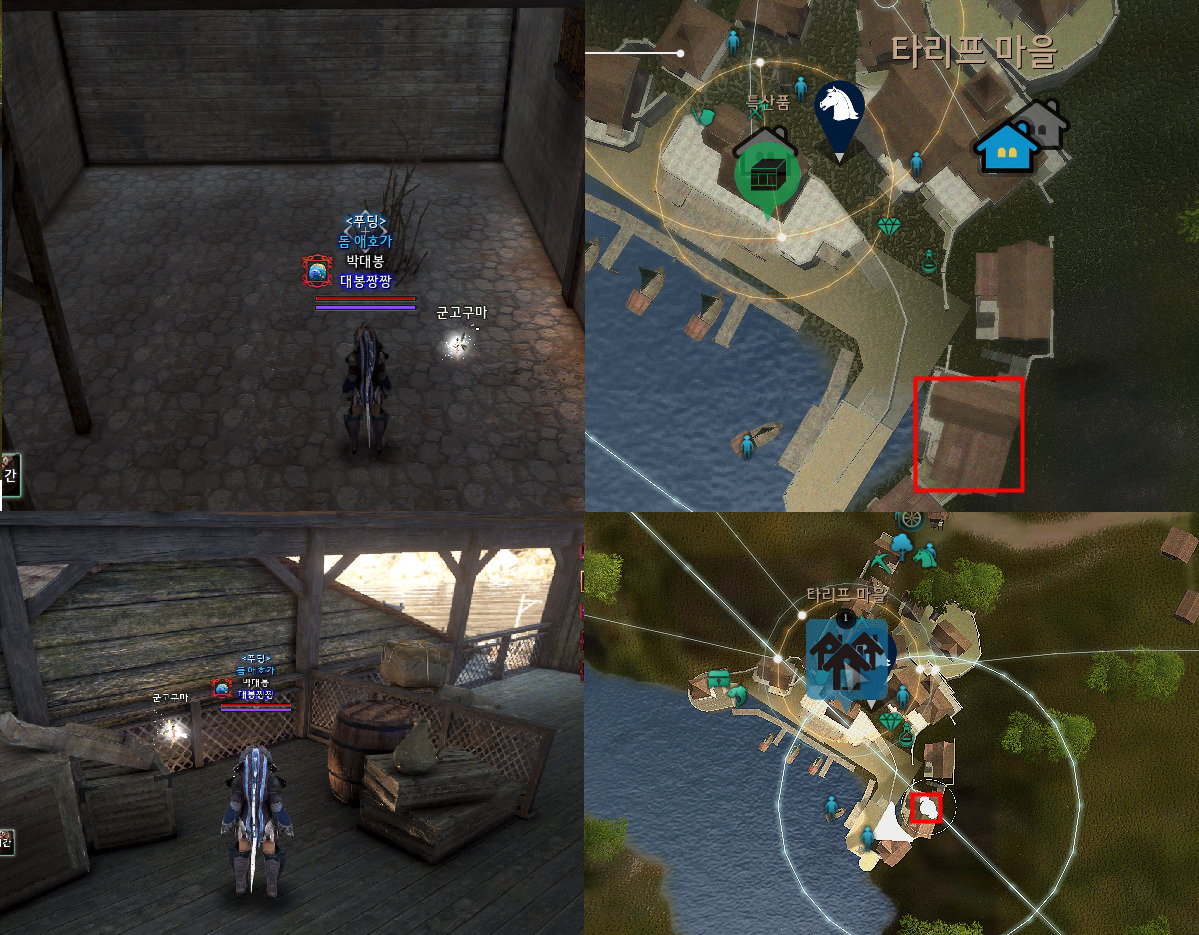
Once you have the Portable Firewood, go to Tarif. There are 4 different magic circles around Tarif and you must use the Portable Firewood to make a campfire on the circle. After placing the campfire there is a chance to summon the Broom Made of Fire Arrows which you can interact with to obtain the item. If the broom doesn’t spawn, try a different circle until you’ve tried them all. If it doesn’t appear you will have to change channel and try again. It seems to be completely random if the broom spawns or not.
The Broom also seems to be spawning in other places as well, some players believe that it can be spawned anywhere in Tarif. Below are images of all places the broom has spawned (there are currently 8 known places in total). Make sure to have a quick check around Tarif if the broom doesn’t spawn on a circle and try placing campfires in the extra spots.
List of all spawn locations:
- On the deck near the storage keeper
- Inside the house near the guild manager with the circle
- Next to the guild manager
- On the circle with the black spirit
- Inside Illezra’s House at the circle
- On the second floor of Illezra’s House
- On the circle next to the Alchemist
- On the deck near the Alchemist
Tip: If you have a season character you can use this character to join the season channels and regular channels. The season channels have a seperate cooldown to regular channels so you can try more channels in the same amount of time. The broom is confirmed to also spawn on season channels.
<Image from Daebong‘s guide>
Quest #17: Roxanne’s Curse
For EU/NA:
You can get a Resplendent Bead by going to the official website then Shop > Redeem Code and enter the code “BDOAOAC”.
Then to claim the item, go to your account > coupon. The item will be sent to your in-game mail.
For STEAM players, go to ESC menu > REDEEM > then enter the code under Register Your Key.
For SA:
Use the code “AOAC-RWET-HWTA”
For all other regions:
Use the code “AOAC-RWET-HWTZ”
After you have the Resplendent Bead, go to an Alchemy Tool and use the recipe:
- Respelendent Bead x1
- Essence of Enchantment x1
- Crafted with a Alchemy Tool (requires Apprentice Lv 1+) using the recipe: Fruit of Enchantment x2, Fire Flake Flower x3, Ash Sap x4, Powder of Darkness x2
- Fruit of Enchantment x1
- Can be obtained by planting most herbs in a garden fence, check BDOCodex for a full list
- Can also be obtained by gathering Flowers, Herbs, and bushes with a Hoe equipped
- Fox Blood x10
If you lose the bead for some reason, you can get it again by entering the code on the website.
Quest #18: Concentrated Dawnlight
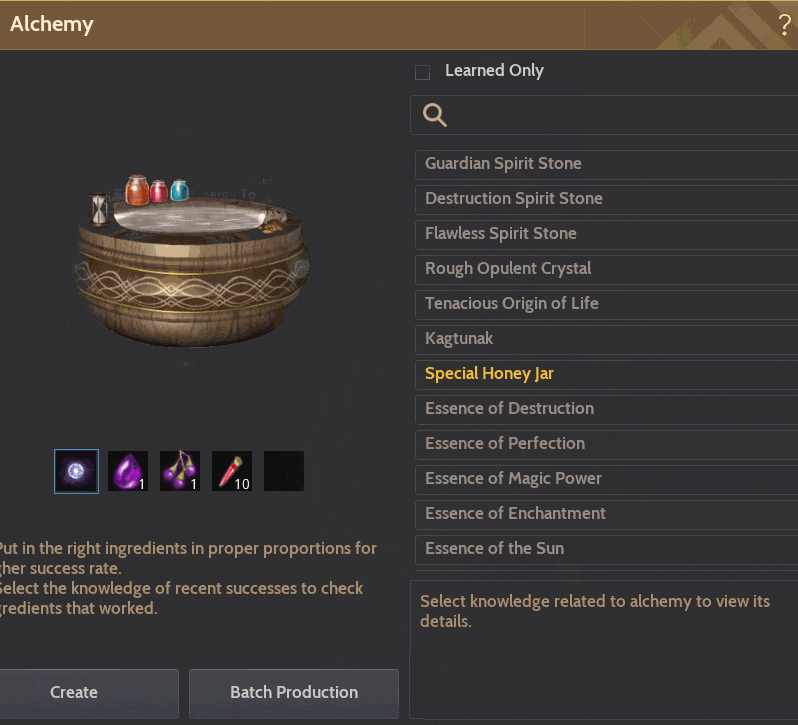
After handing in the final quest to the Worn Alchemy Tool, use Processing (L) then the “Simple Alchemy” option to combine the items given throughout the questline:
- Morning Sun Embracing the Red Sunset
- Frosty Moonlight Dew of Dawn
- Blooming Snow Crystal of Endless Winter
- Glass Bottle Shaped From a Witch’s Red
If you have lost any of these items you can go back to the Worn Alchemy Tool and exchange a Gold Bar 10G for another one.
You can now complete the final quest at Jordine to receive your title and finish Mysteries of Summer 2020. The coloured title version will be available after maintenance on 2nd September.



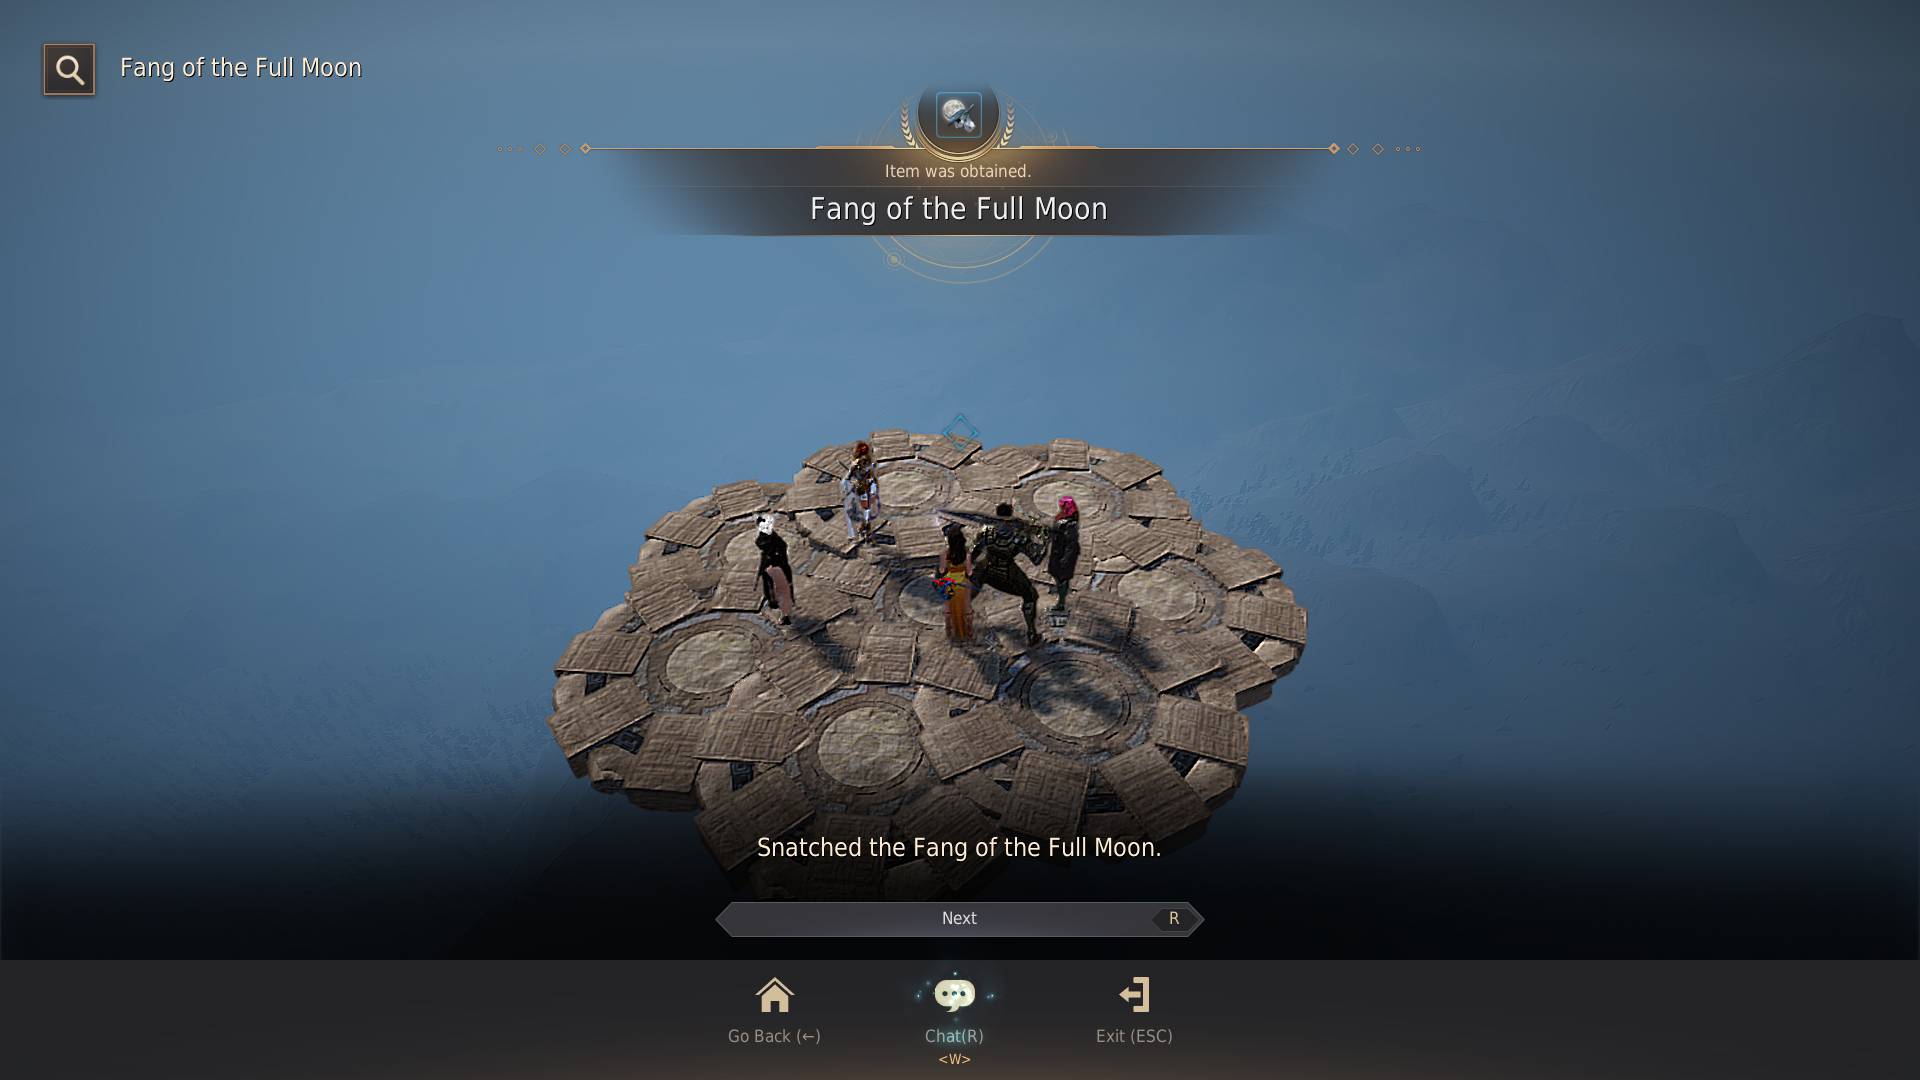


Quest #14: A Sudden End of Hostilities; can be done with 2 people now