Navigation
Hide
Introduction
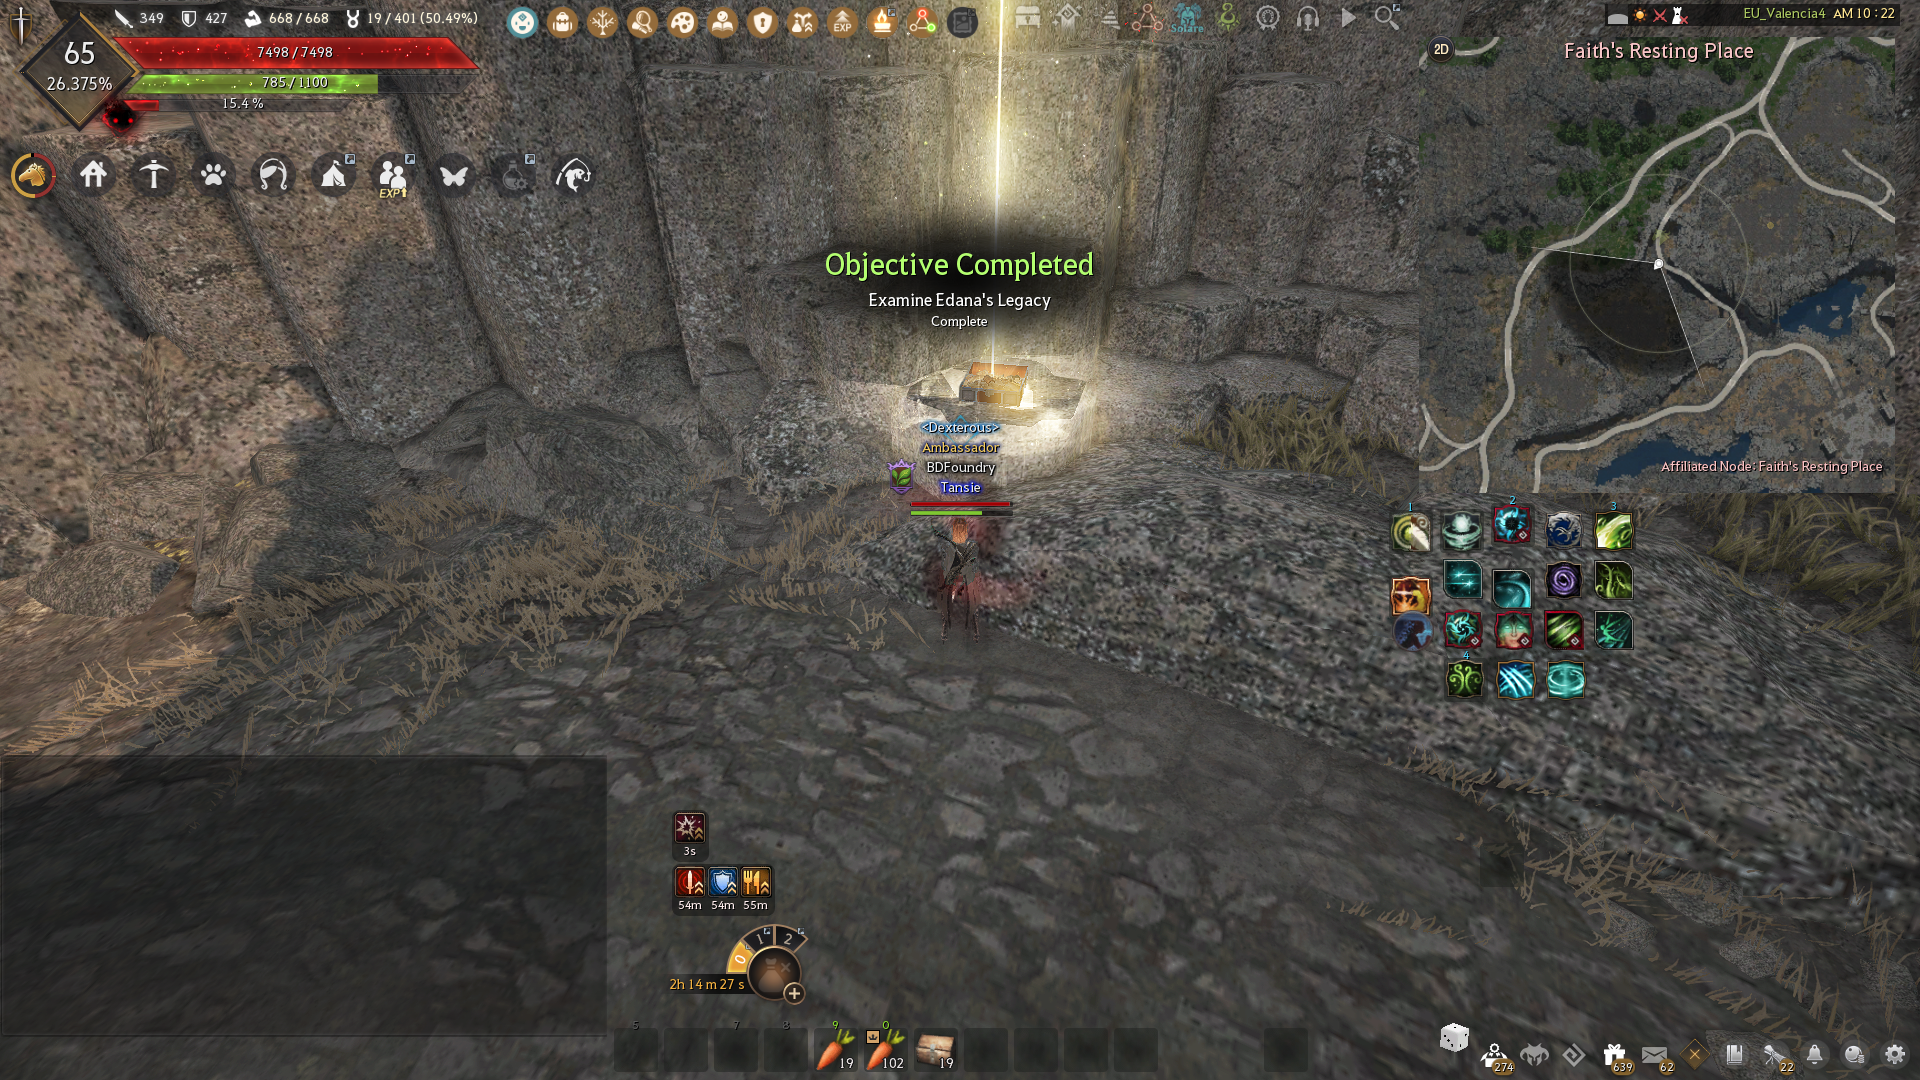
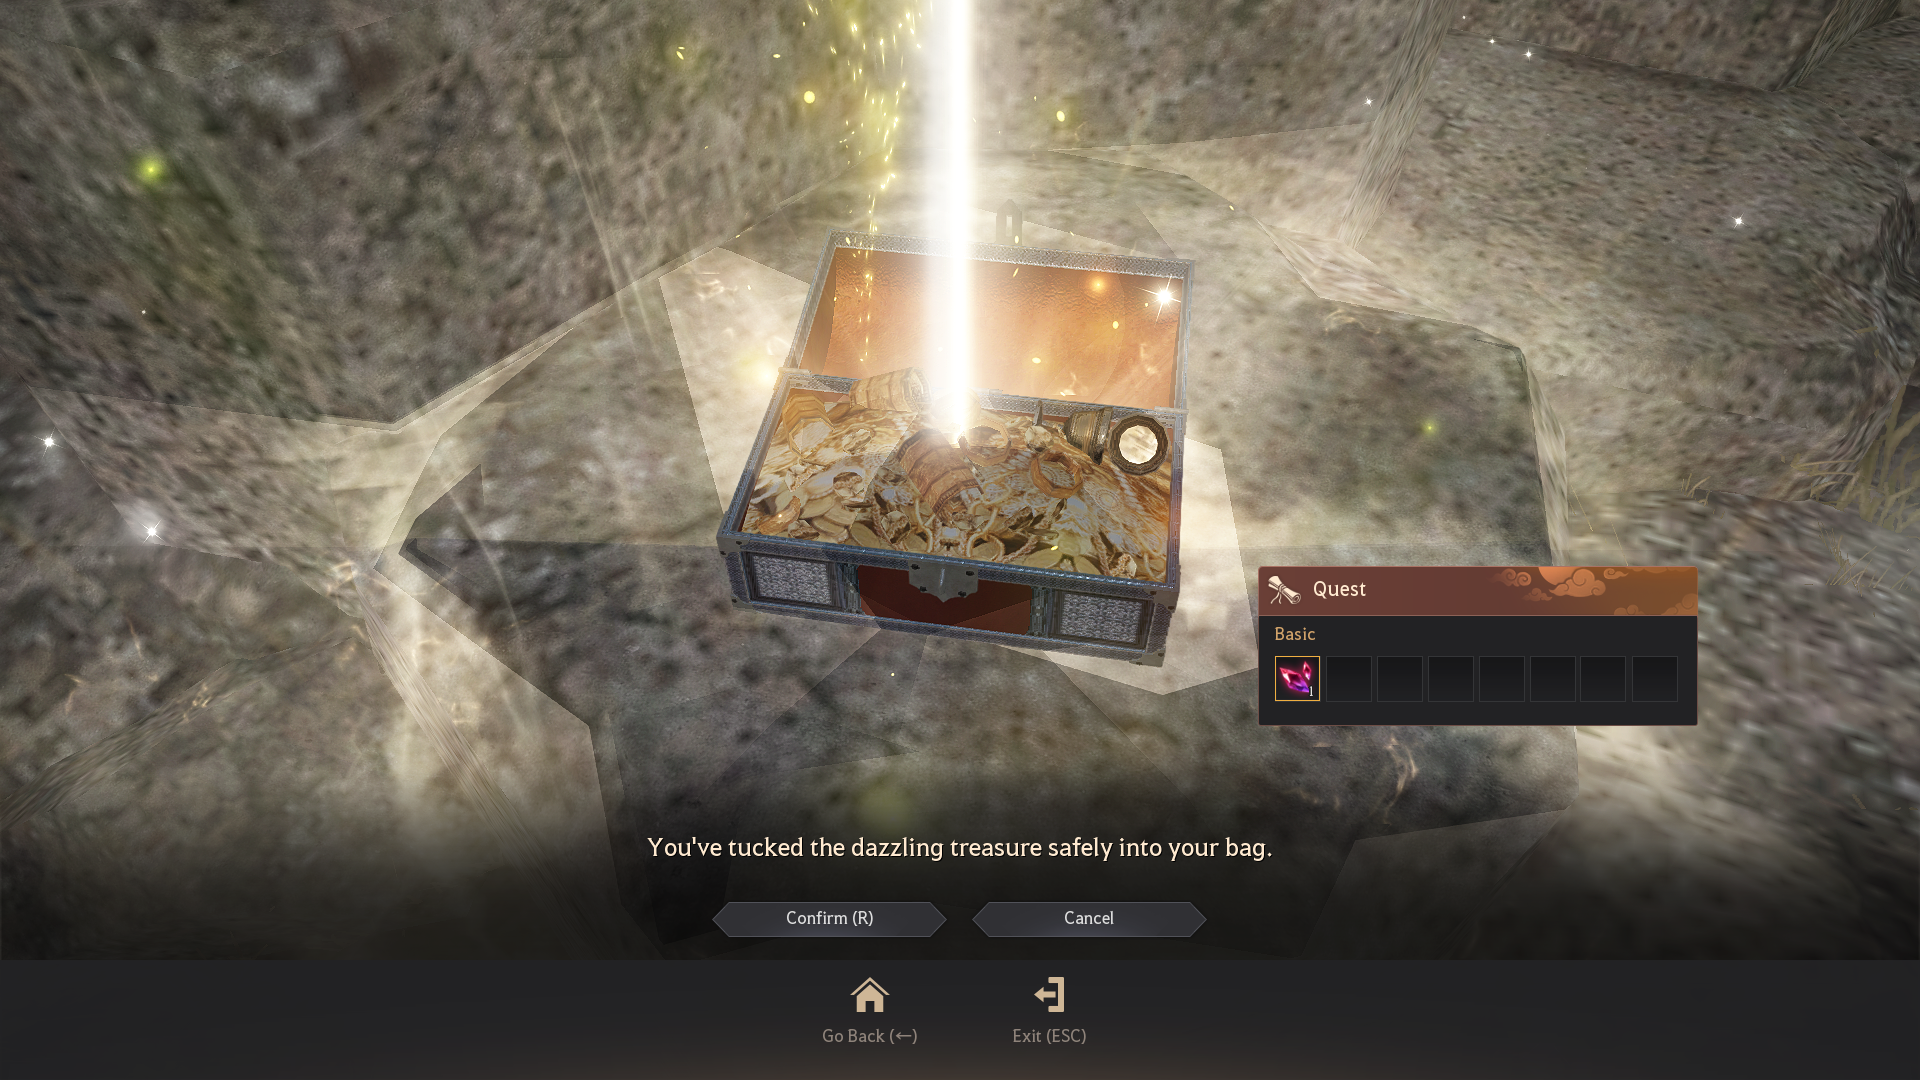
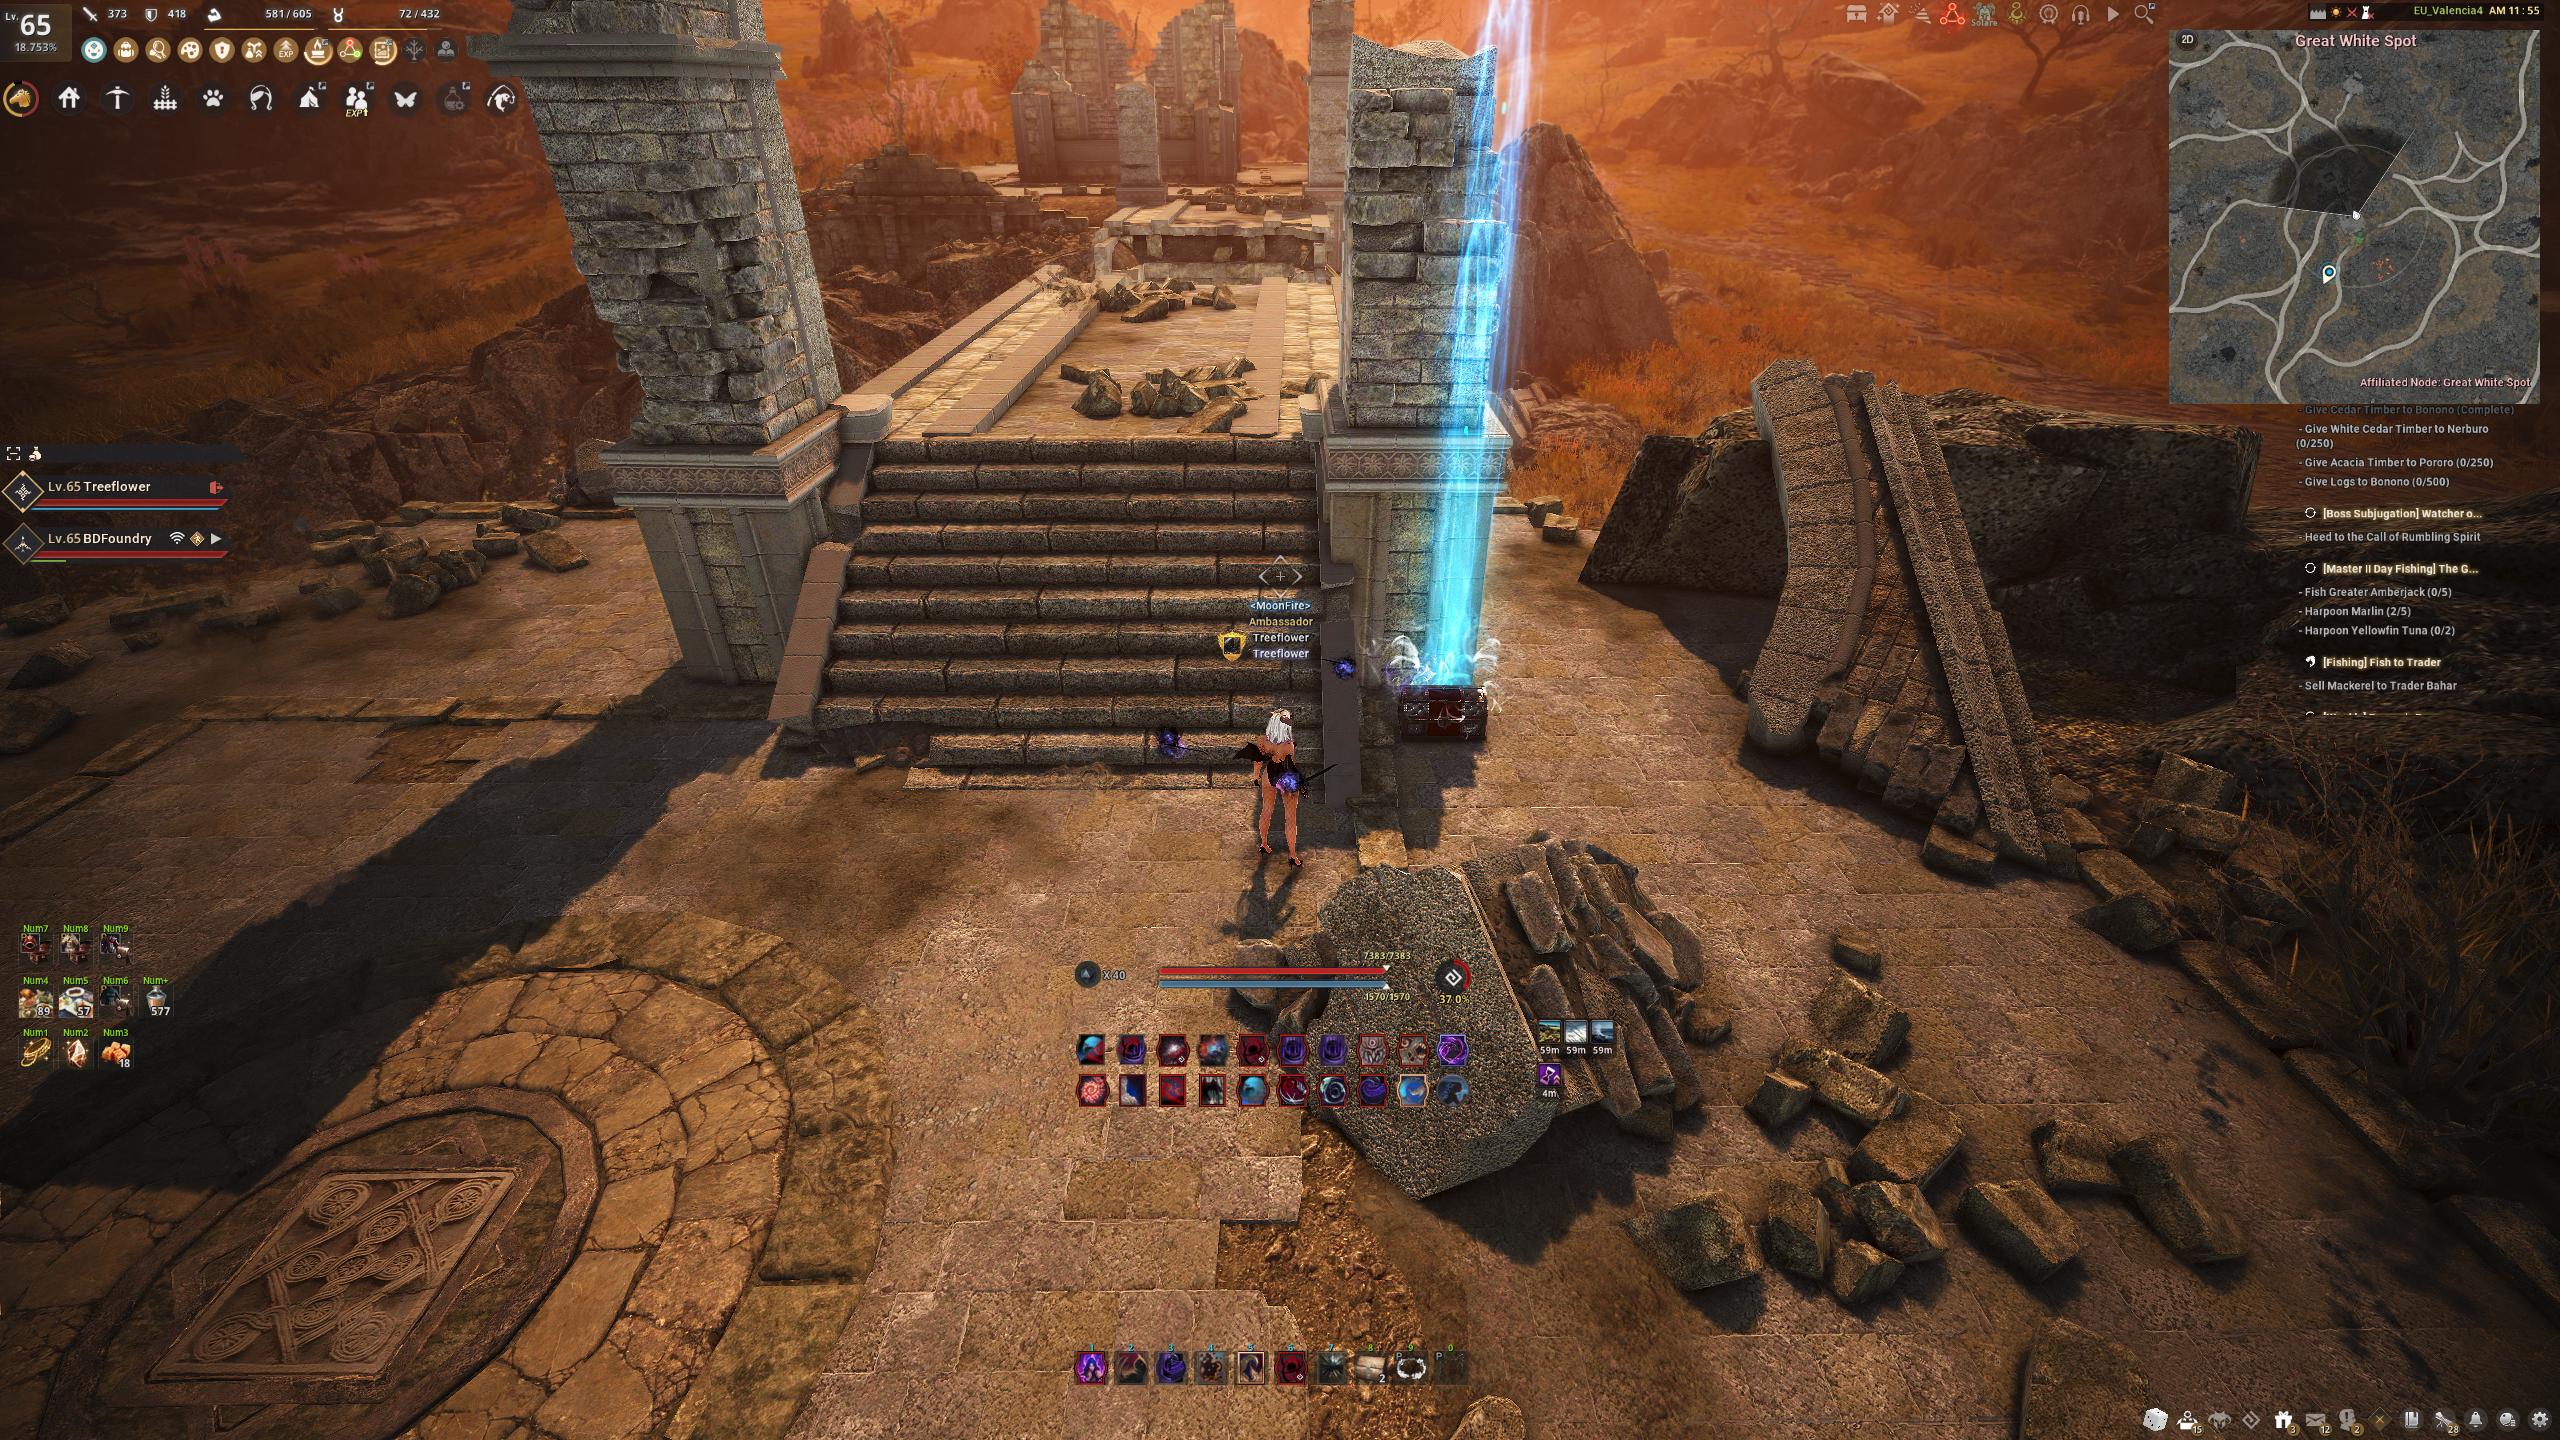
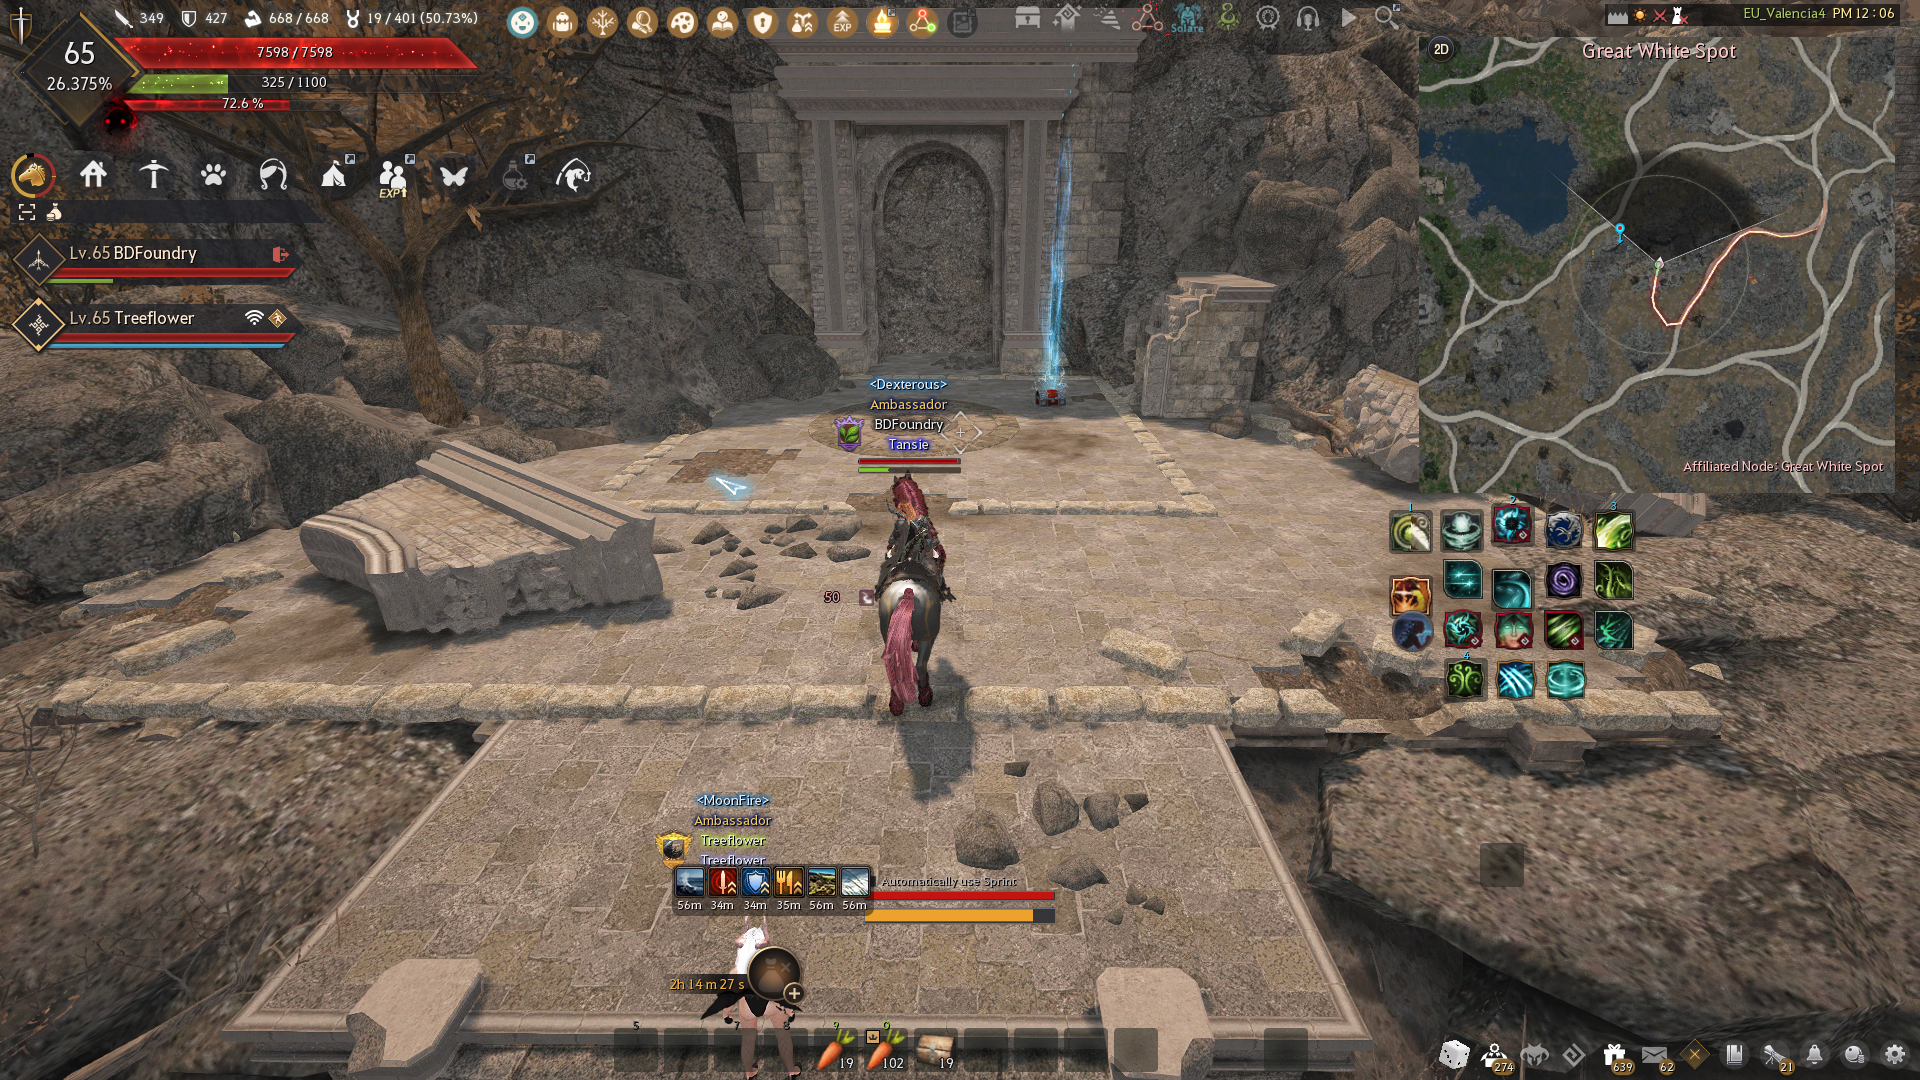
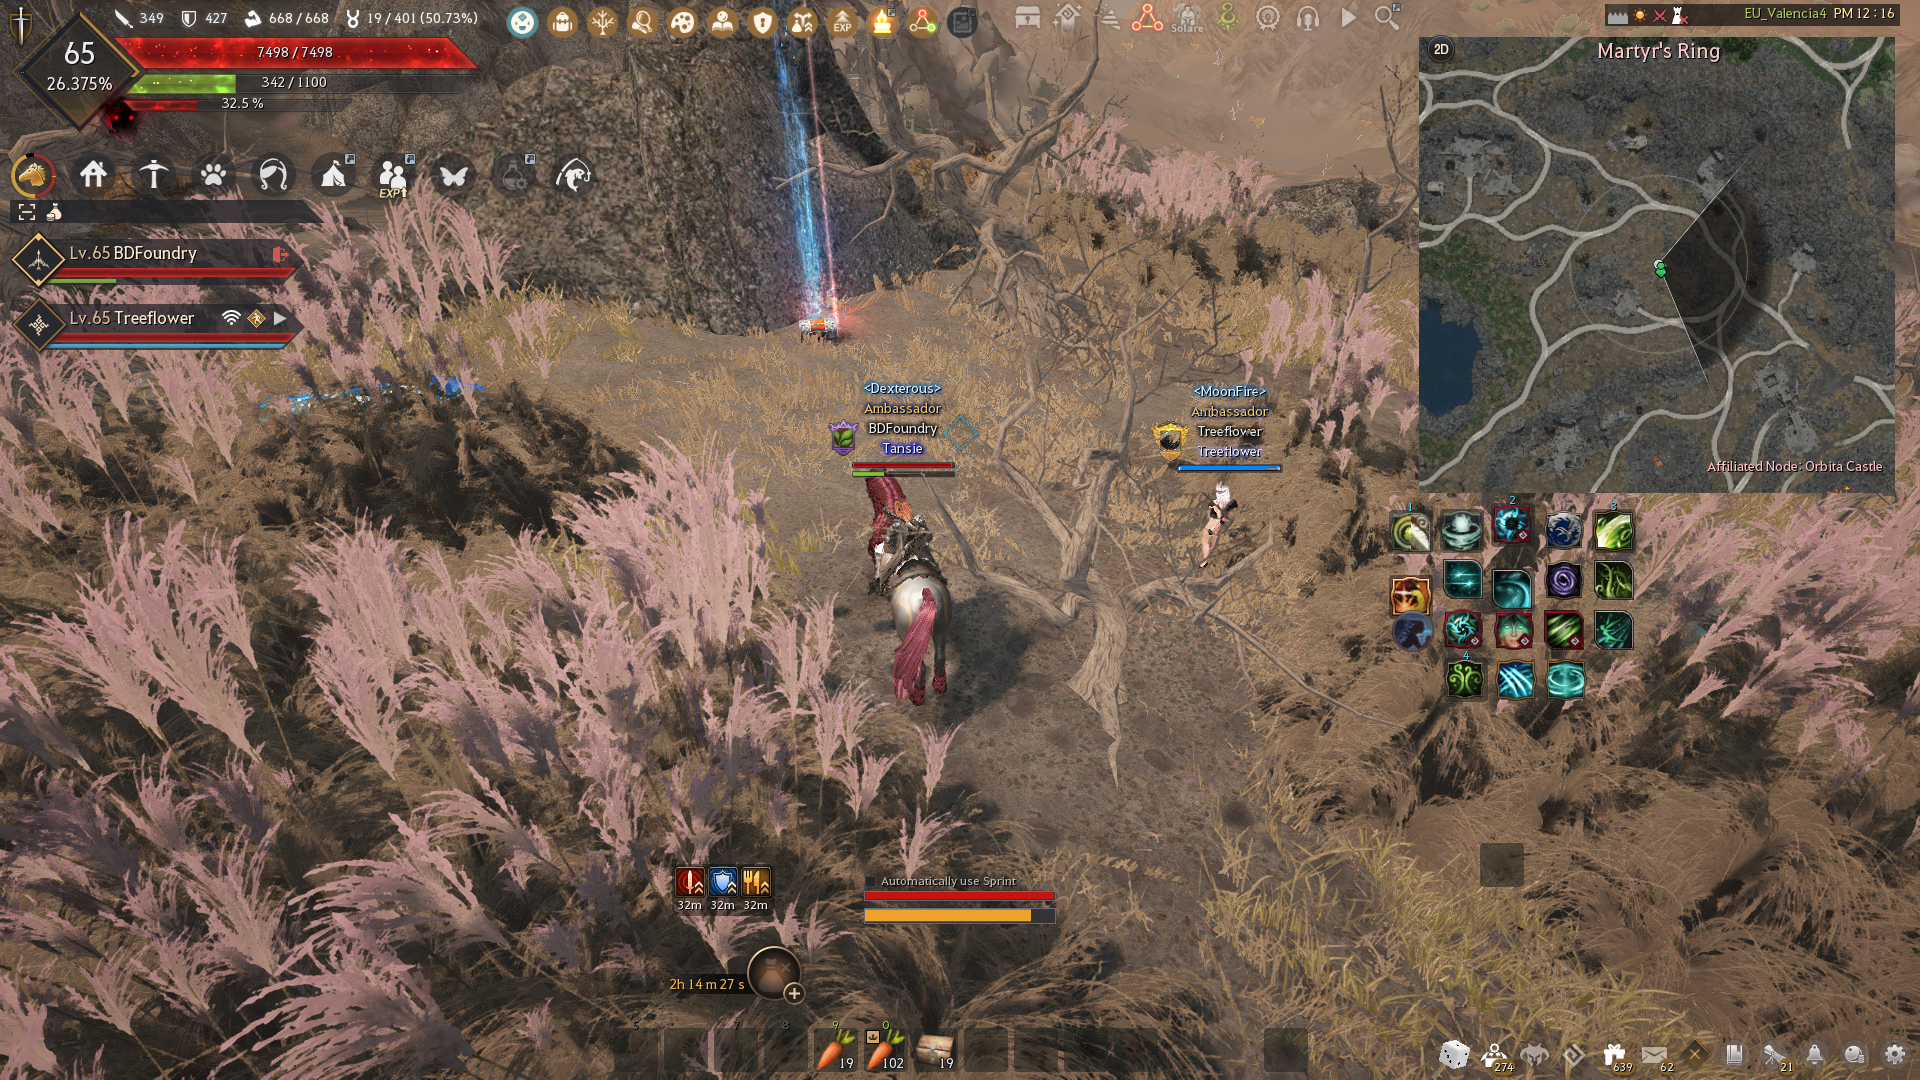
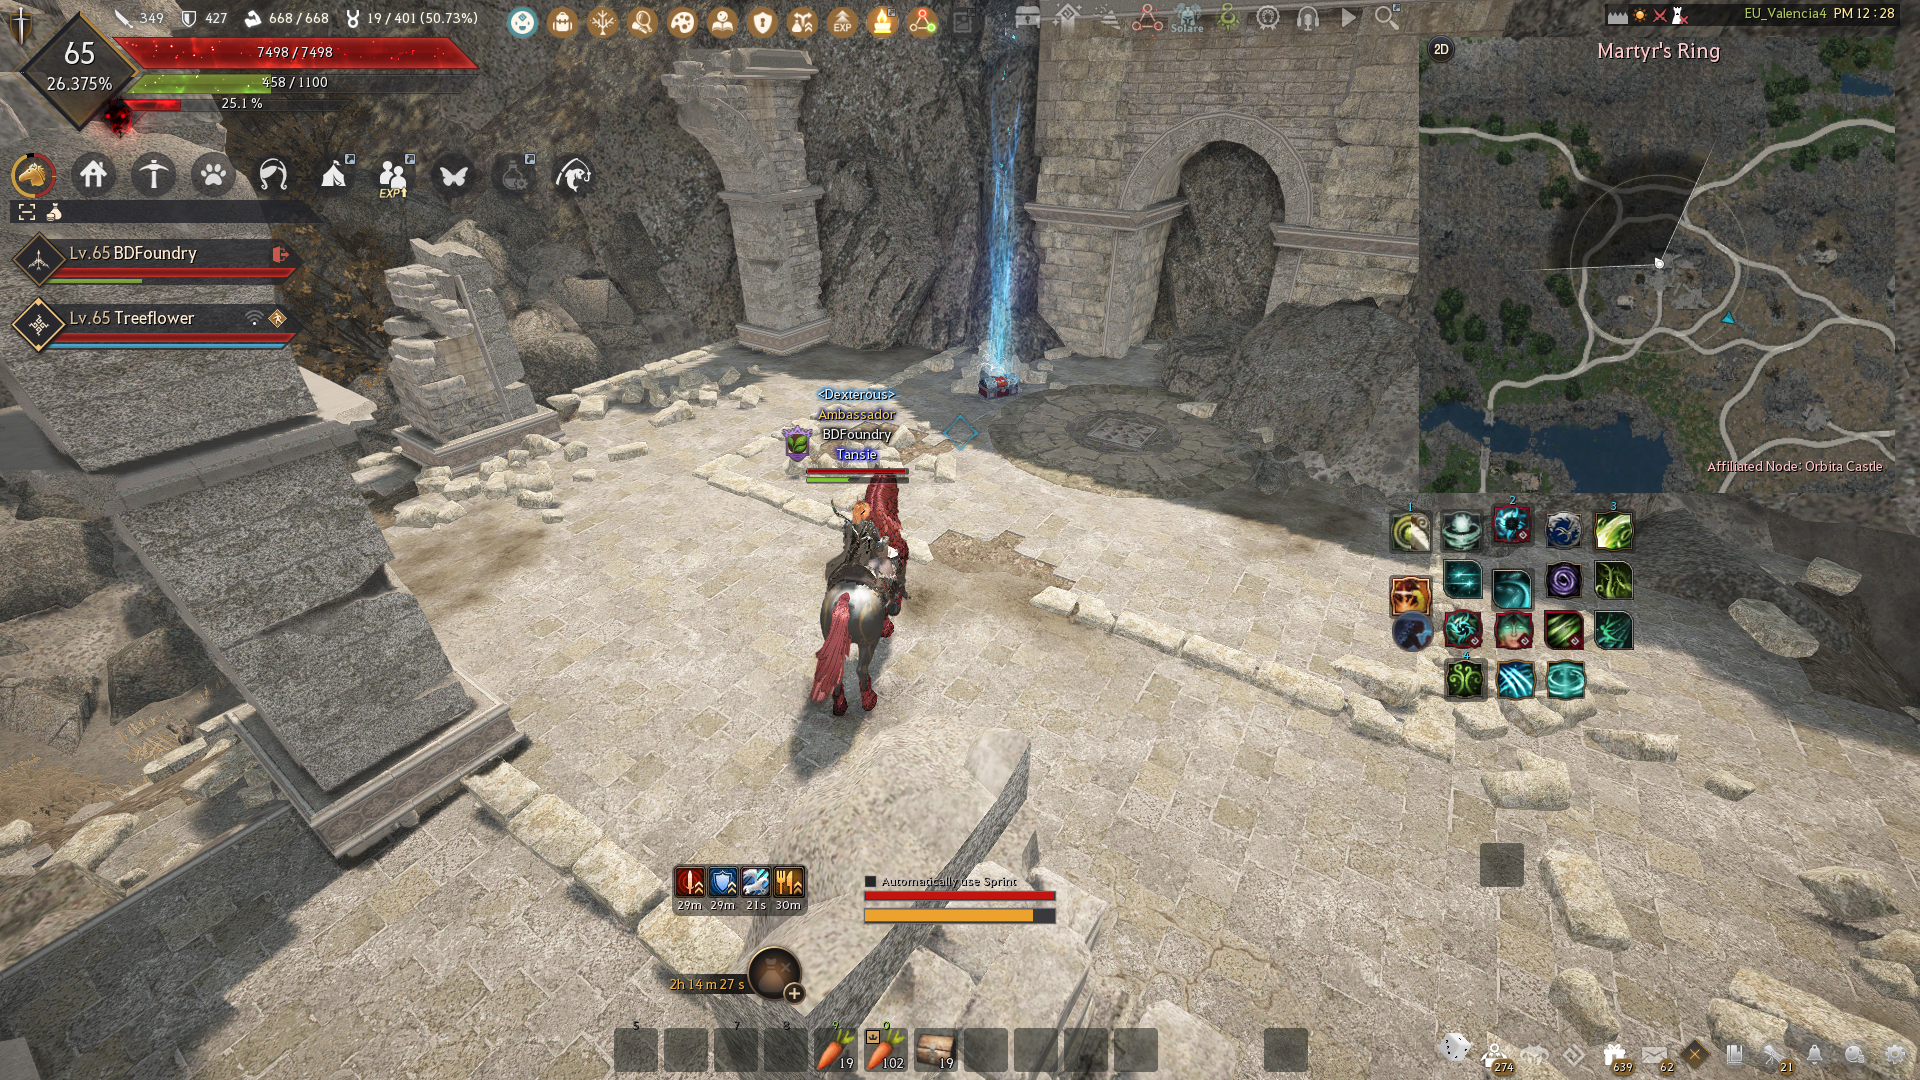
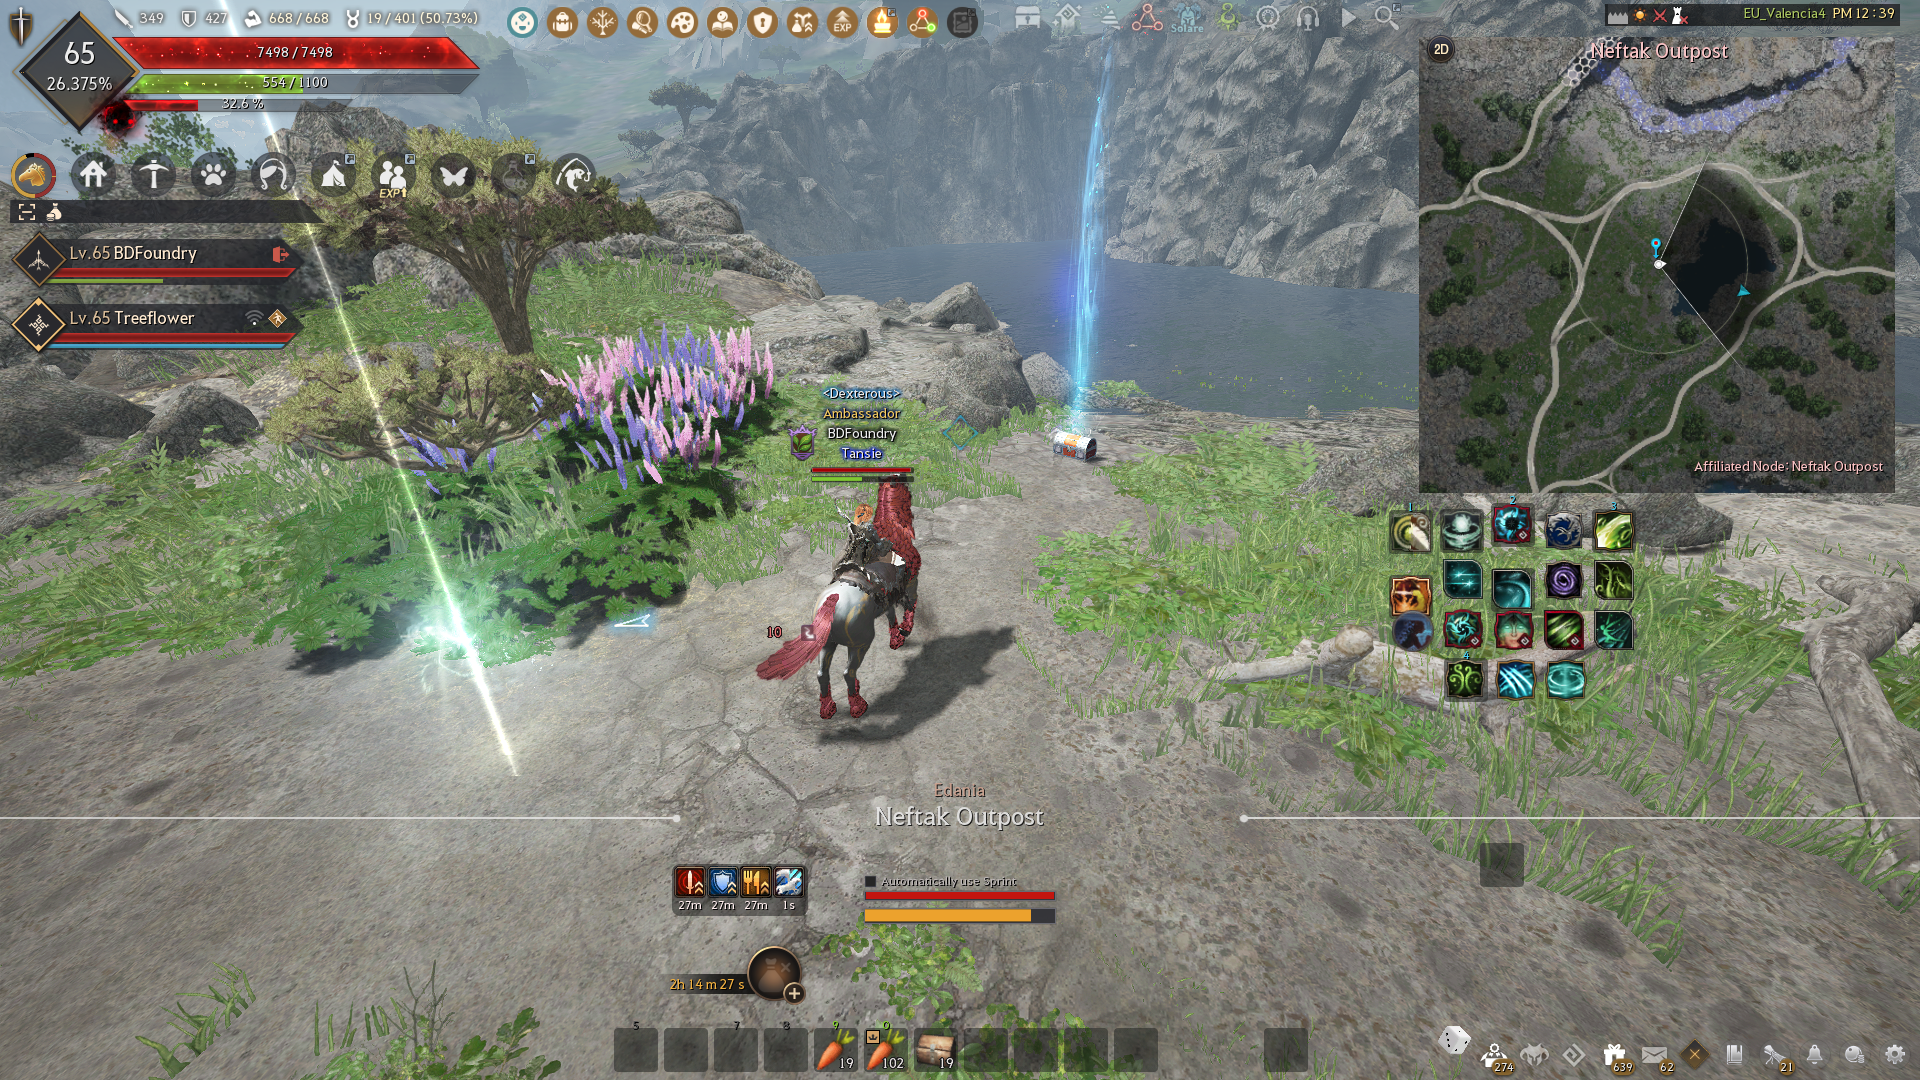
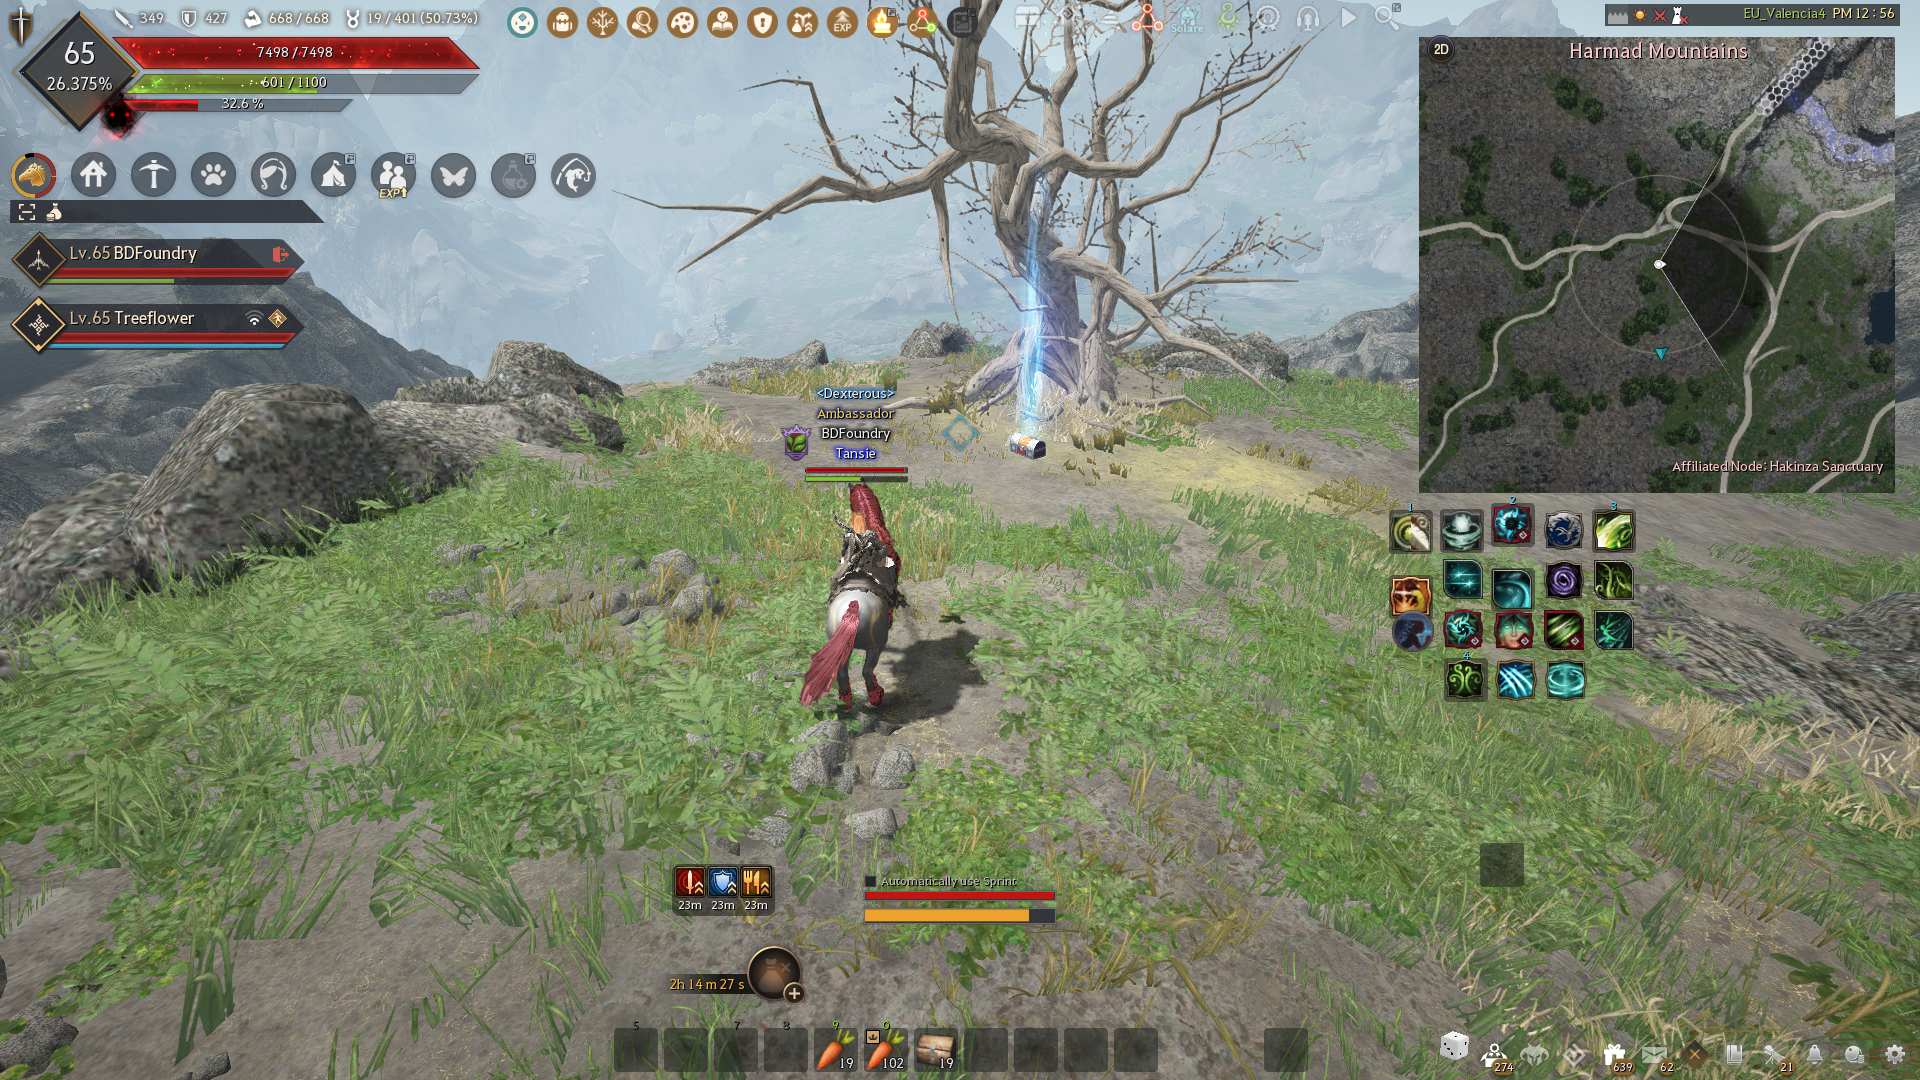
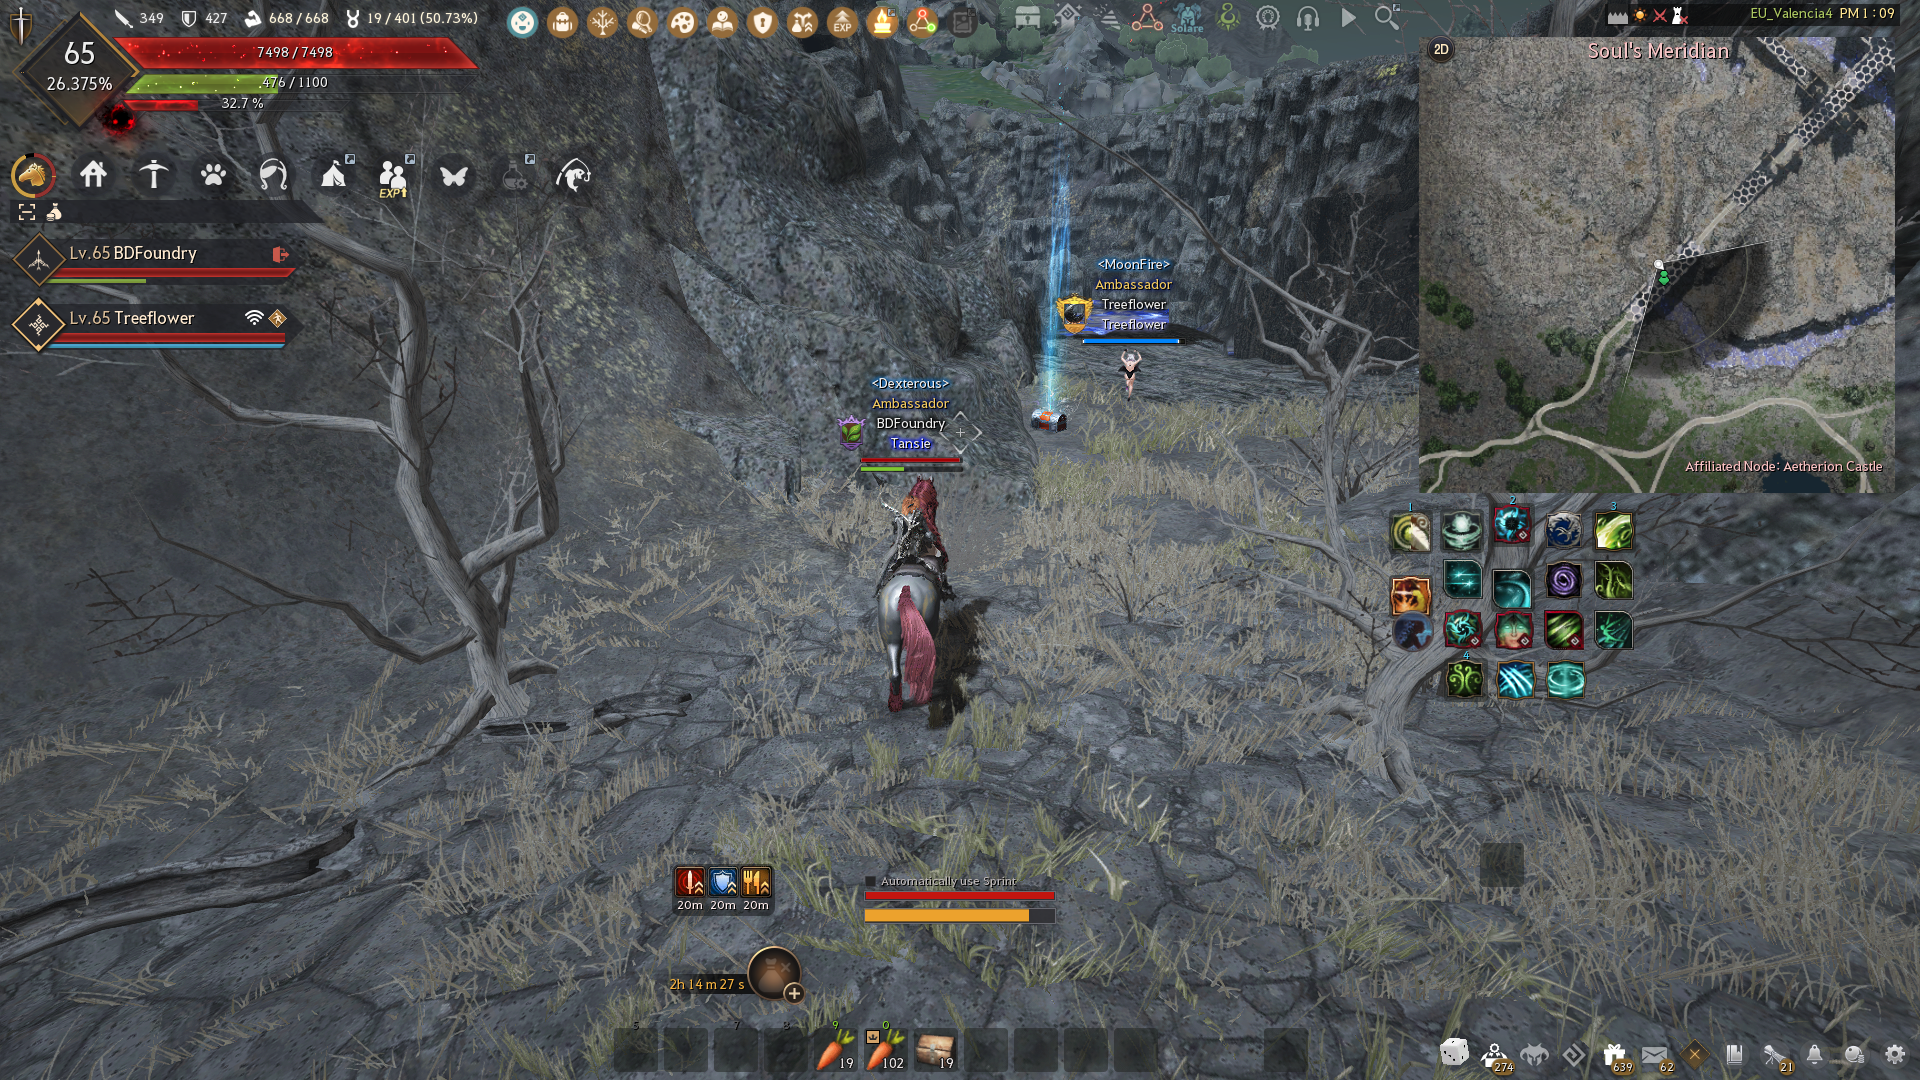
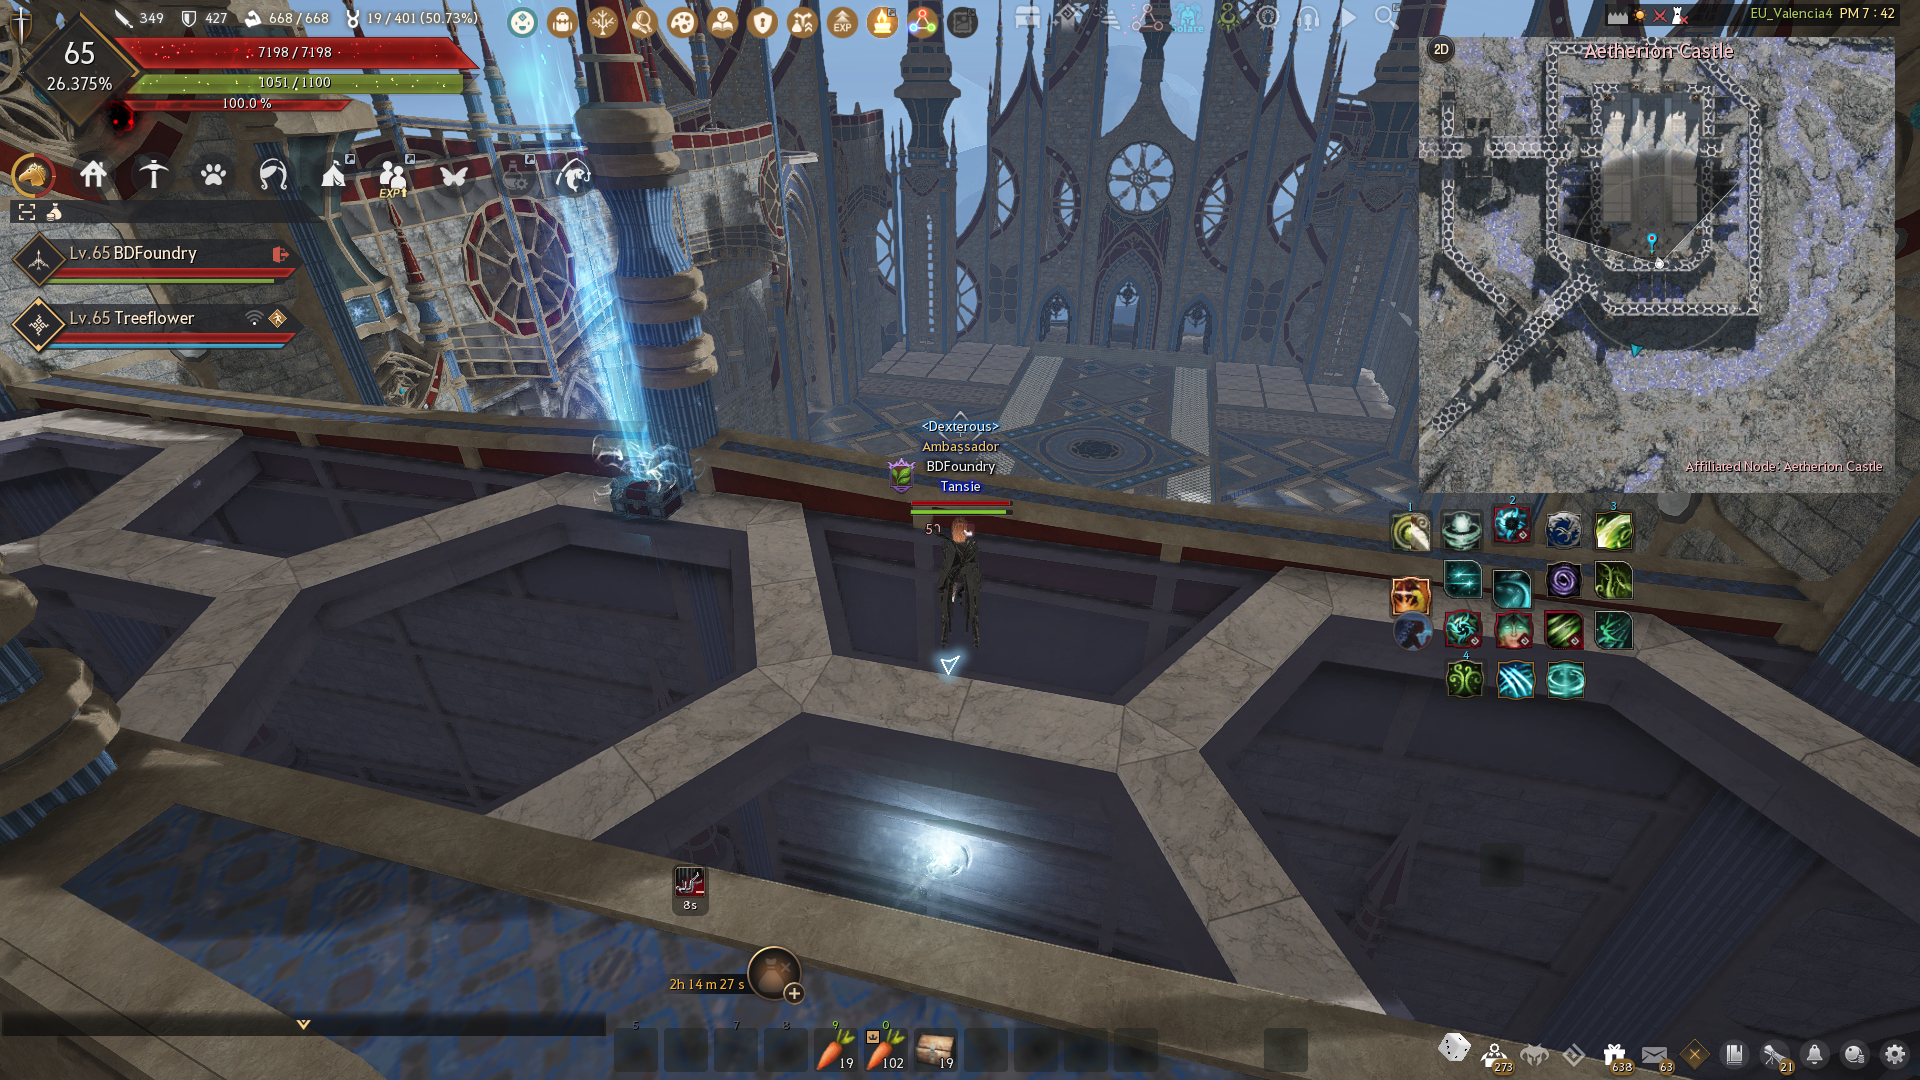
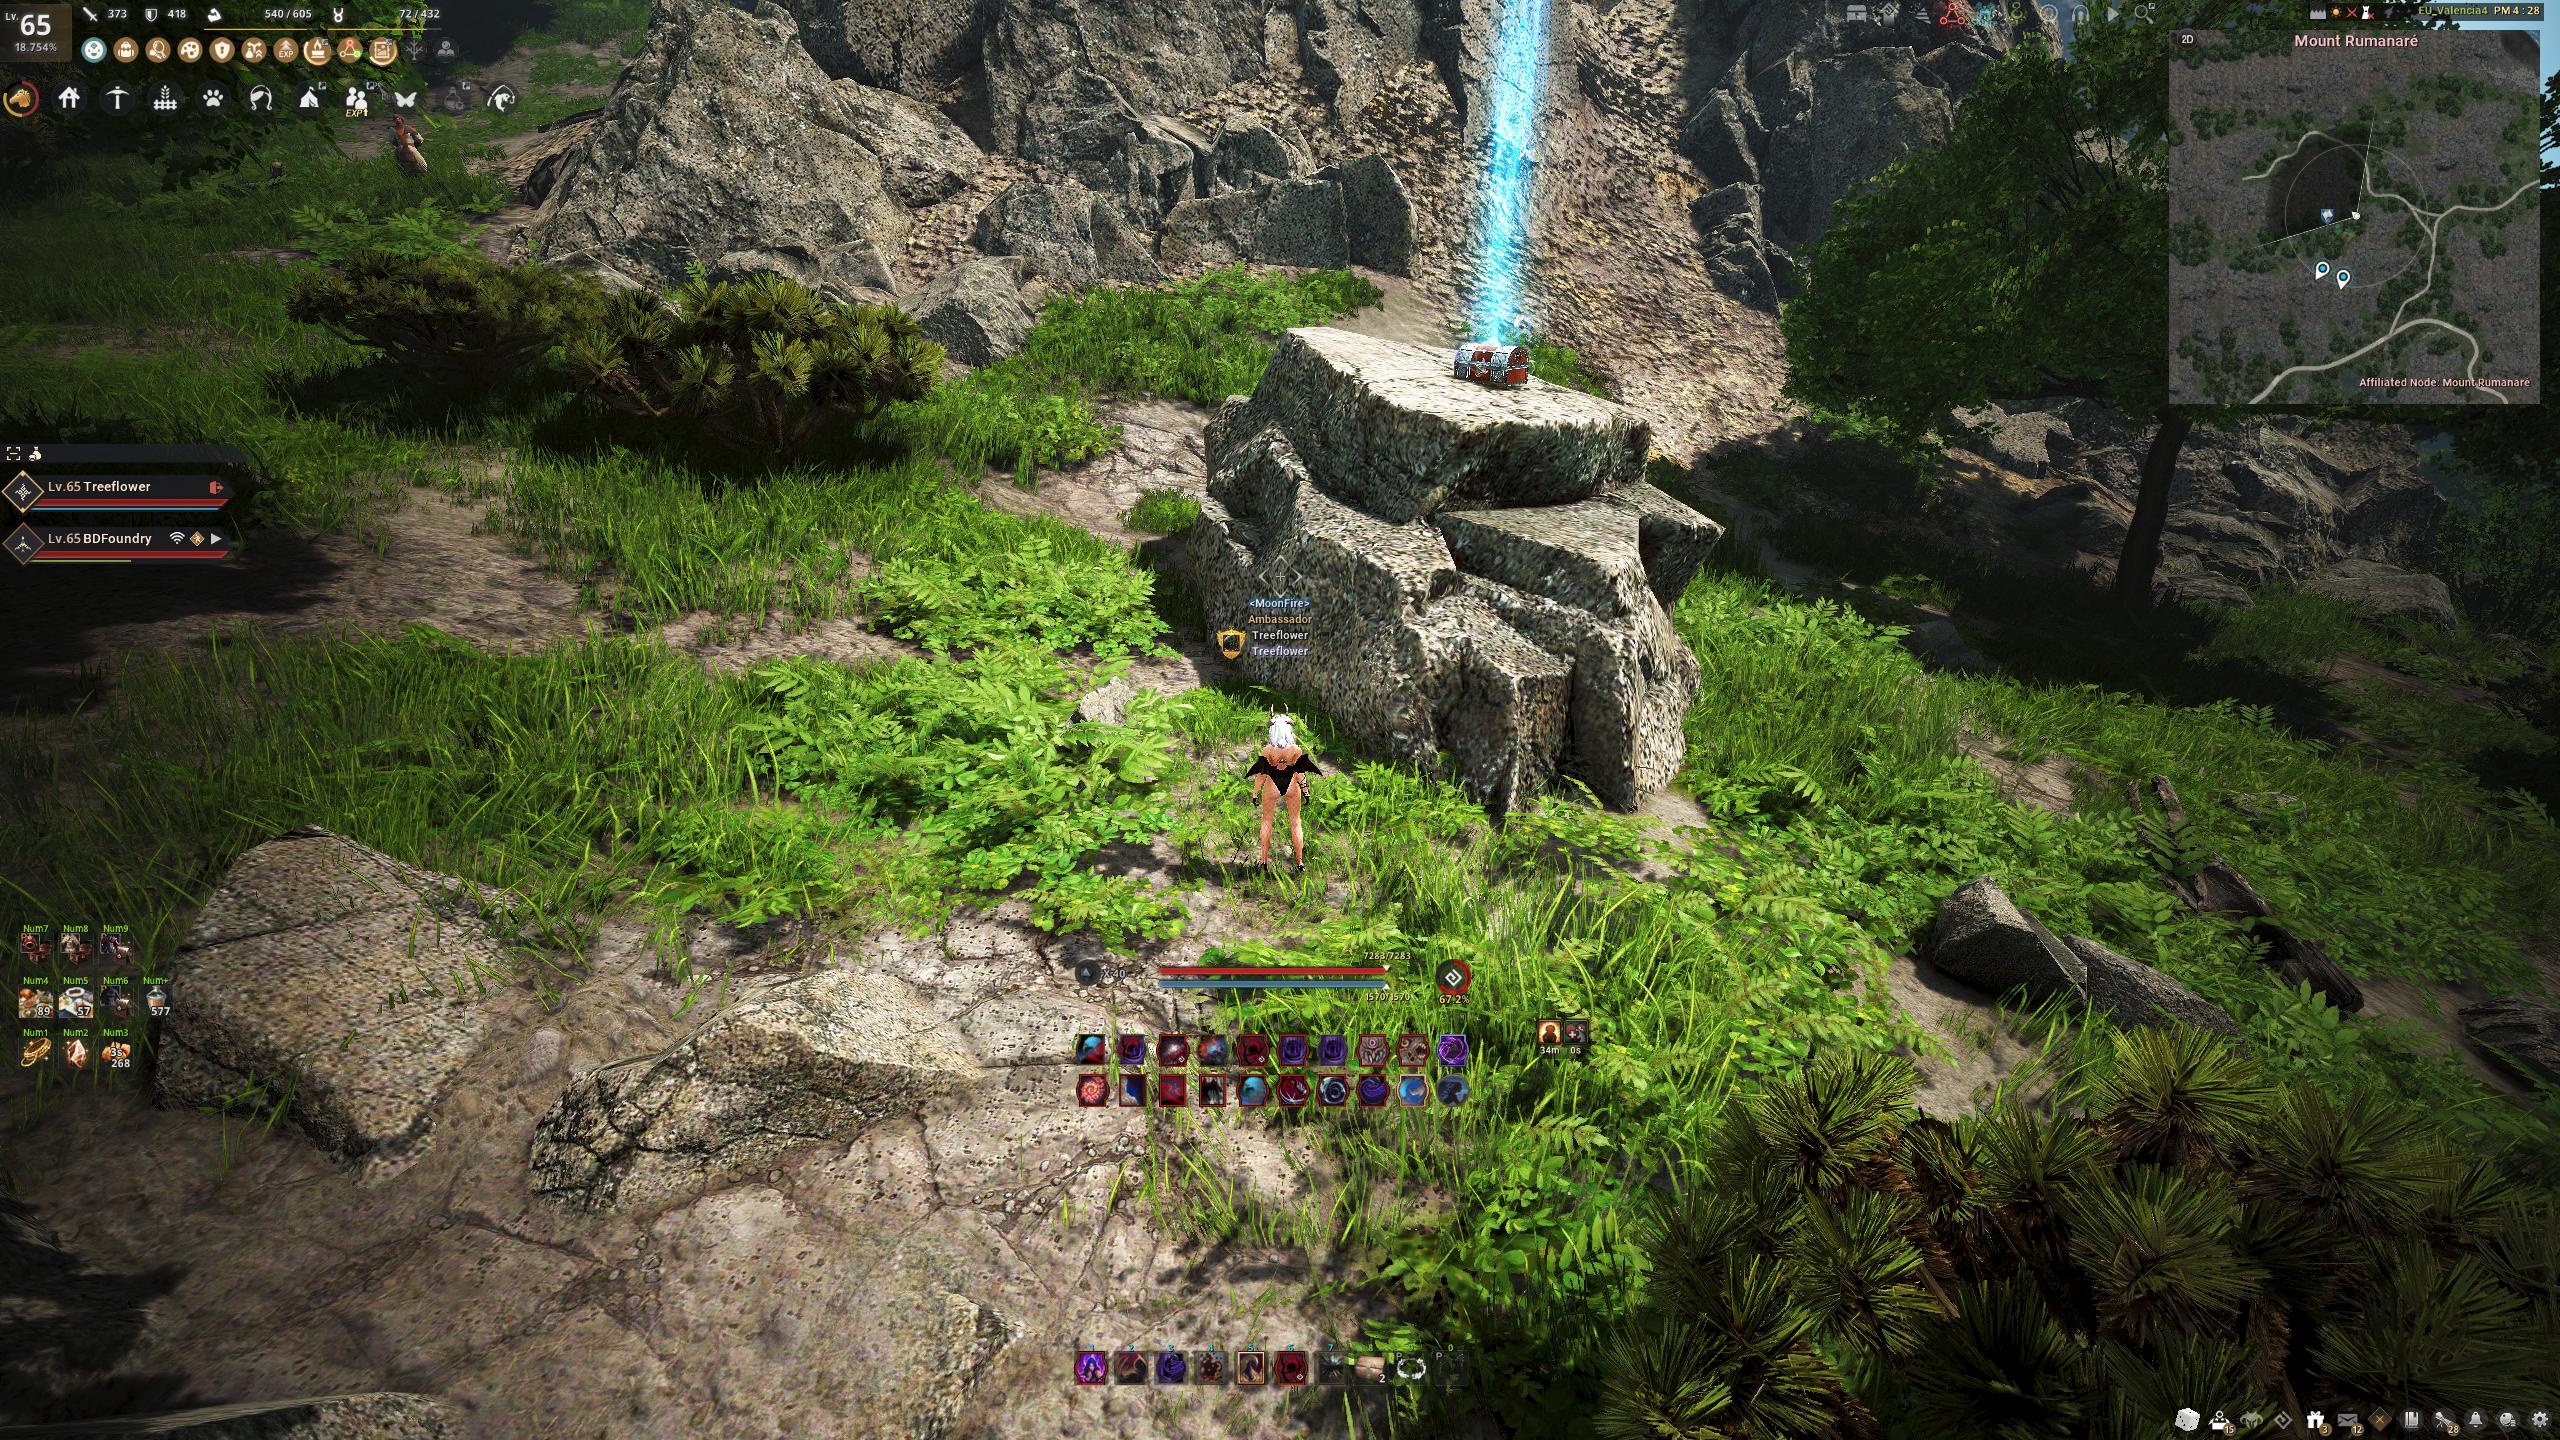
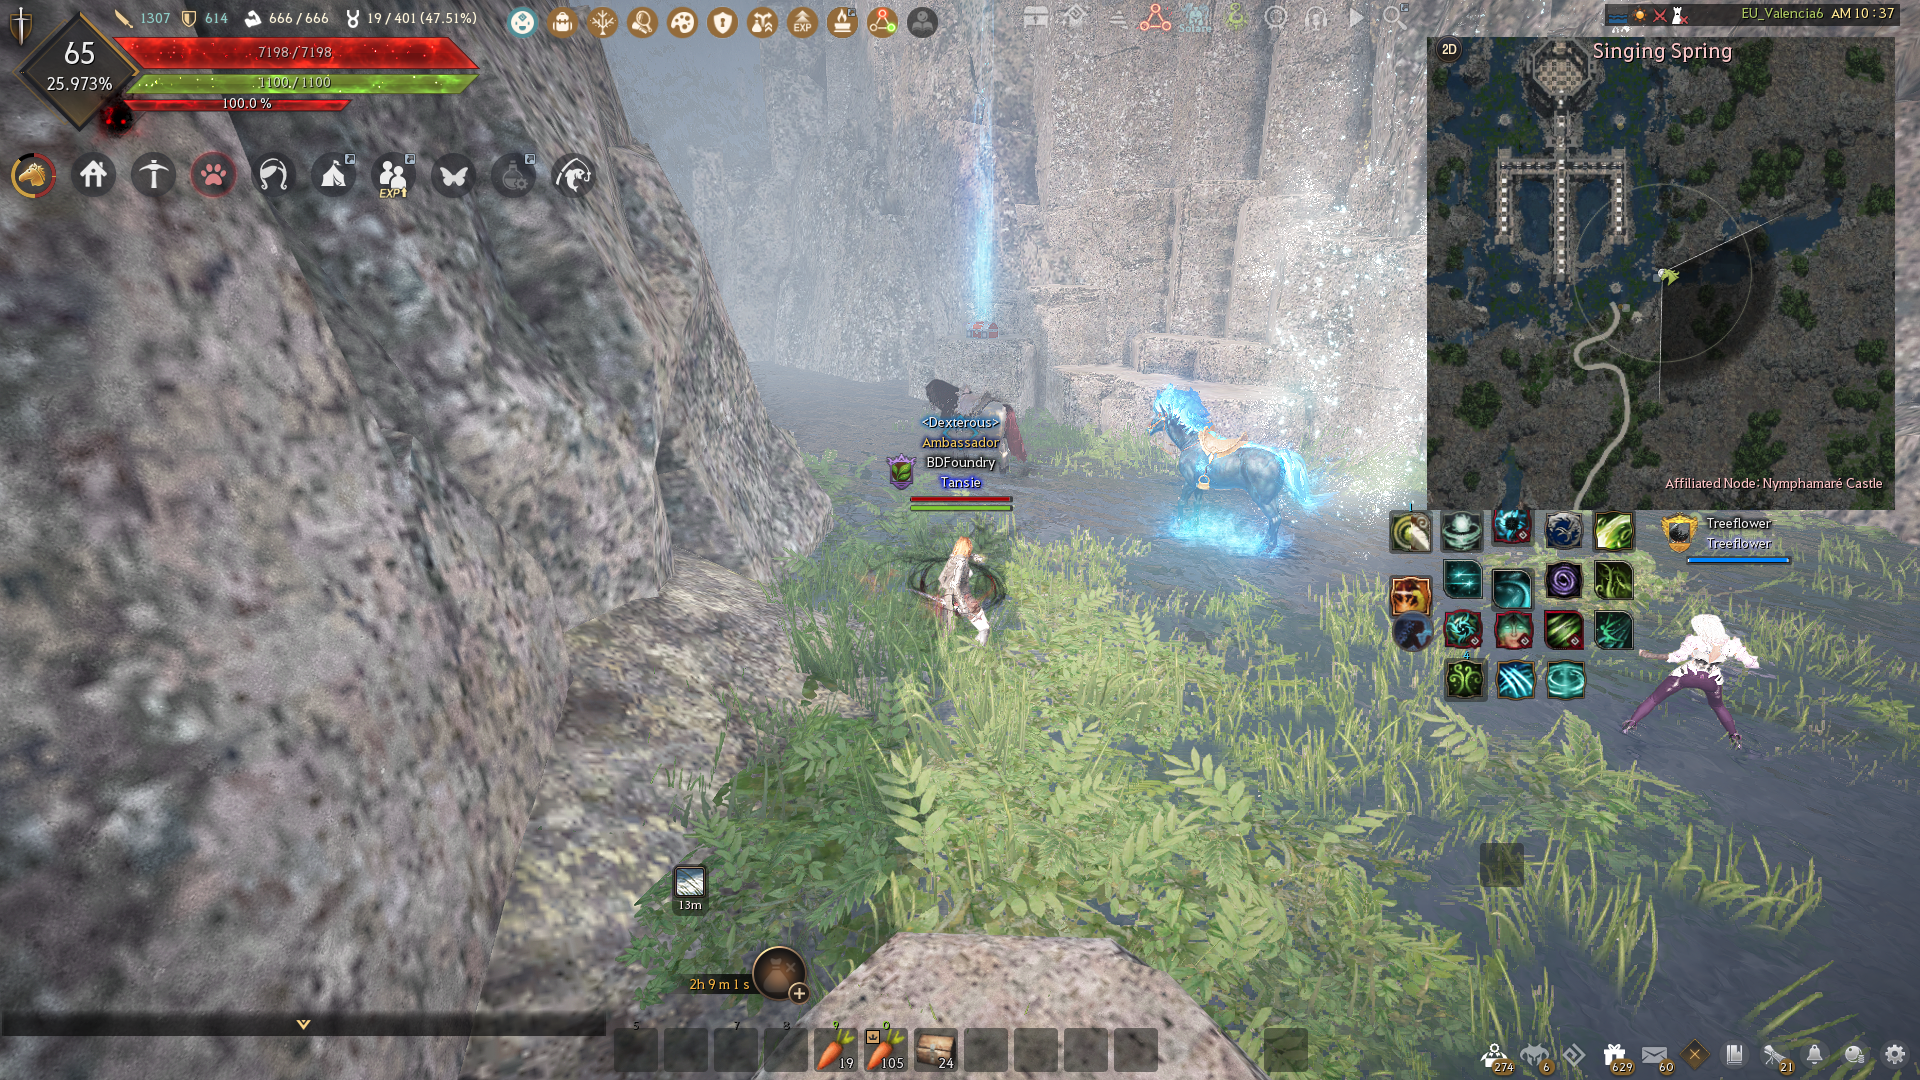
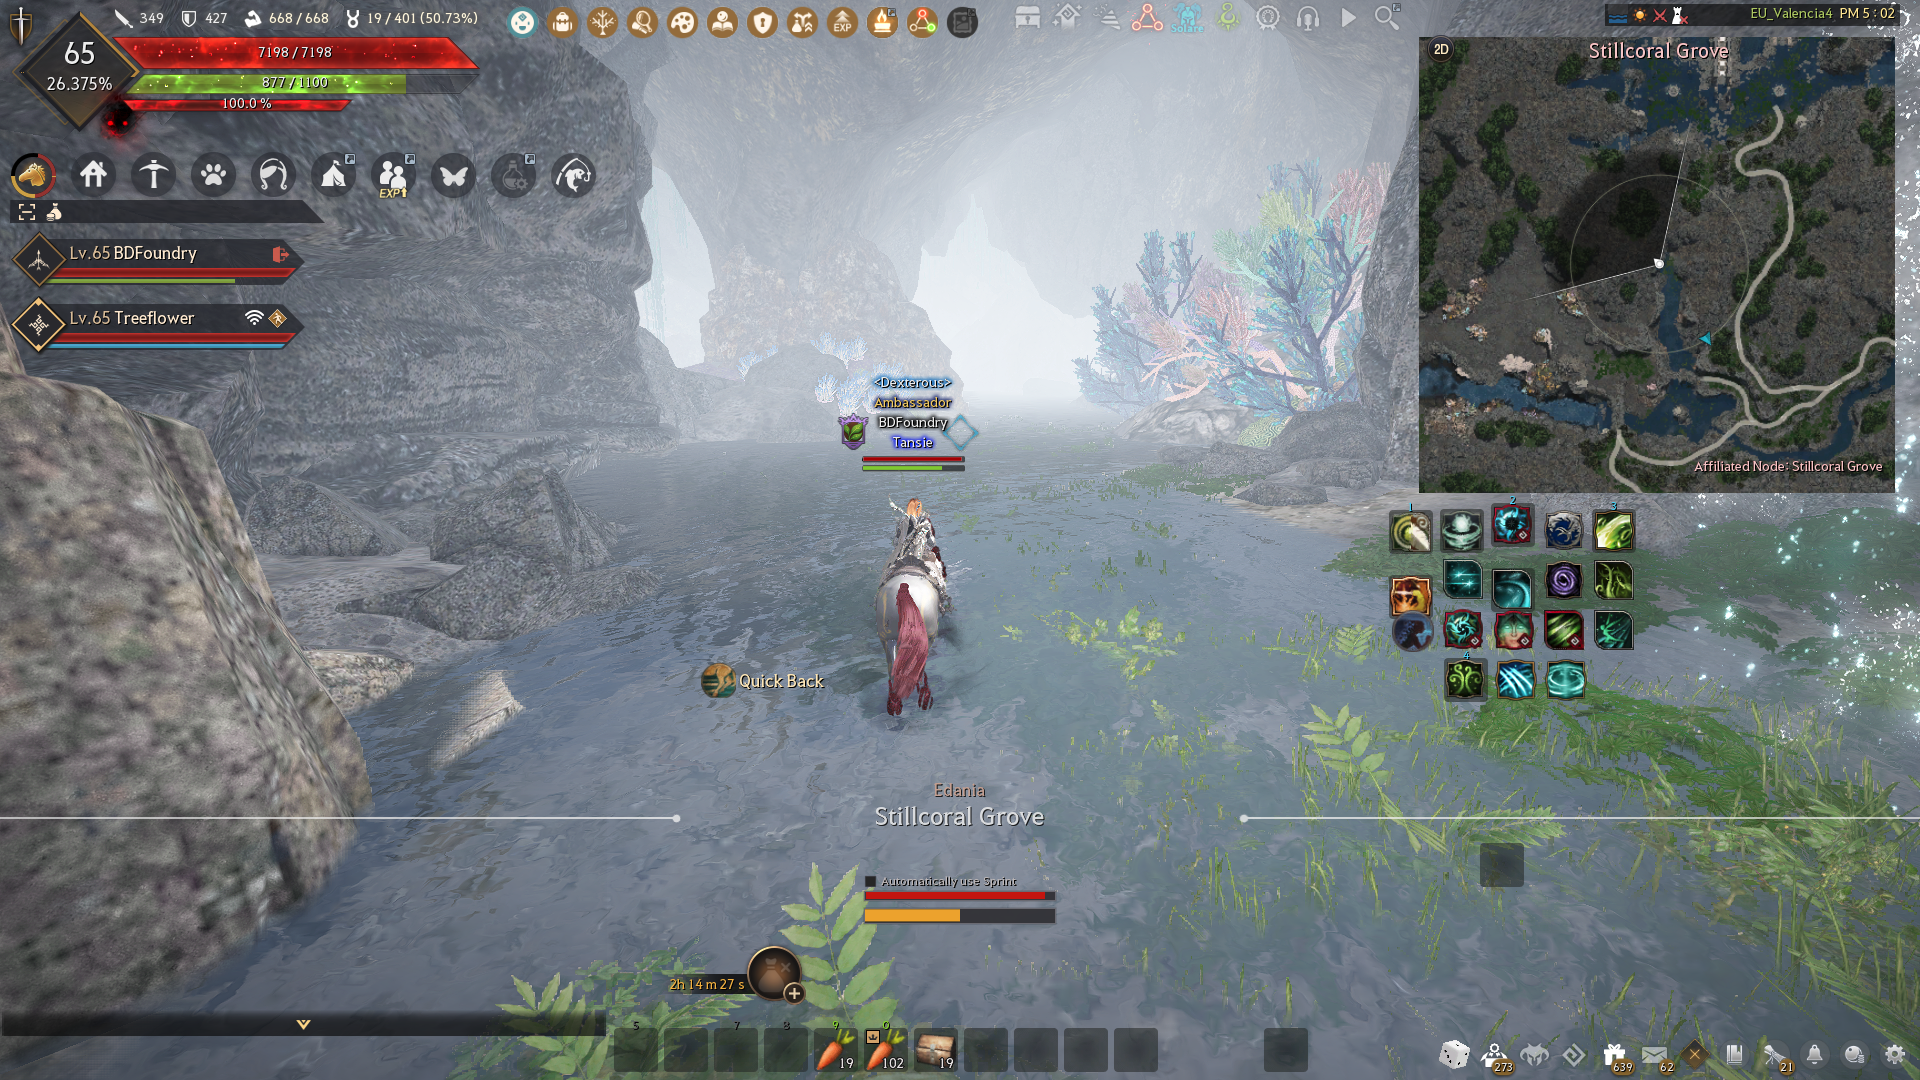
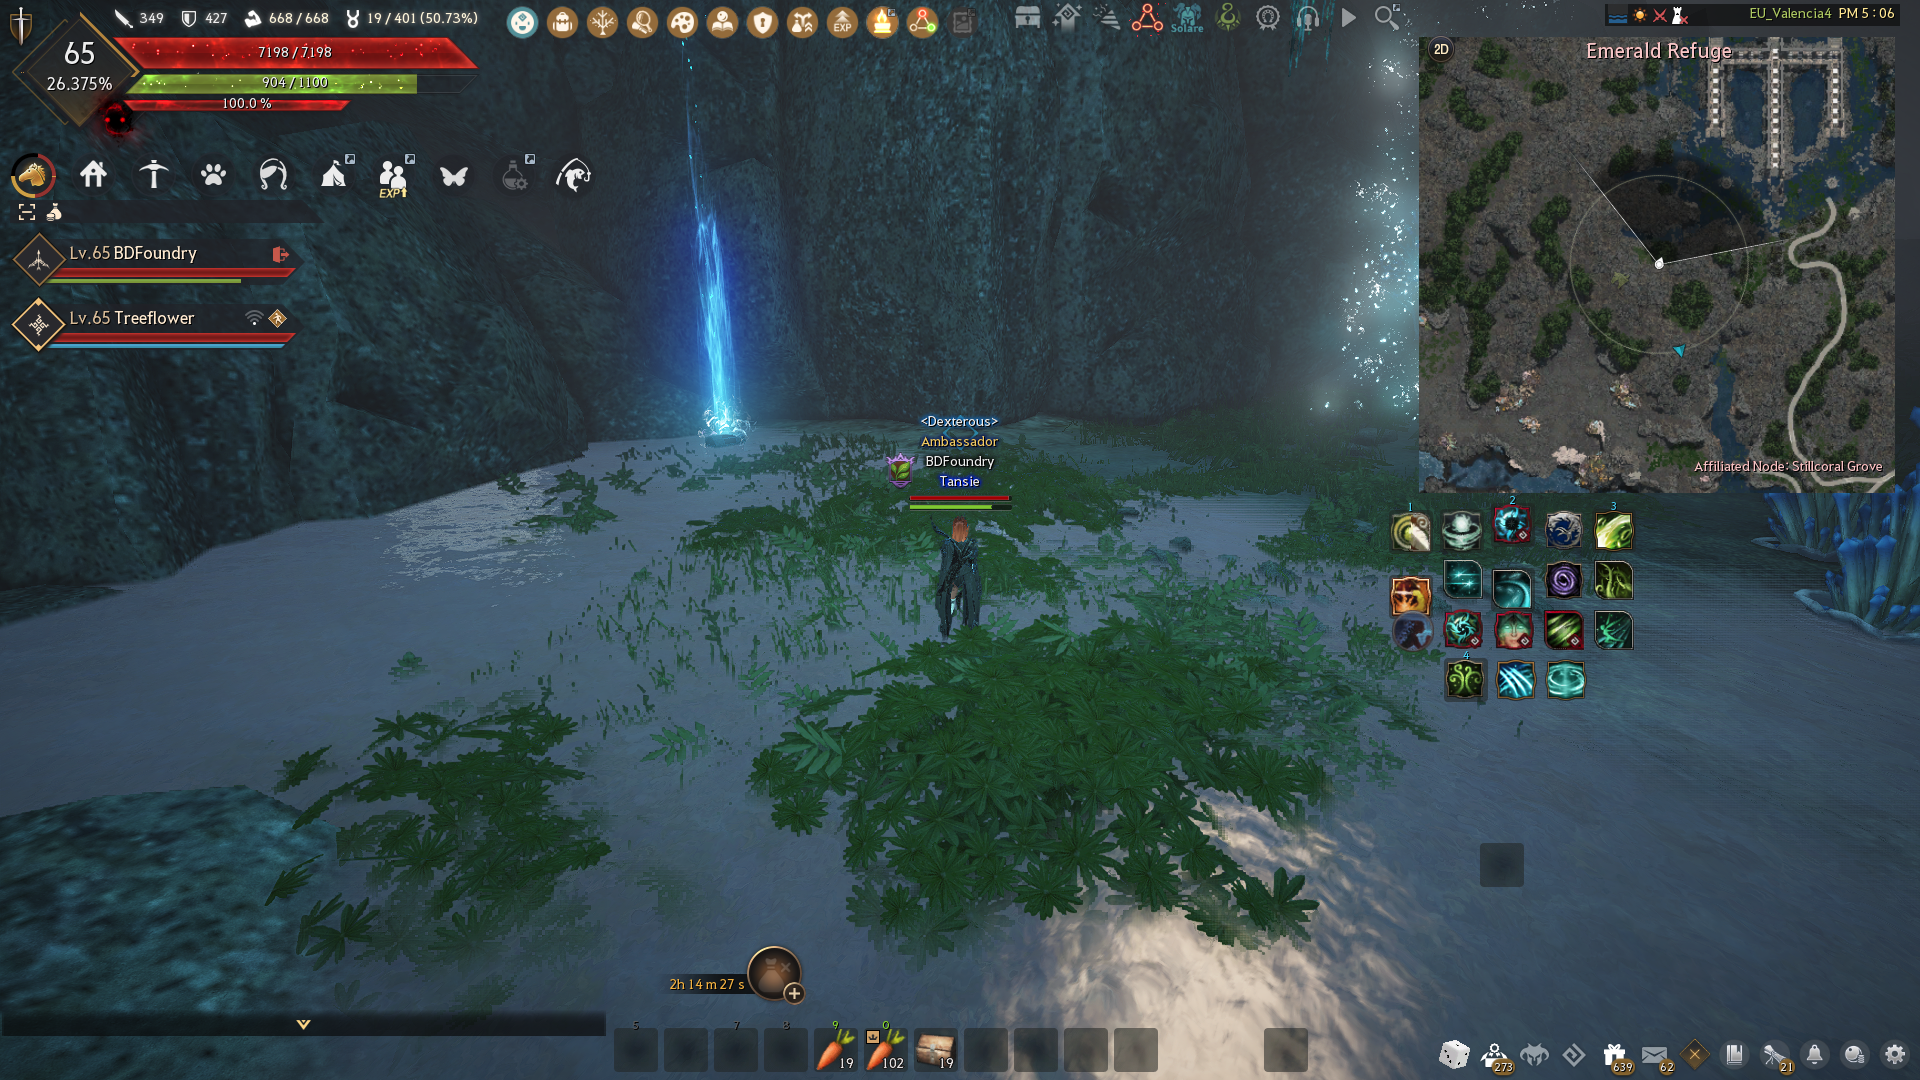
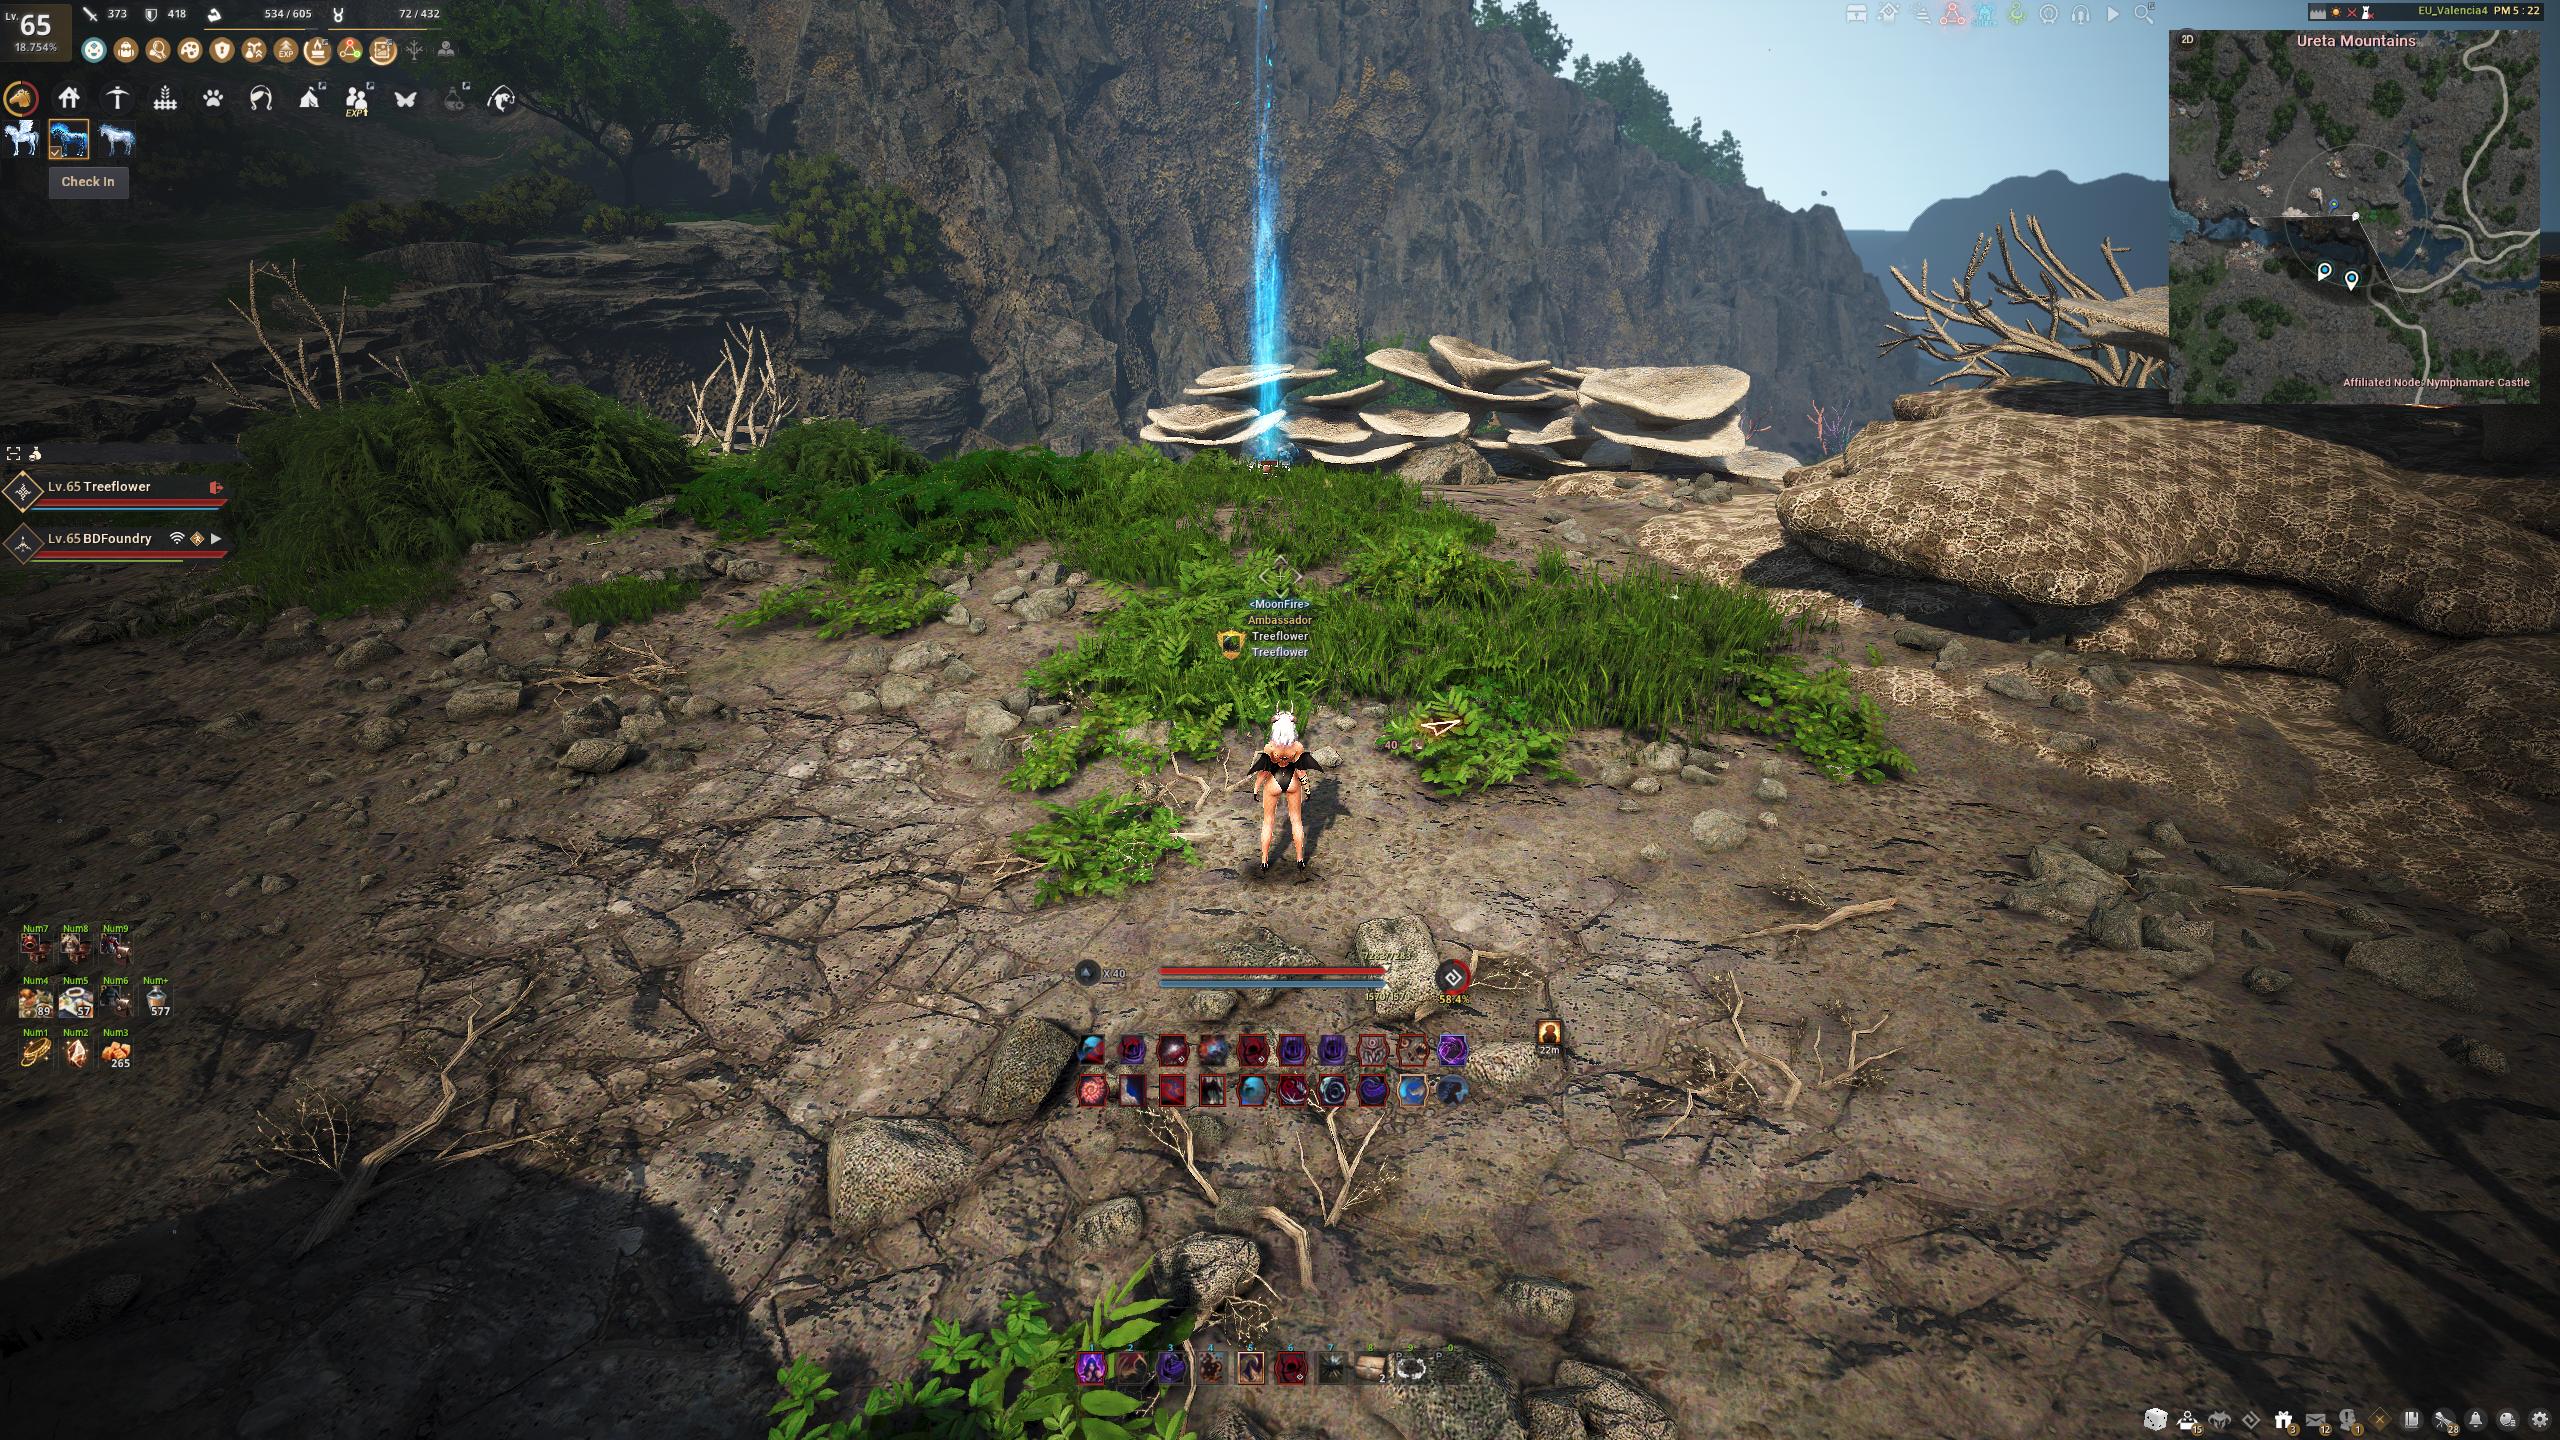
There are 40 chests scattered throughout the Edania Region, which are called Edana’s Legacy.
Each of the chests can be opened once per family, and each chest will start a quest which will reward you with either ![]() Primordial Fragment x1 or
Primordial Fragment x1 or ![]() Gold Bar 100G x1 (in total, you will get x20 of each)
Gold Bar 100G x1 (in total, you will get x20 of each)
Video Guide
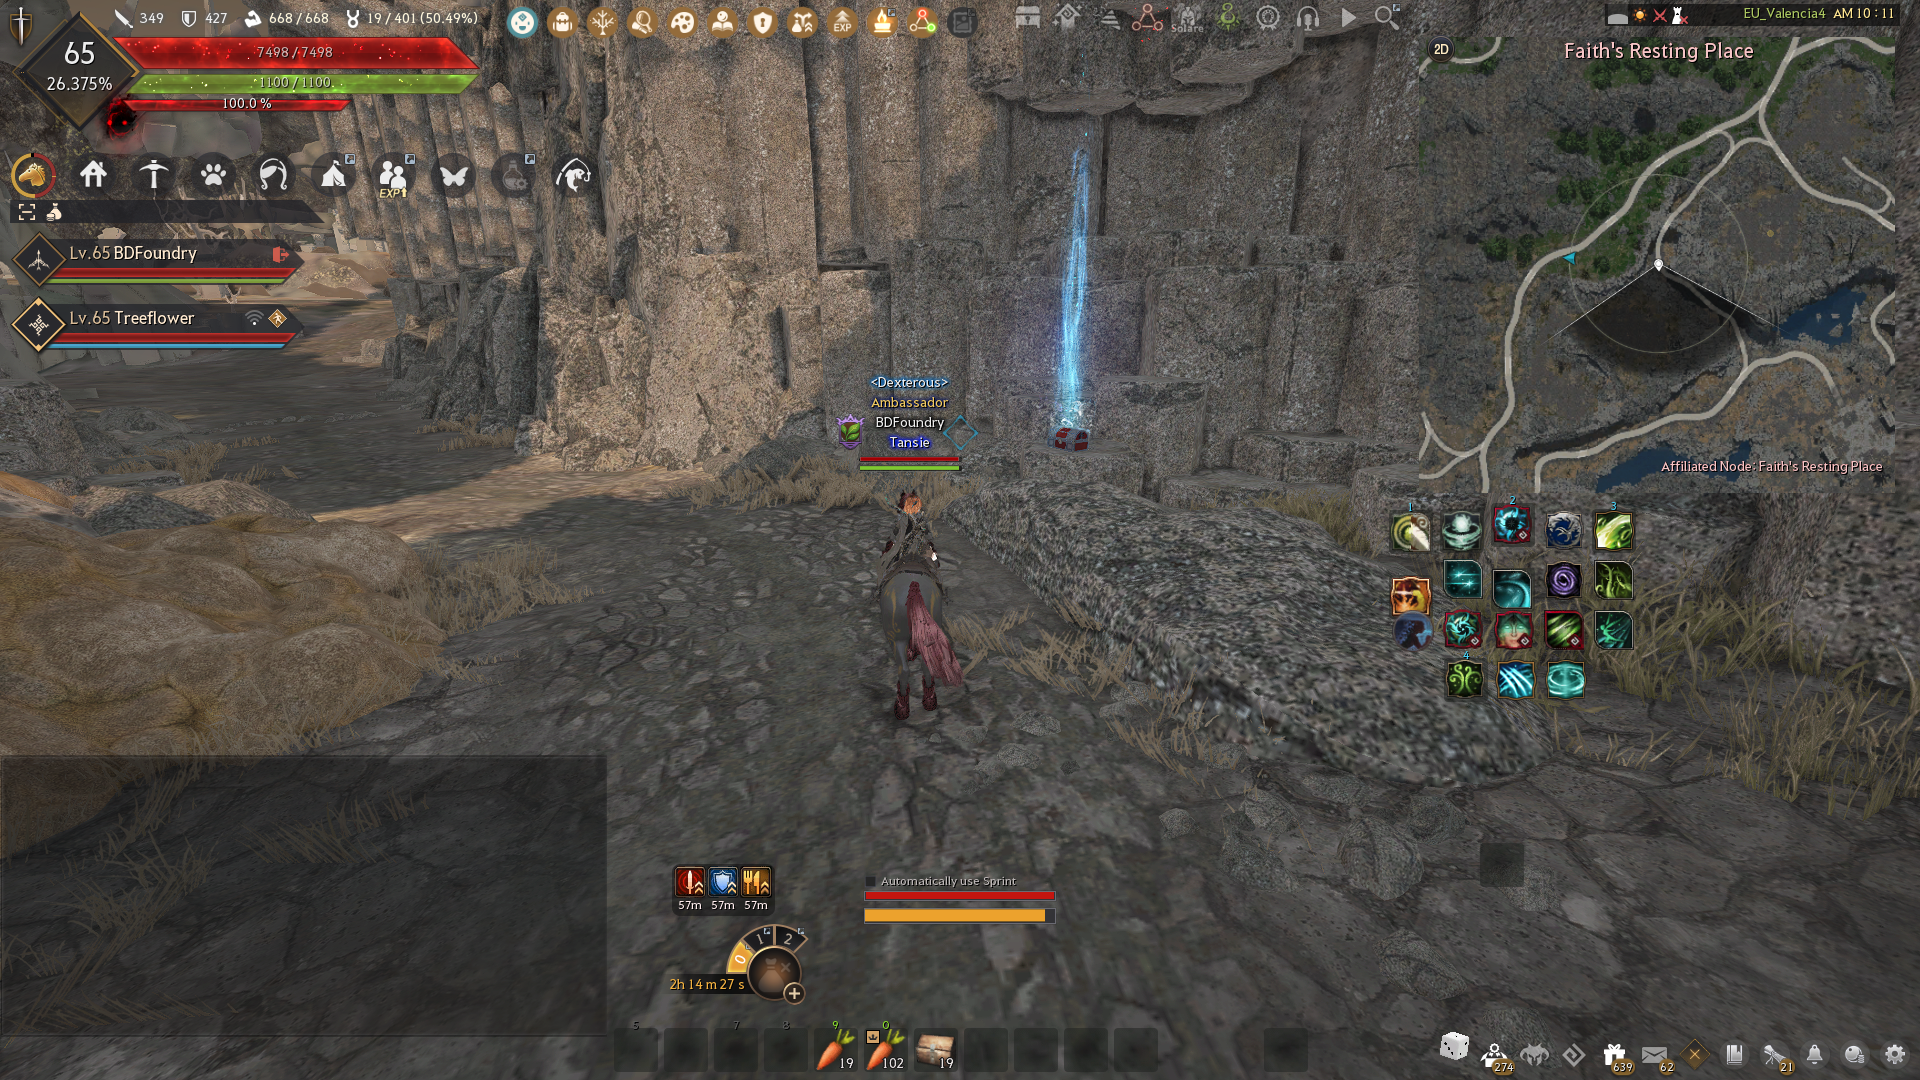
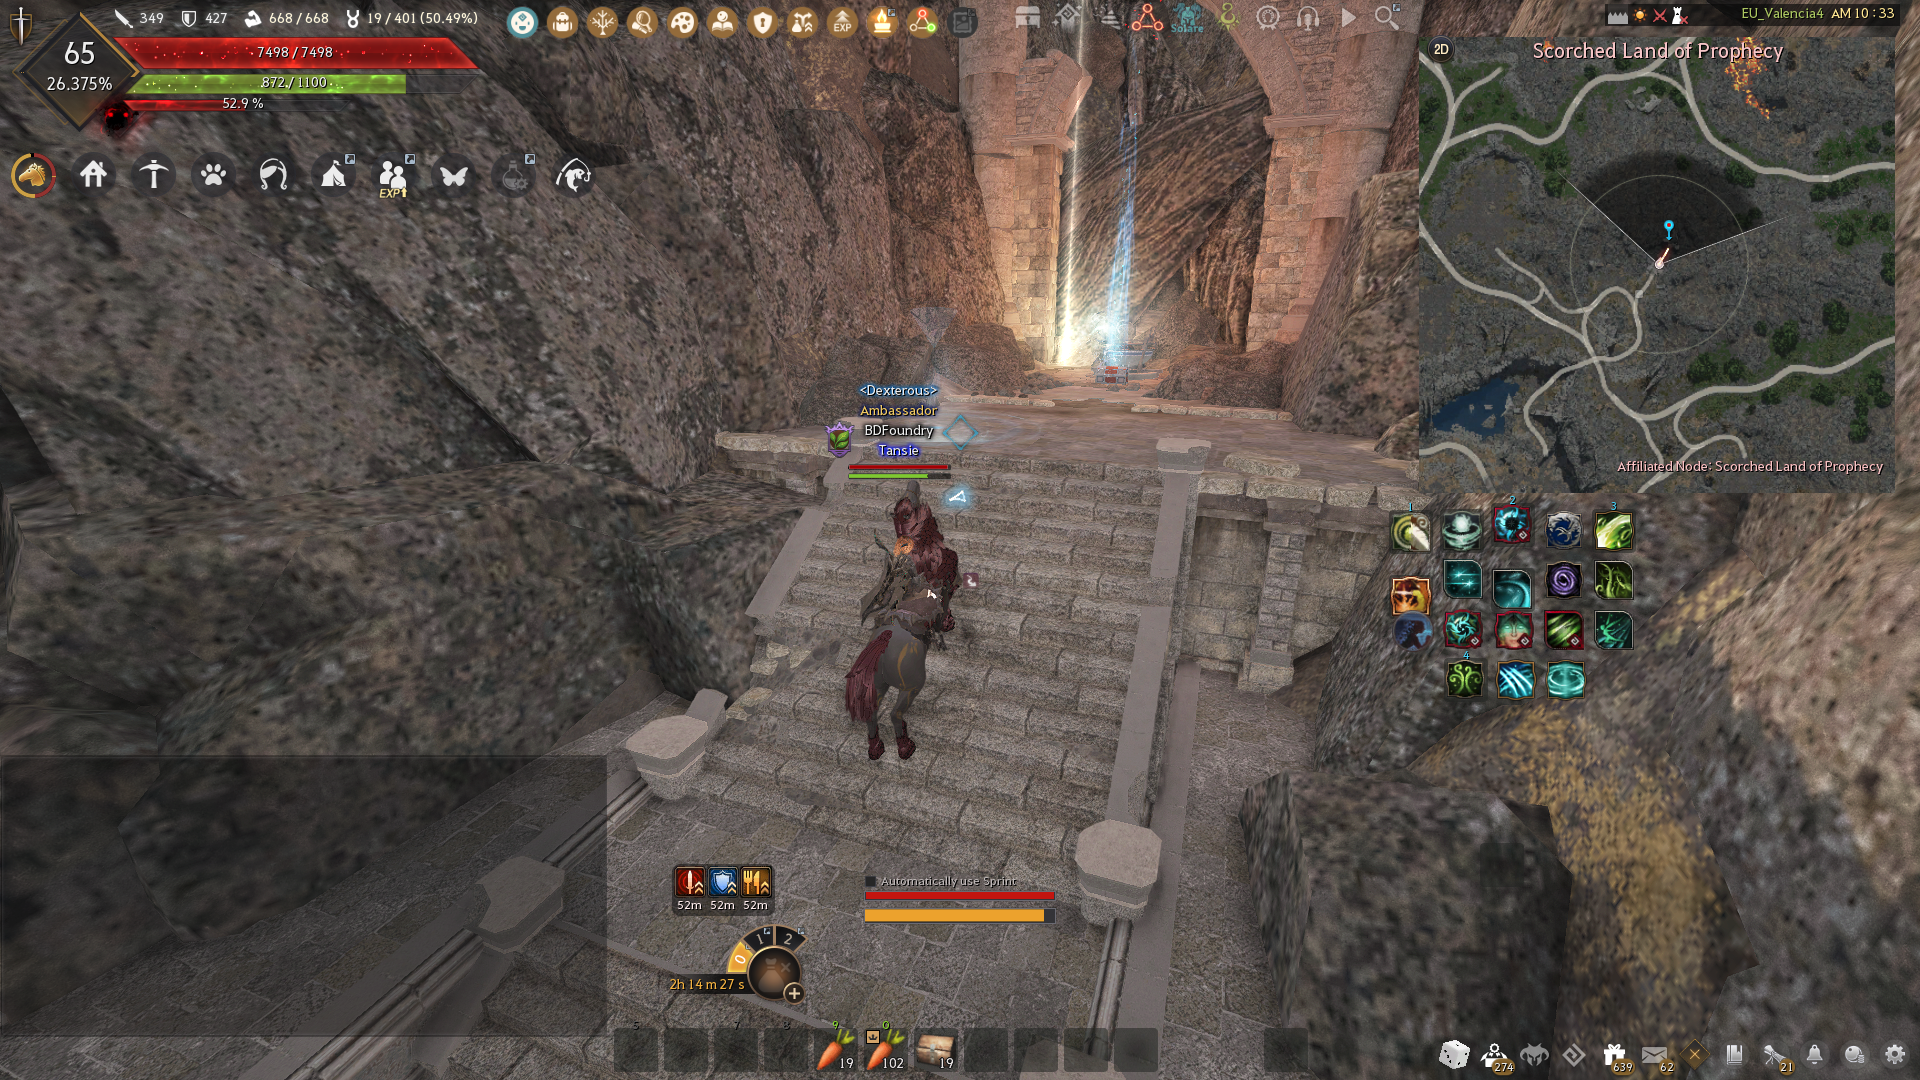
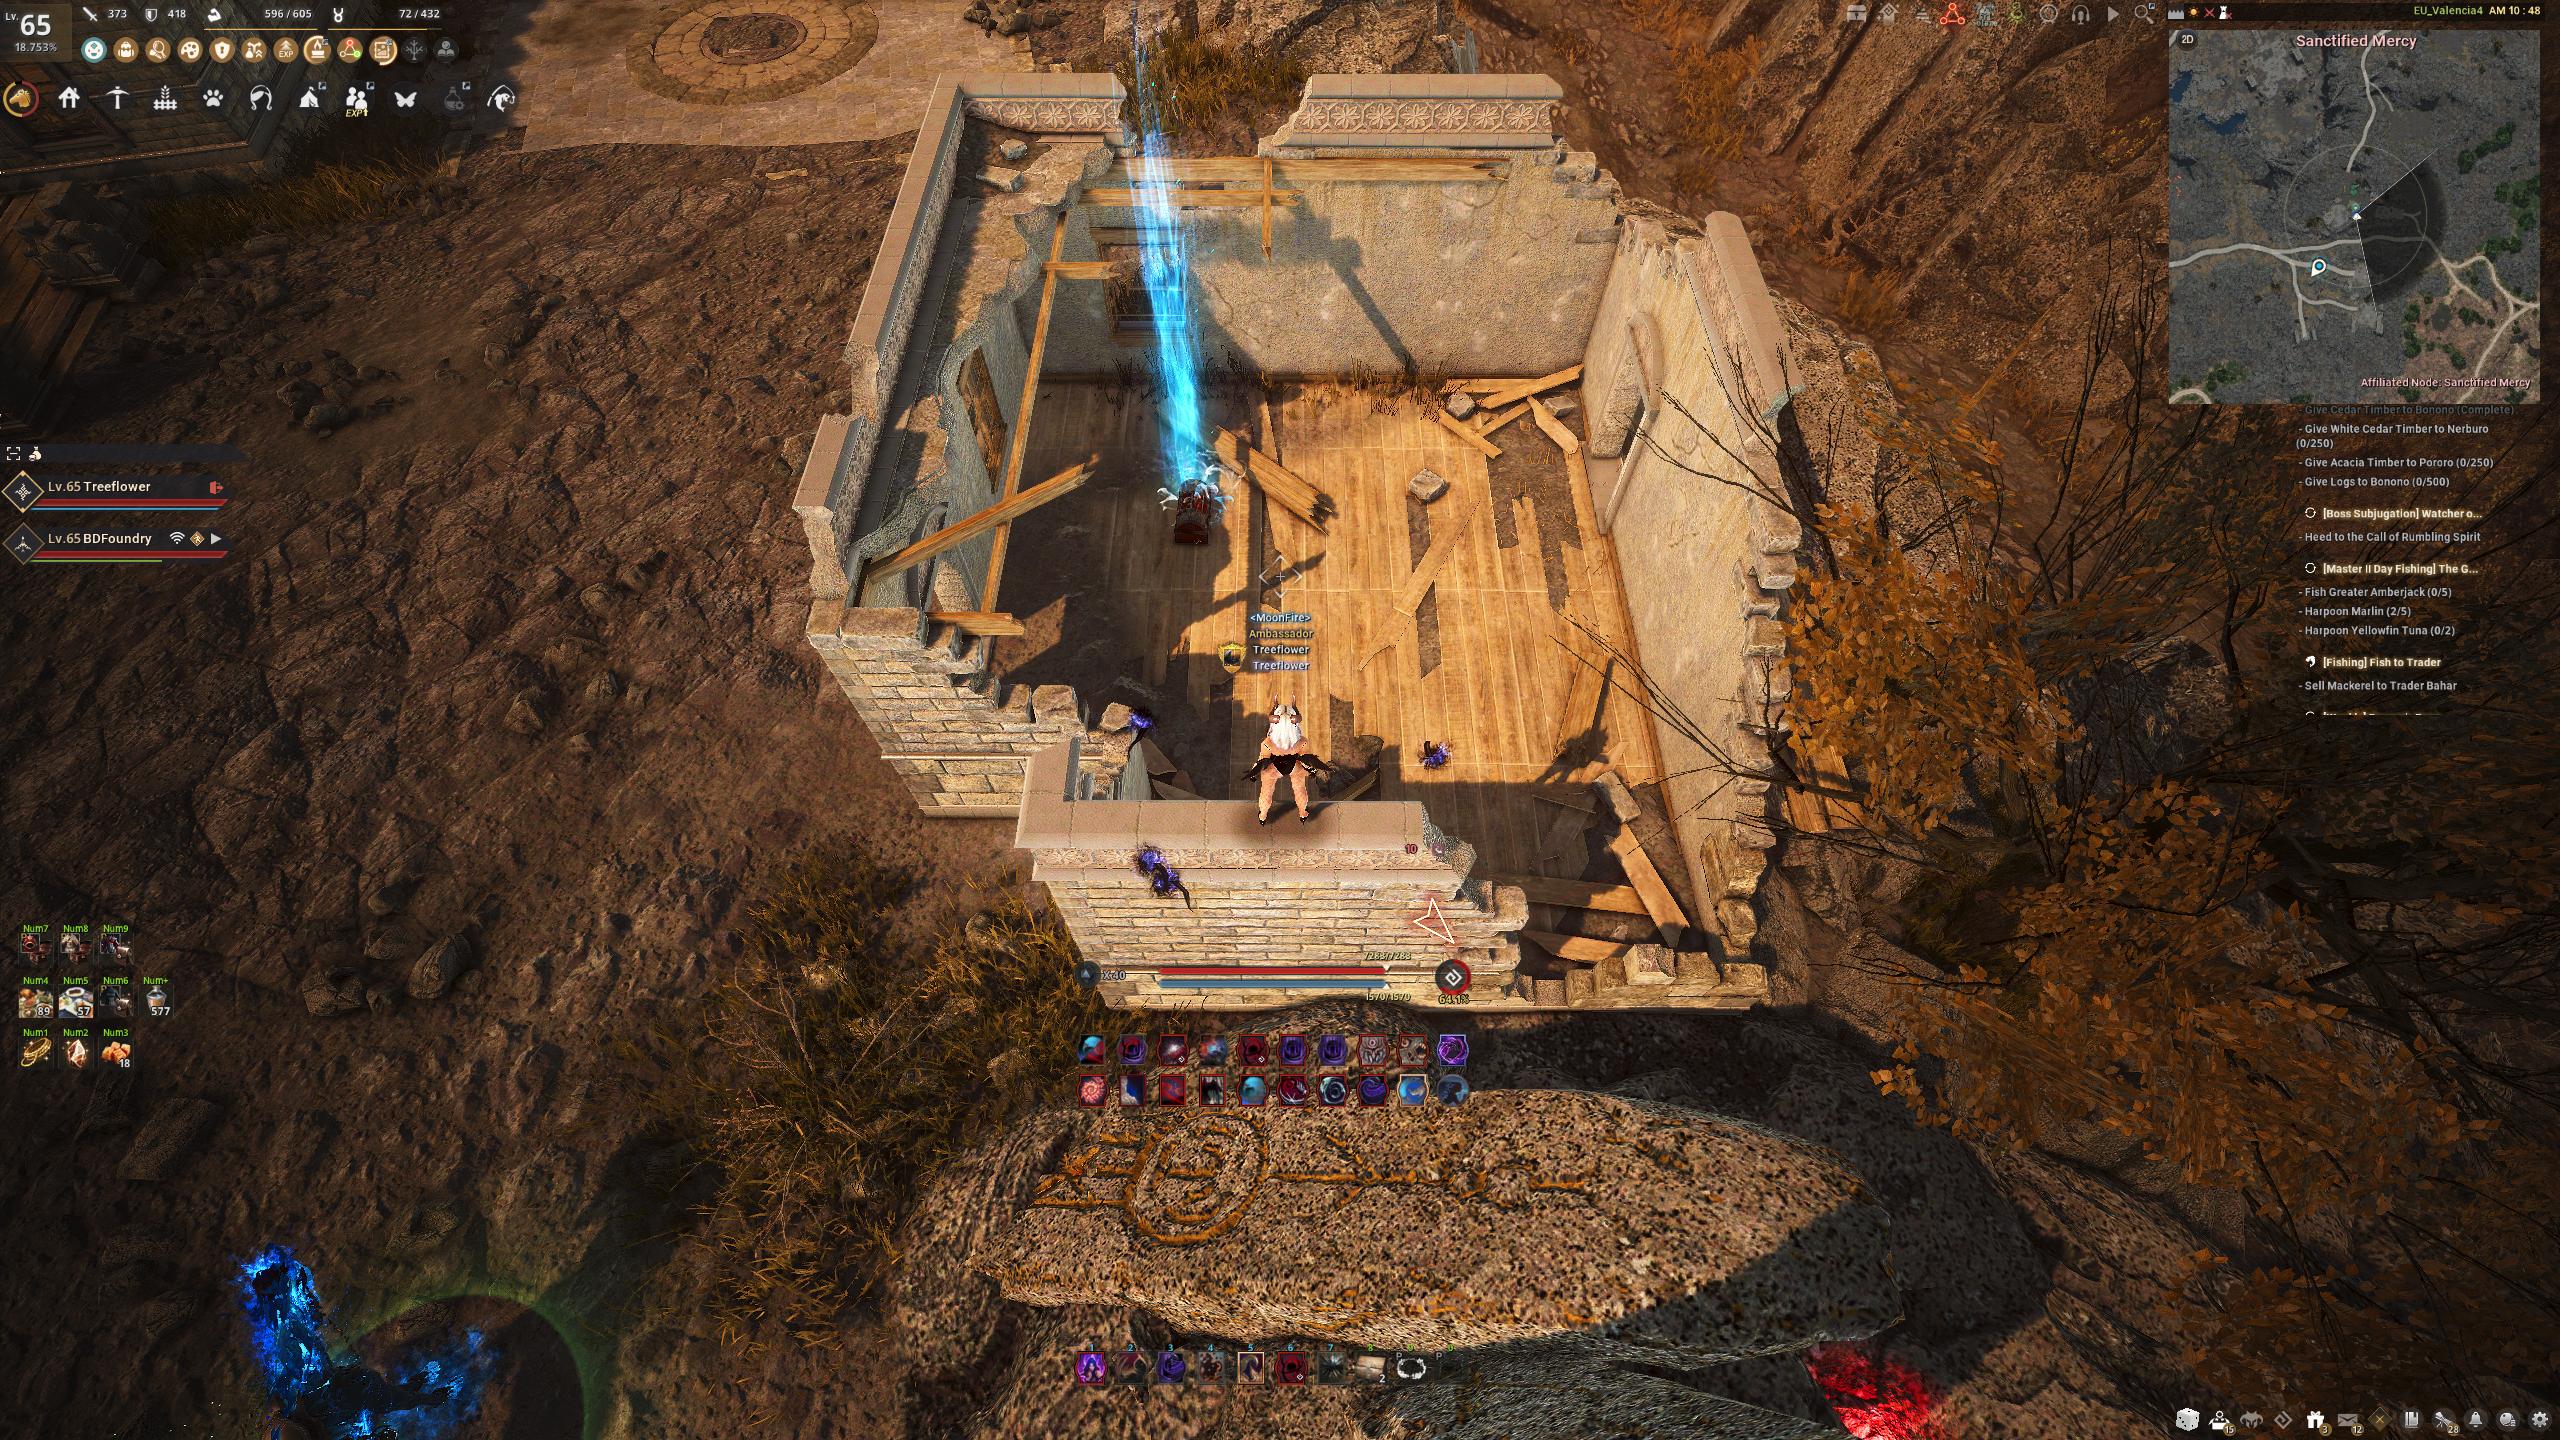
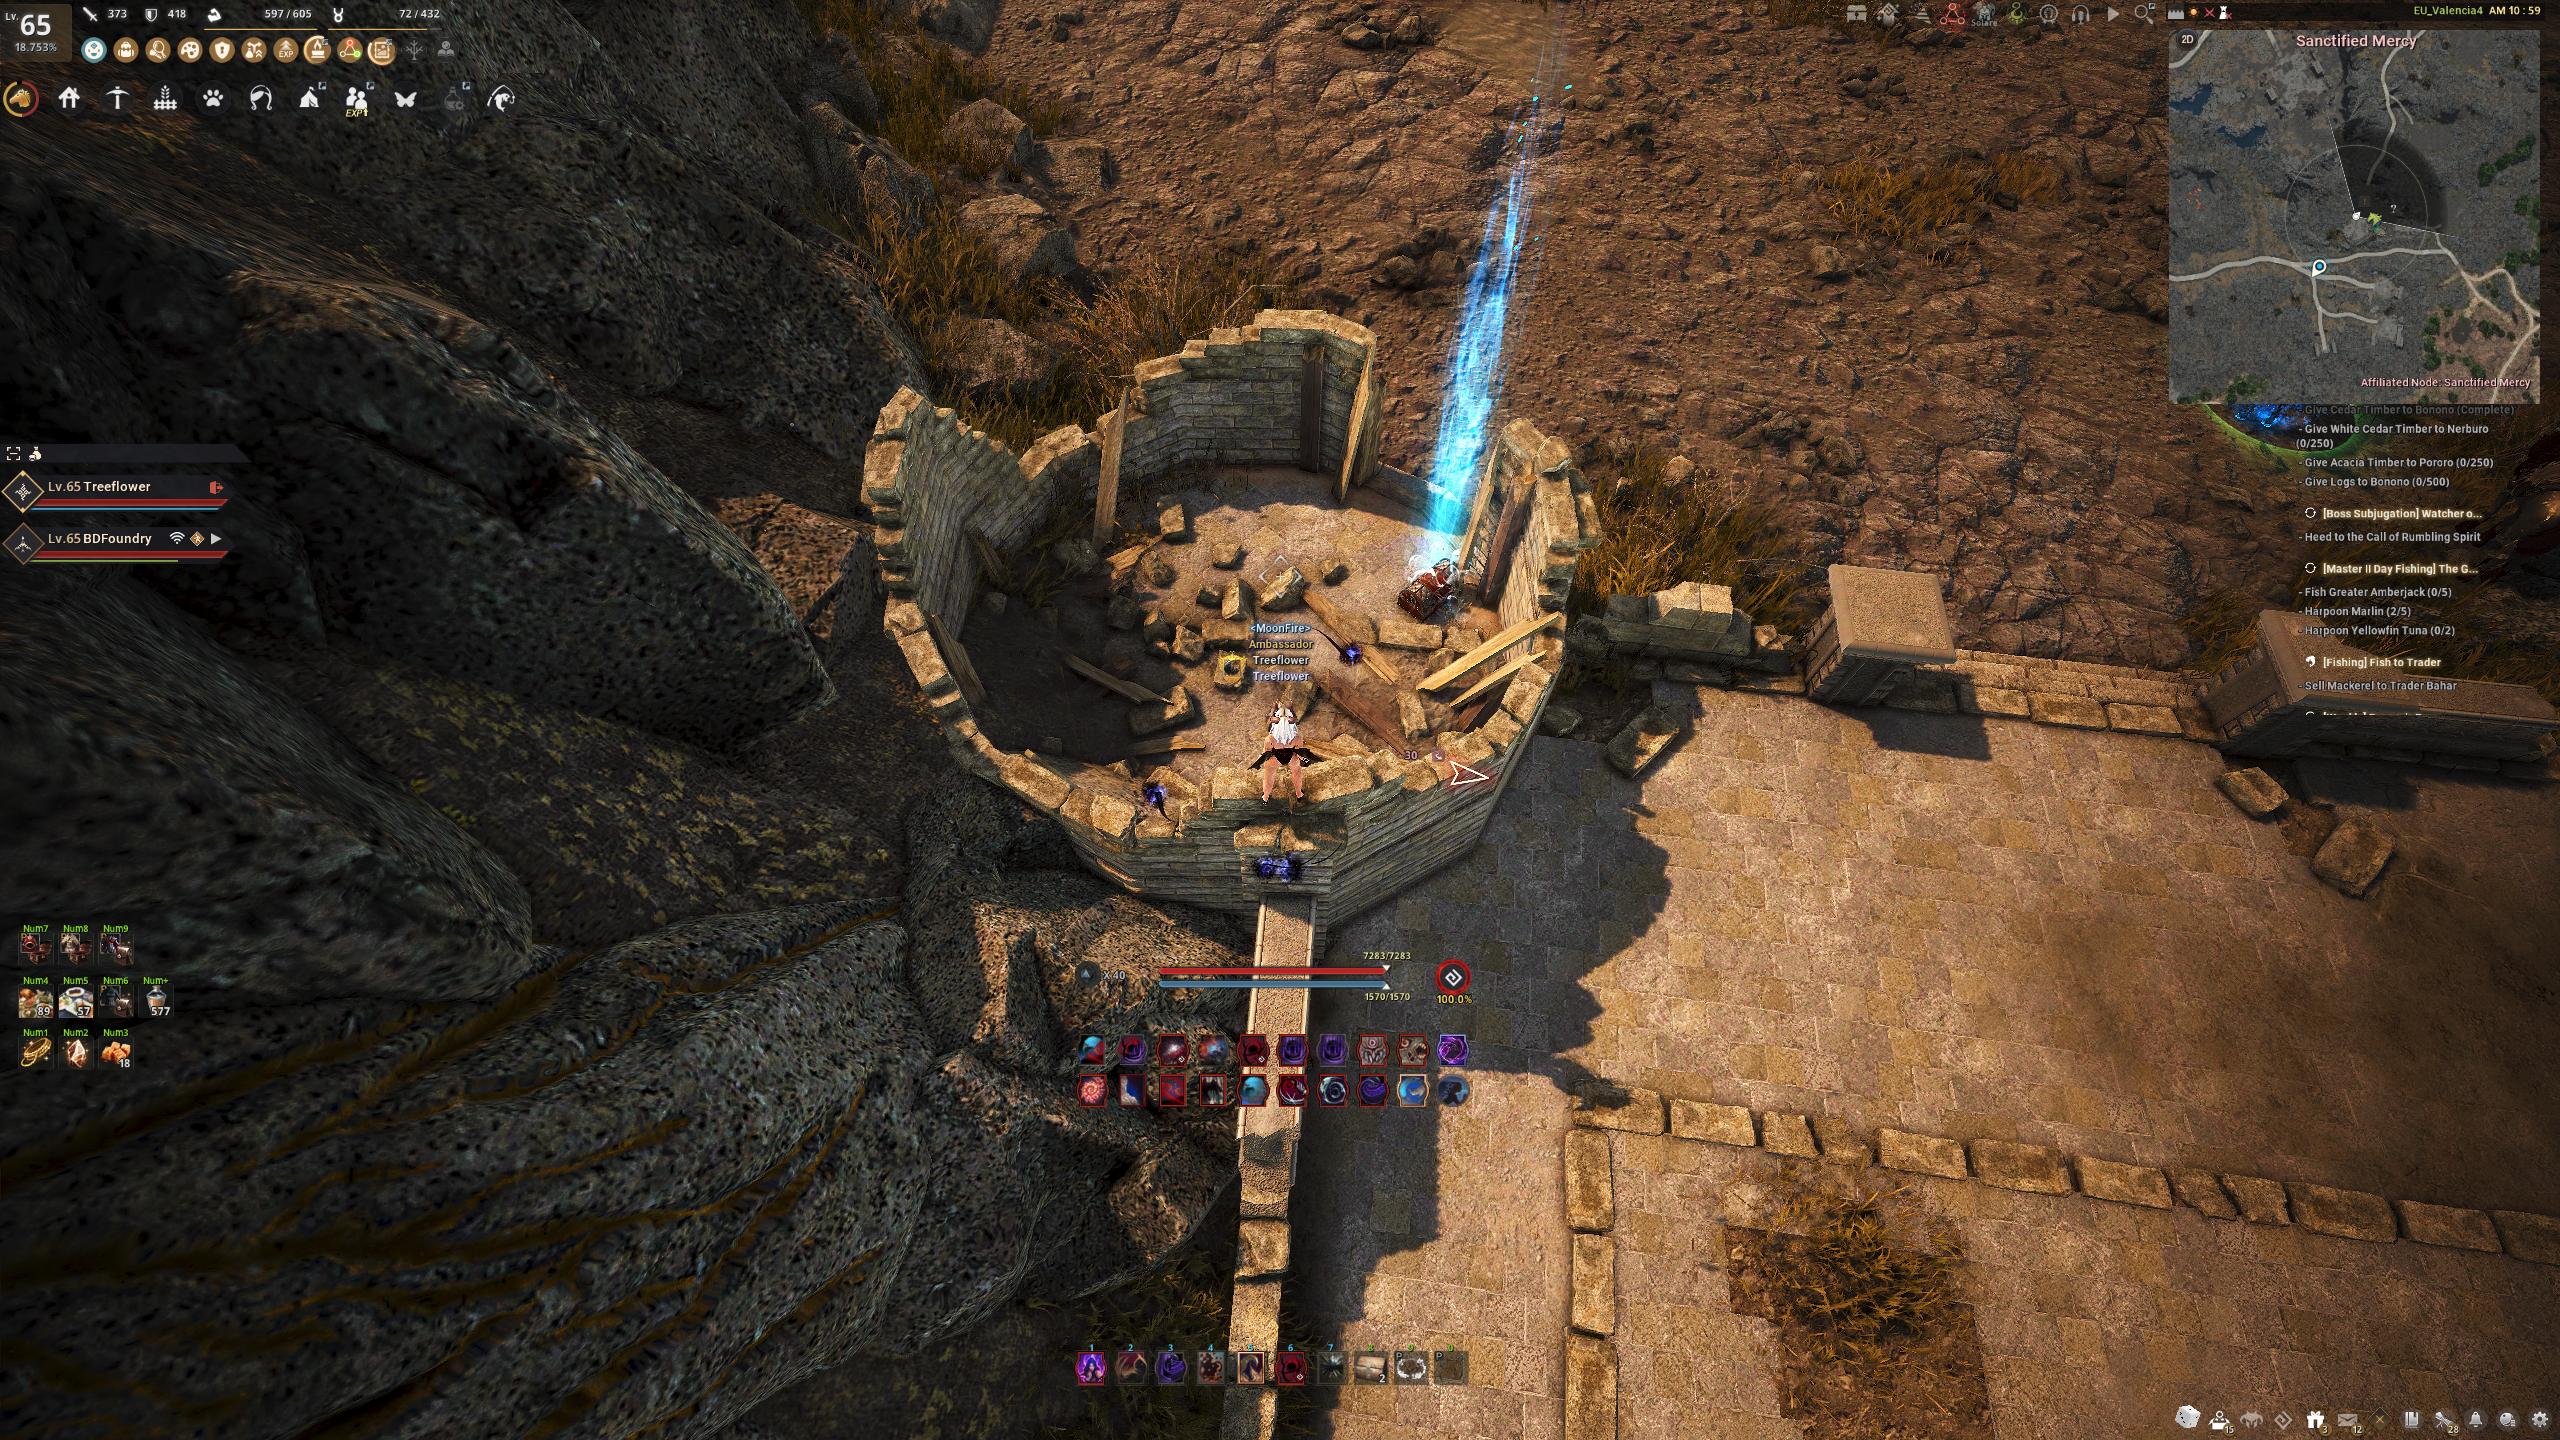
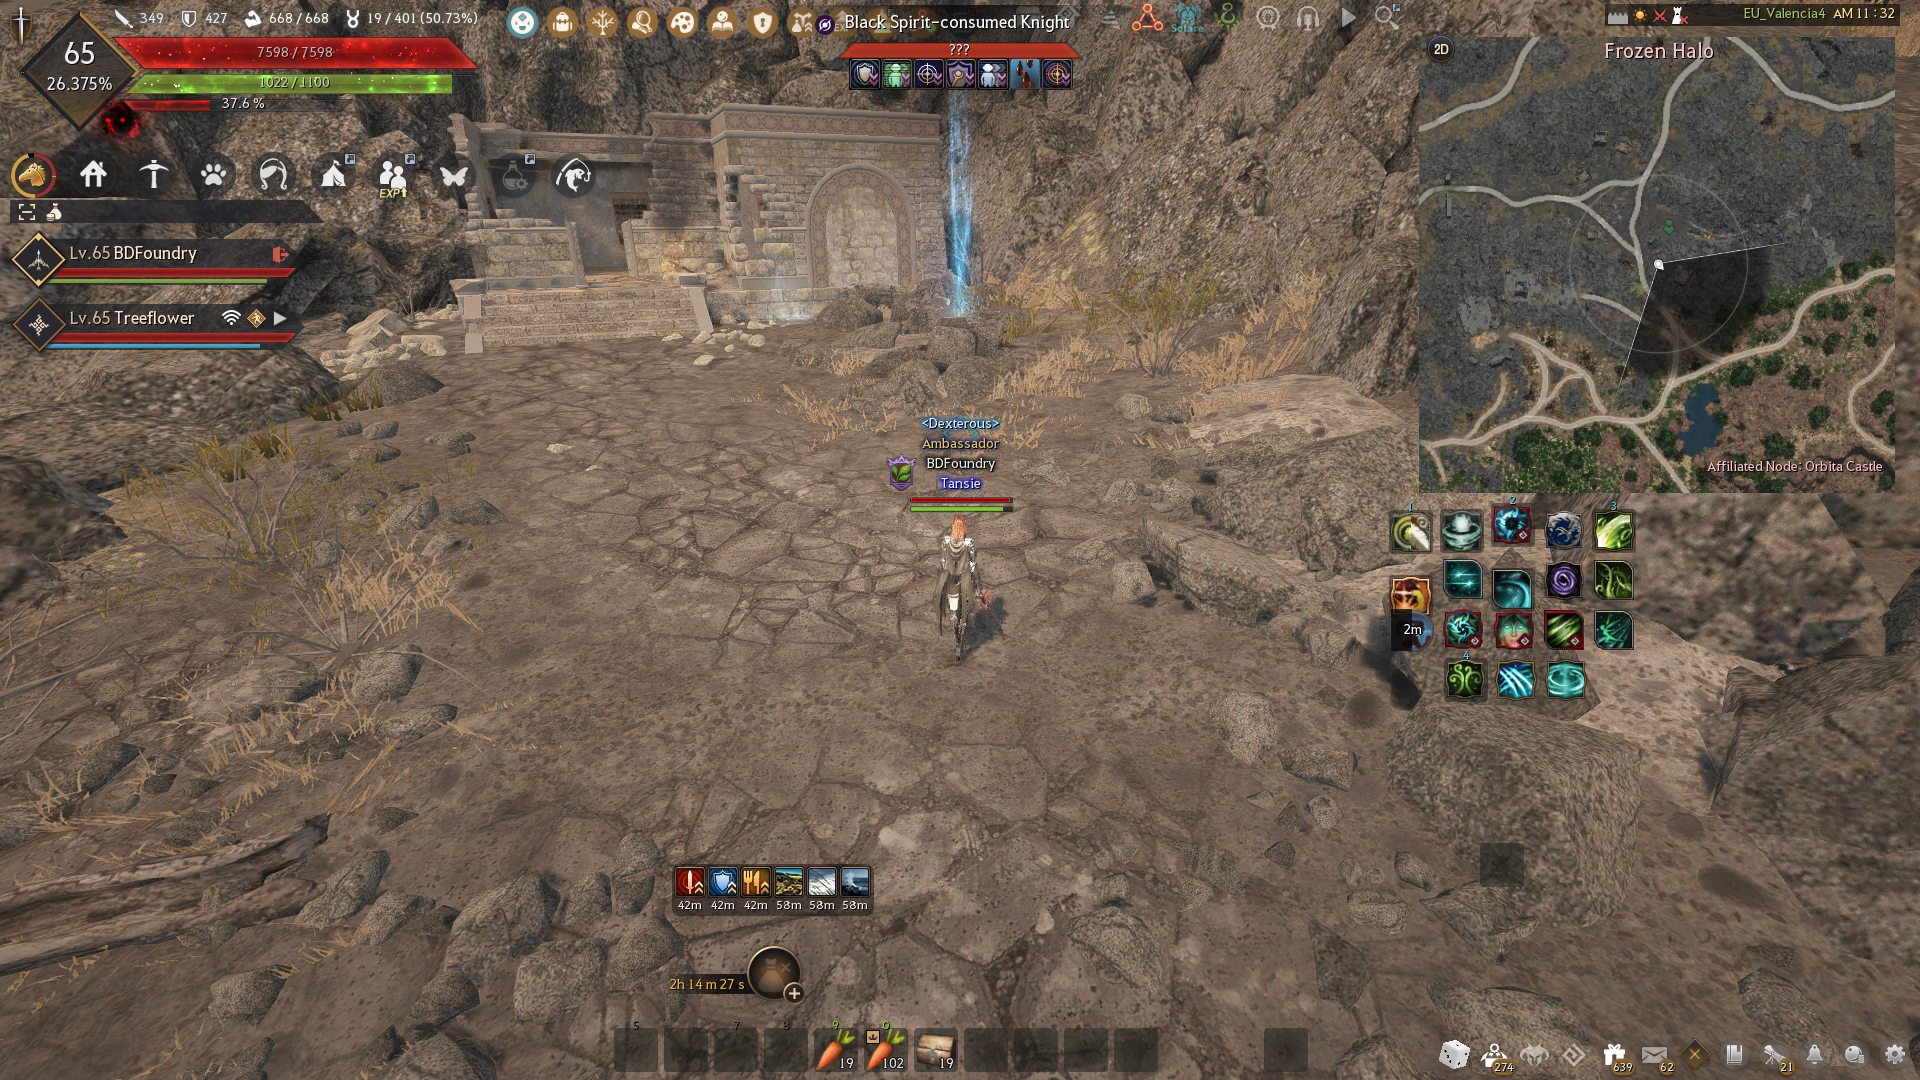
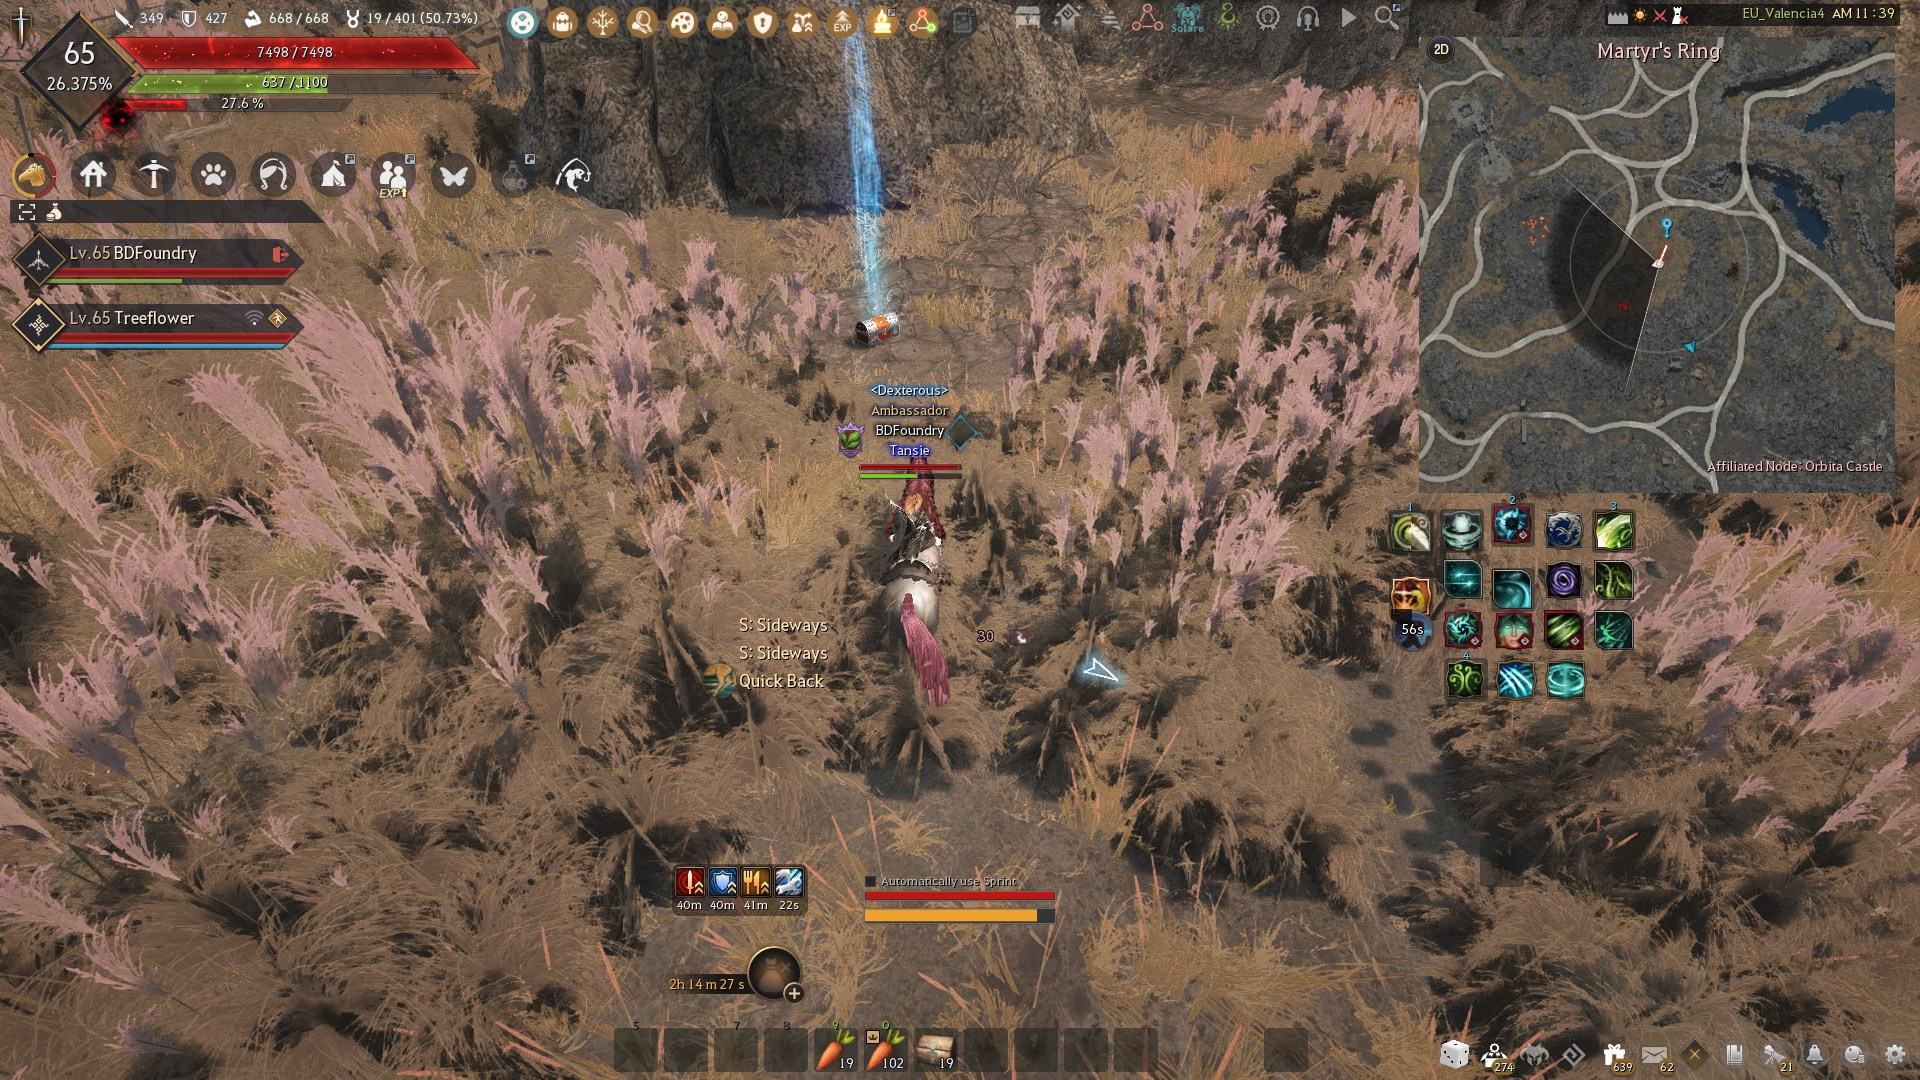
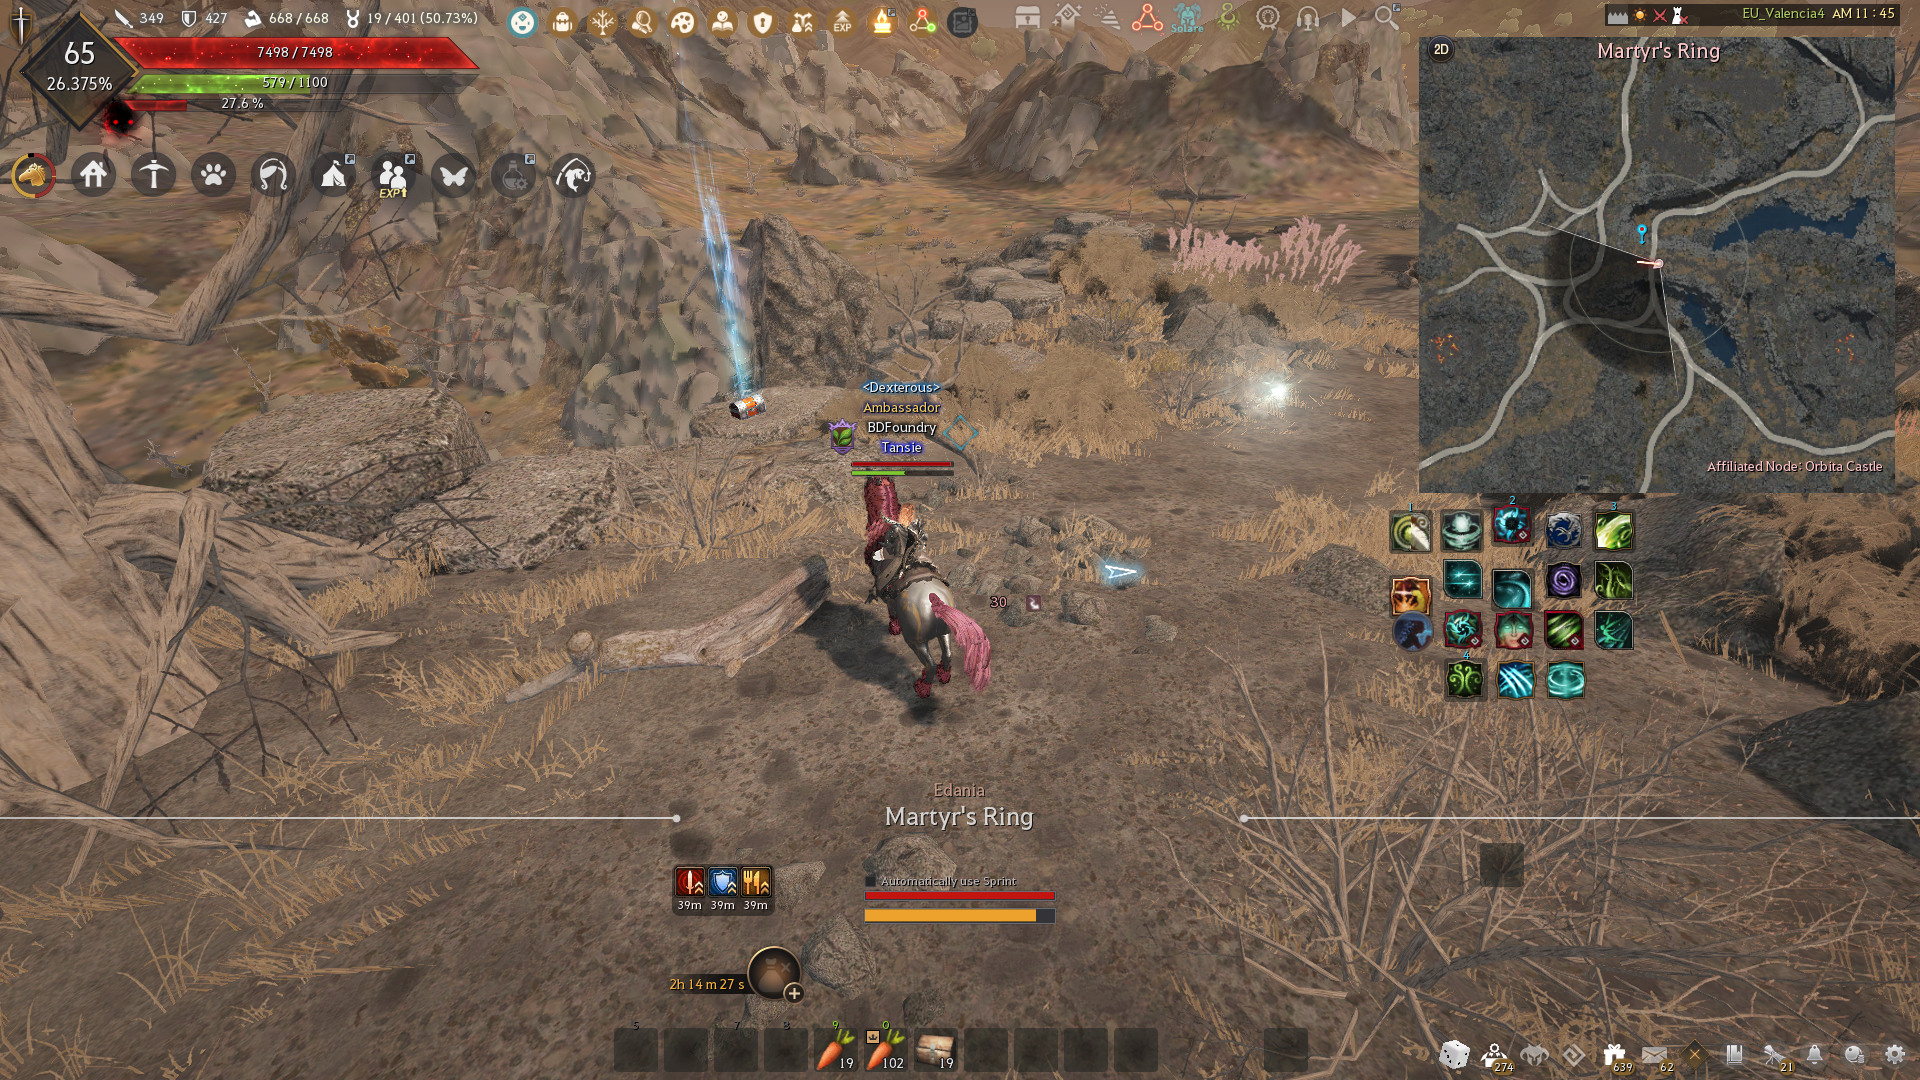
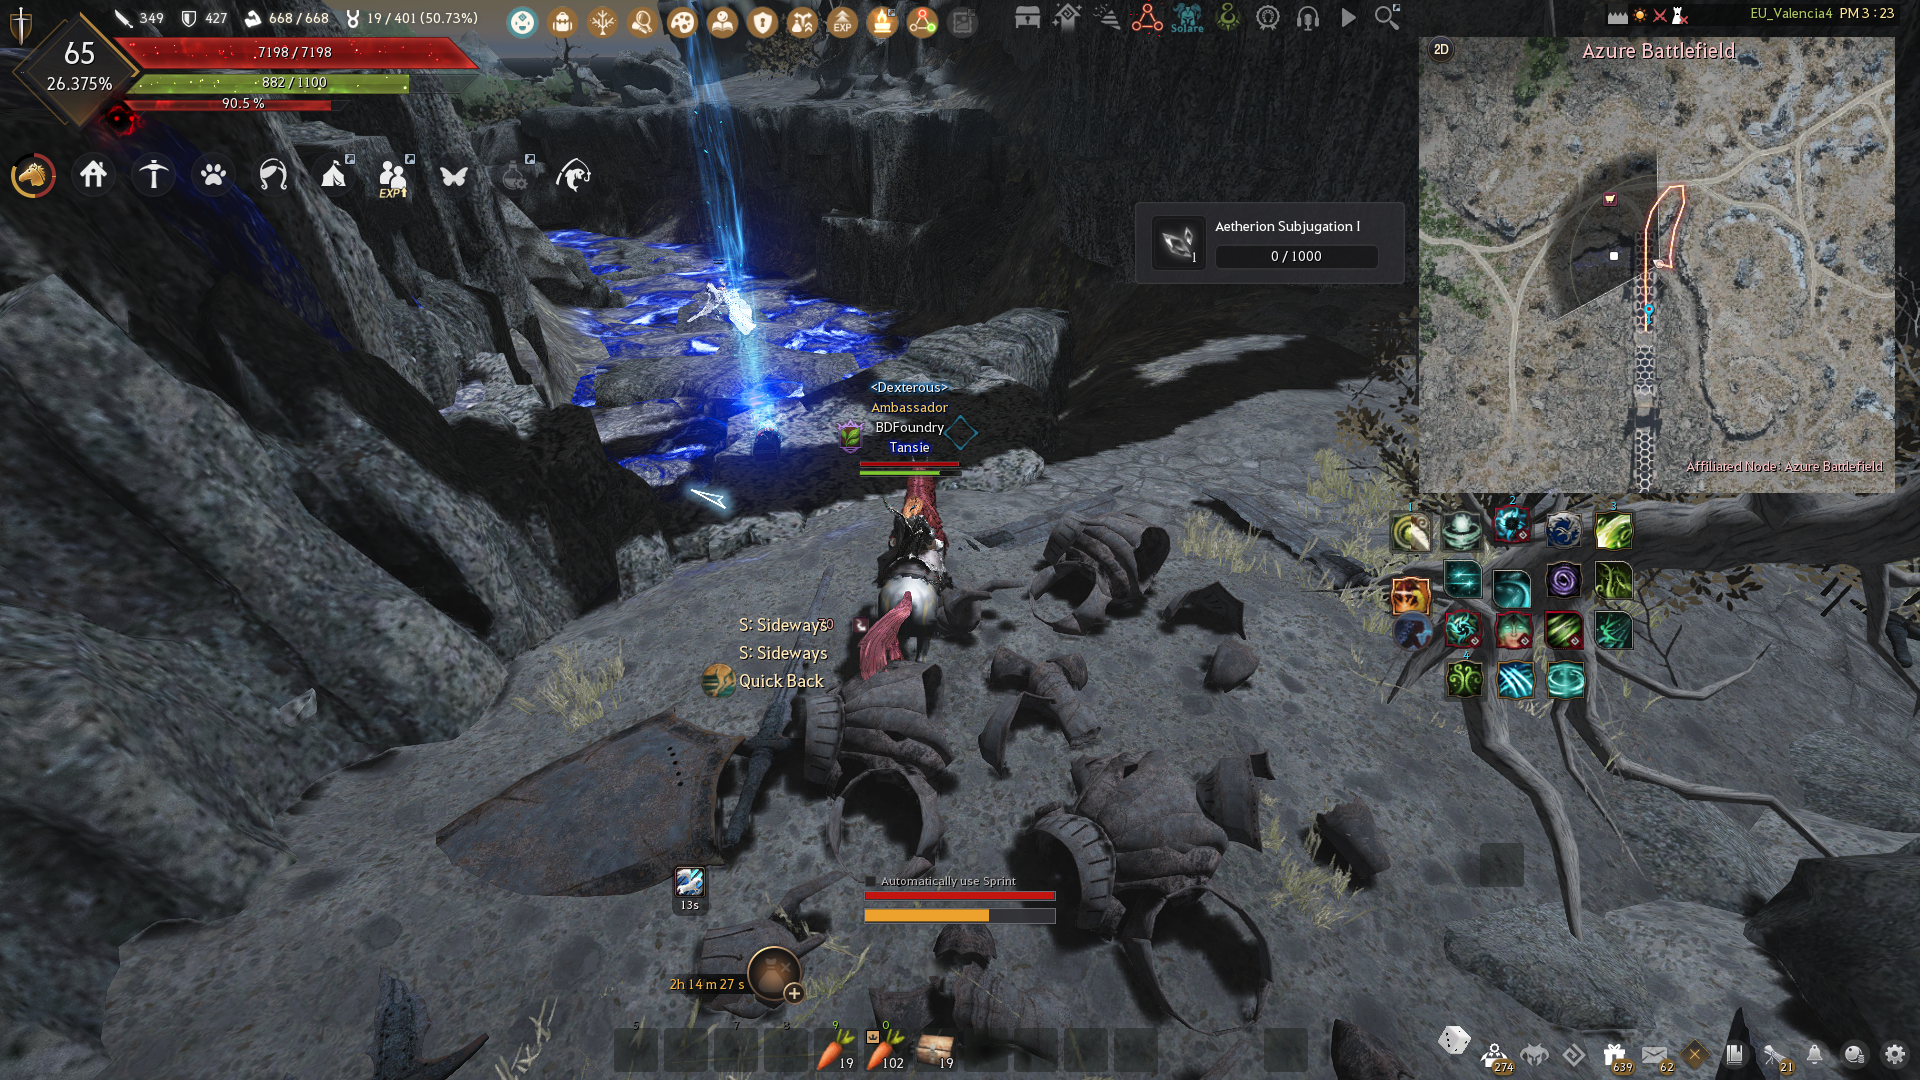
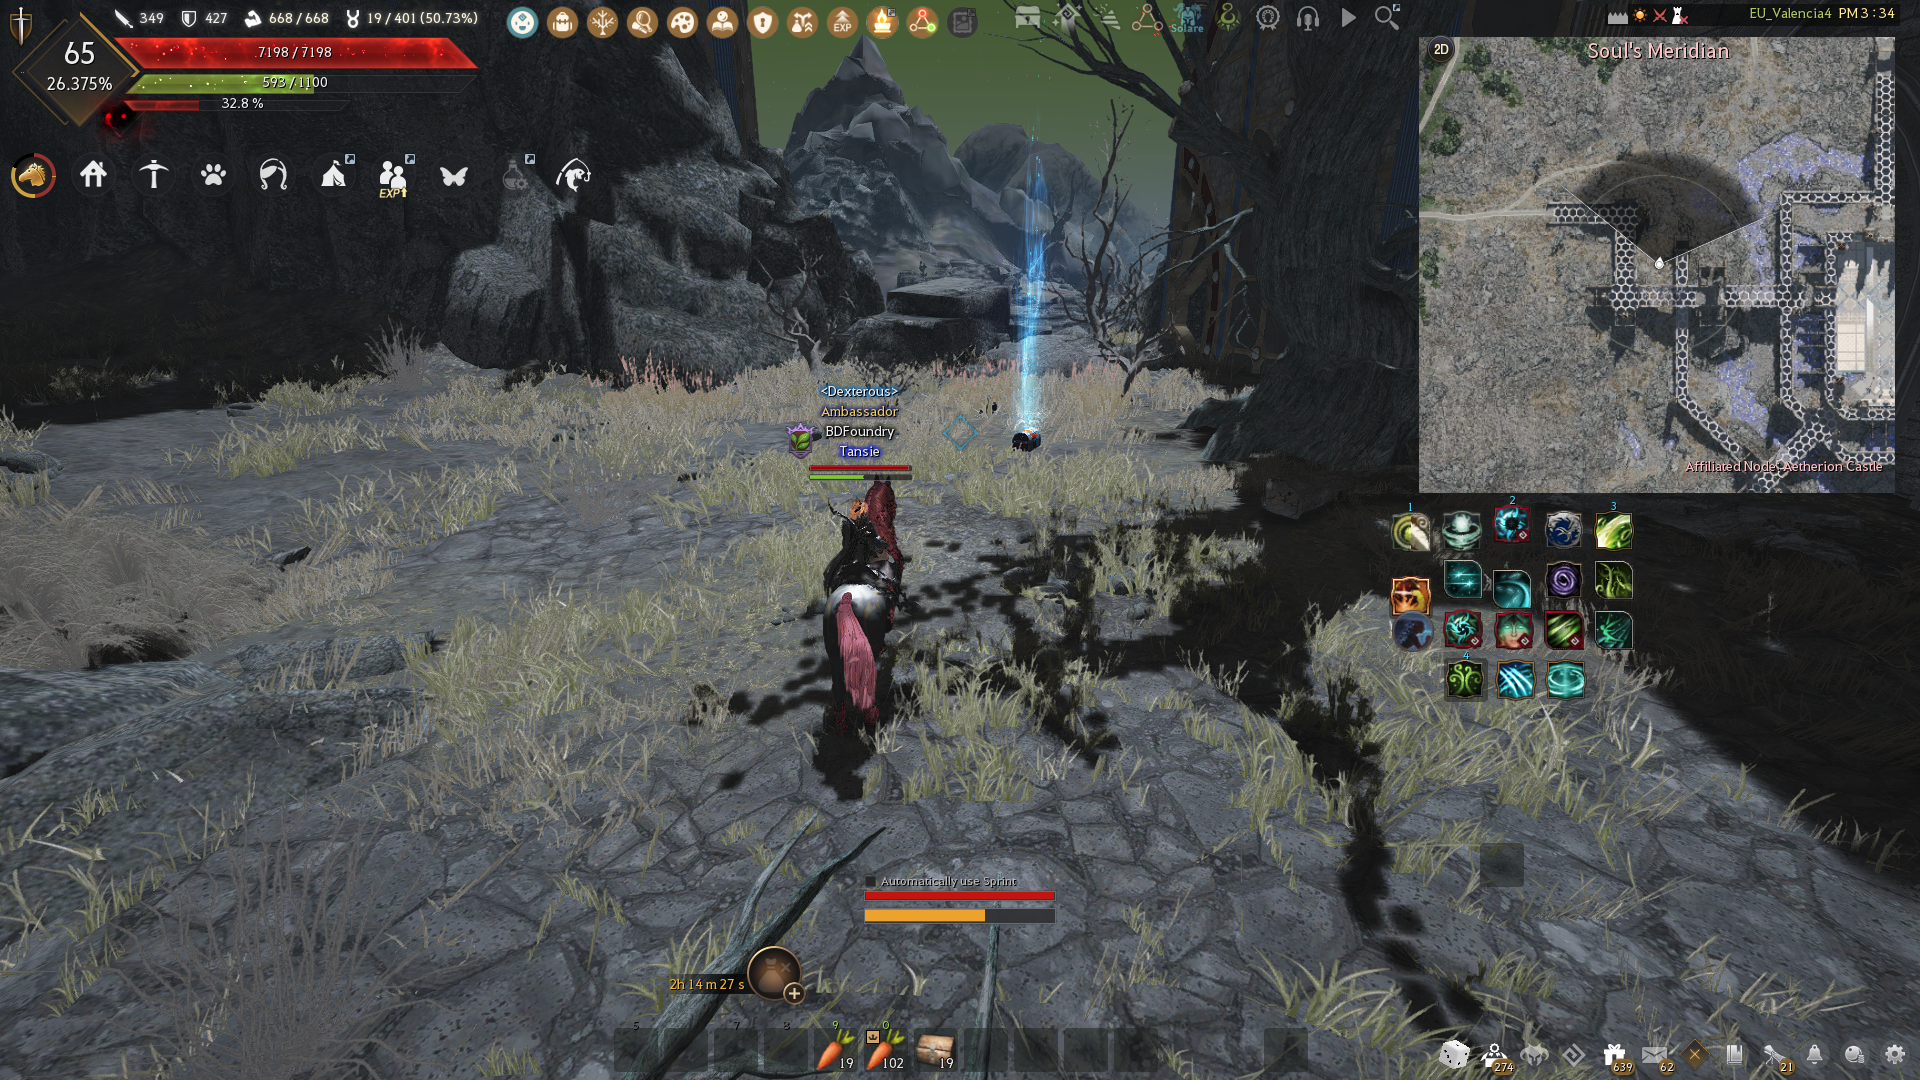
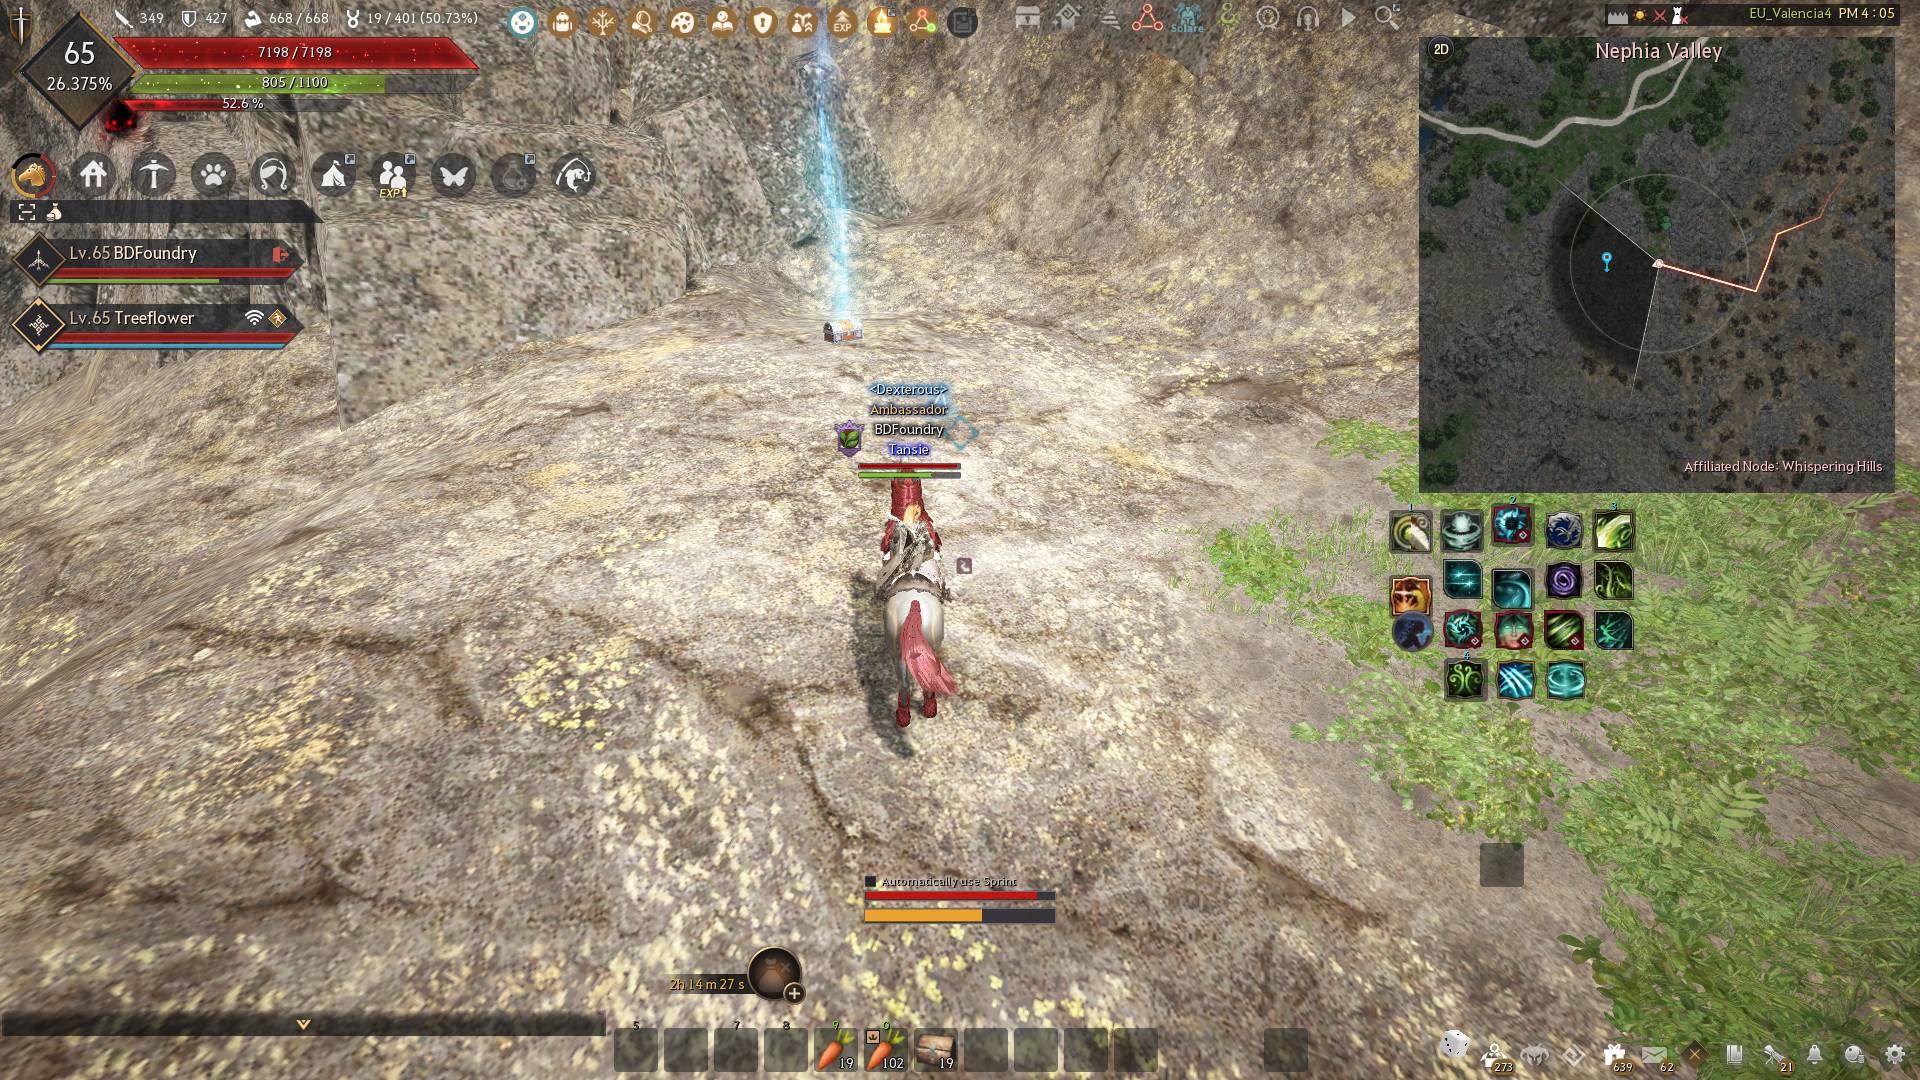
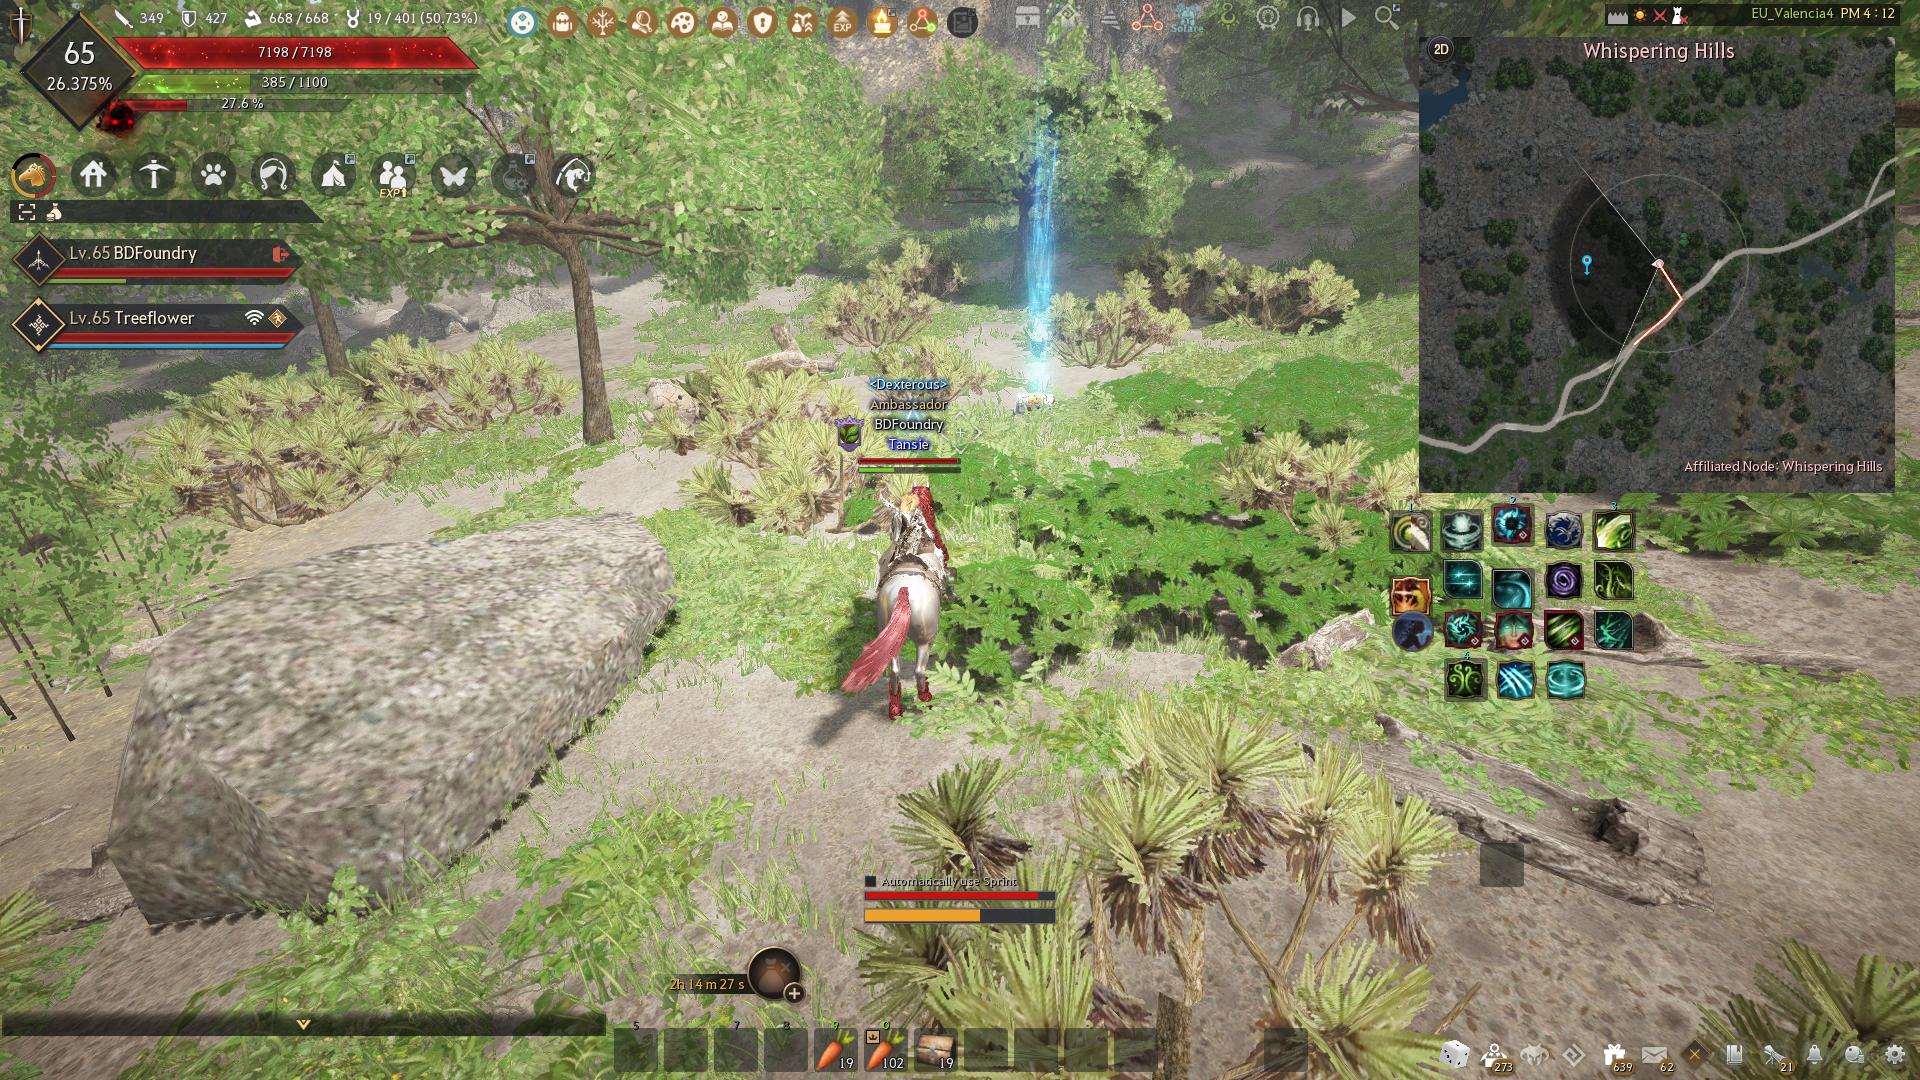
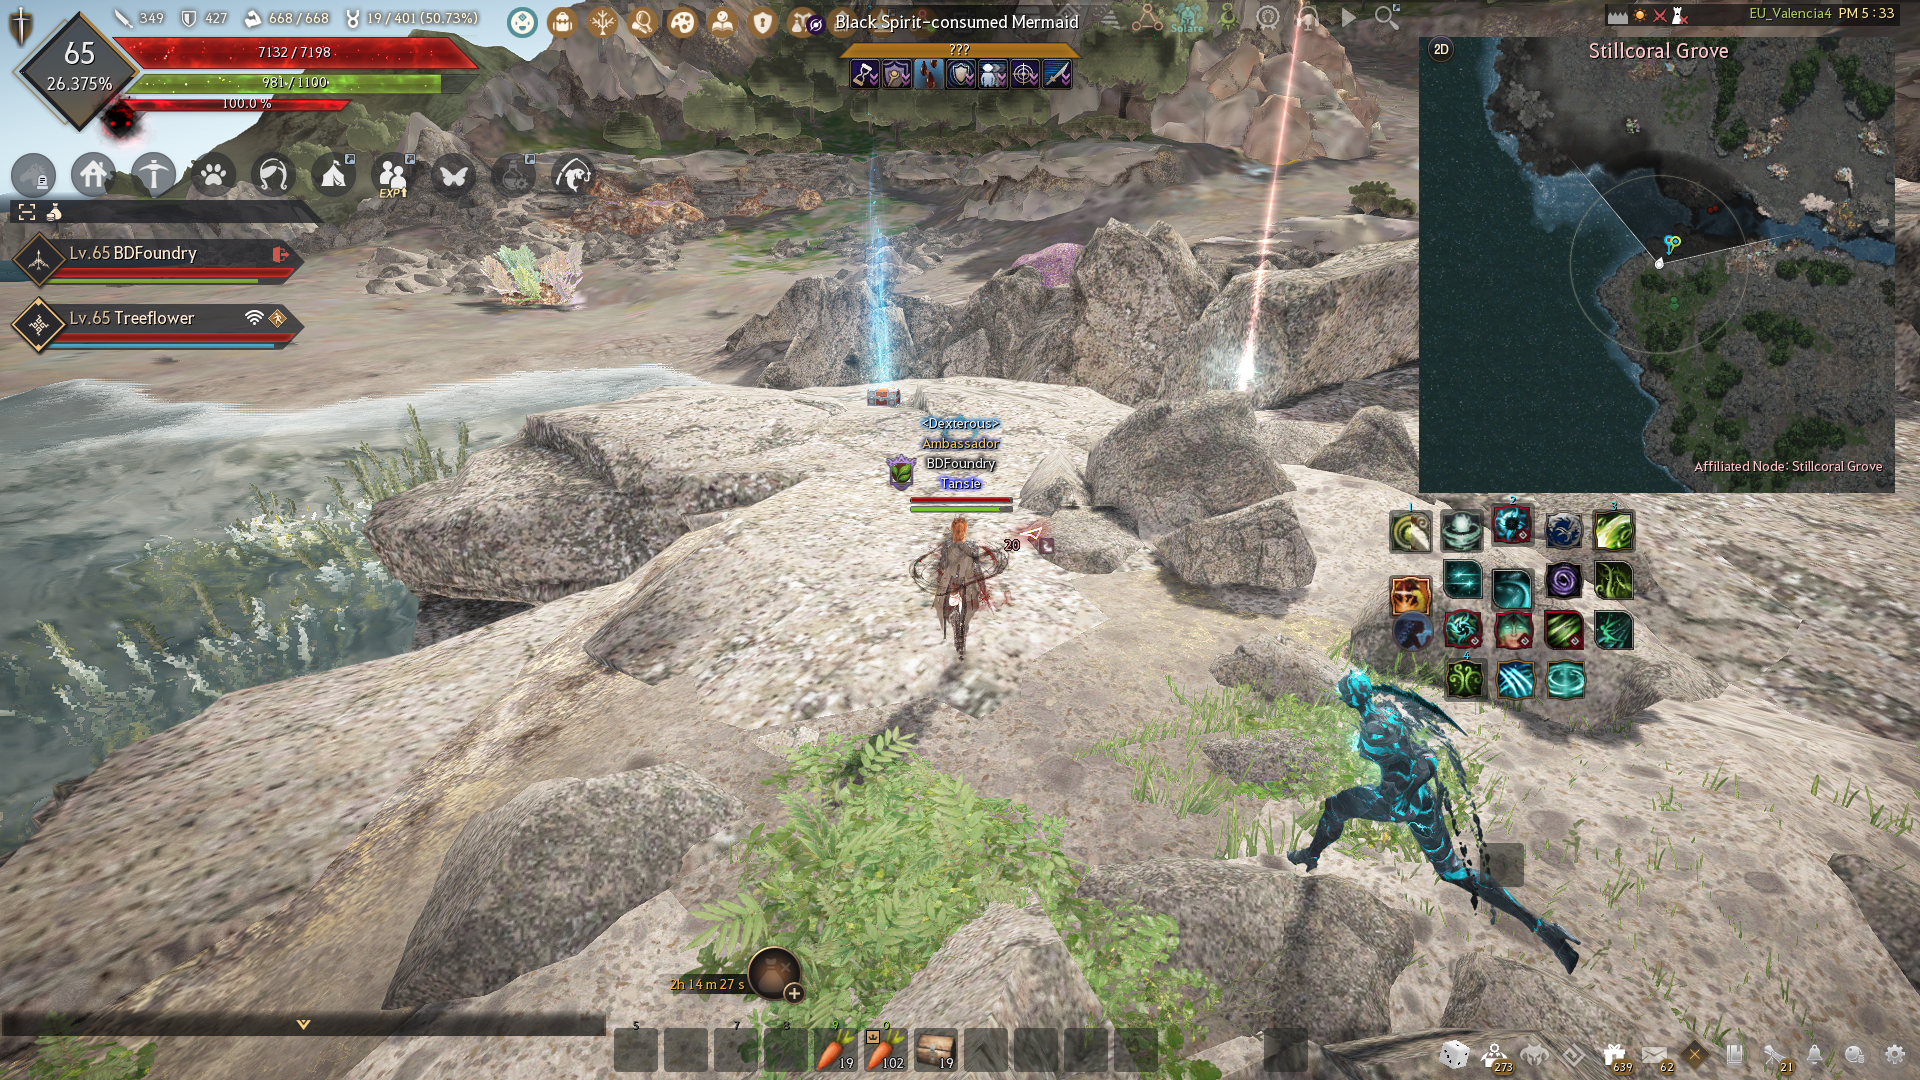
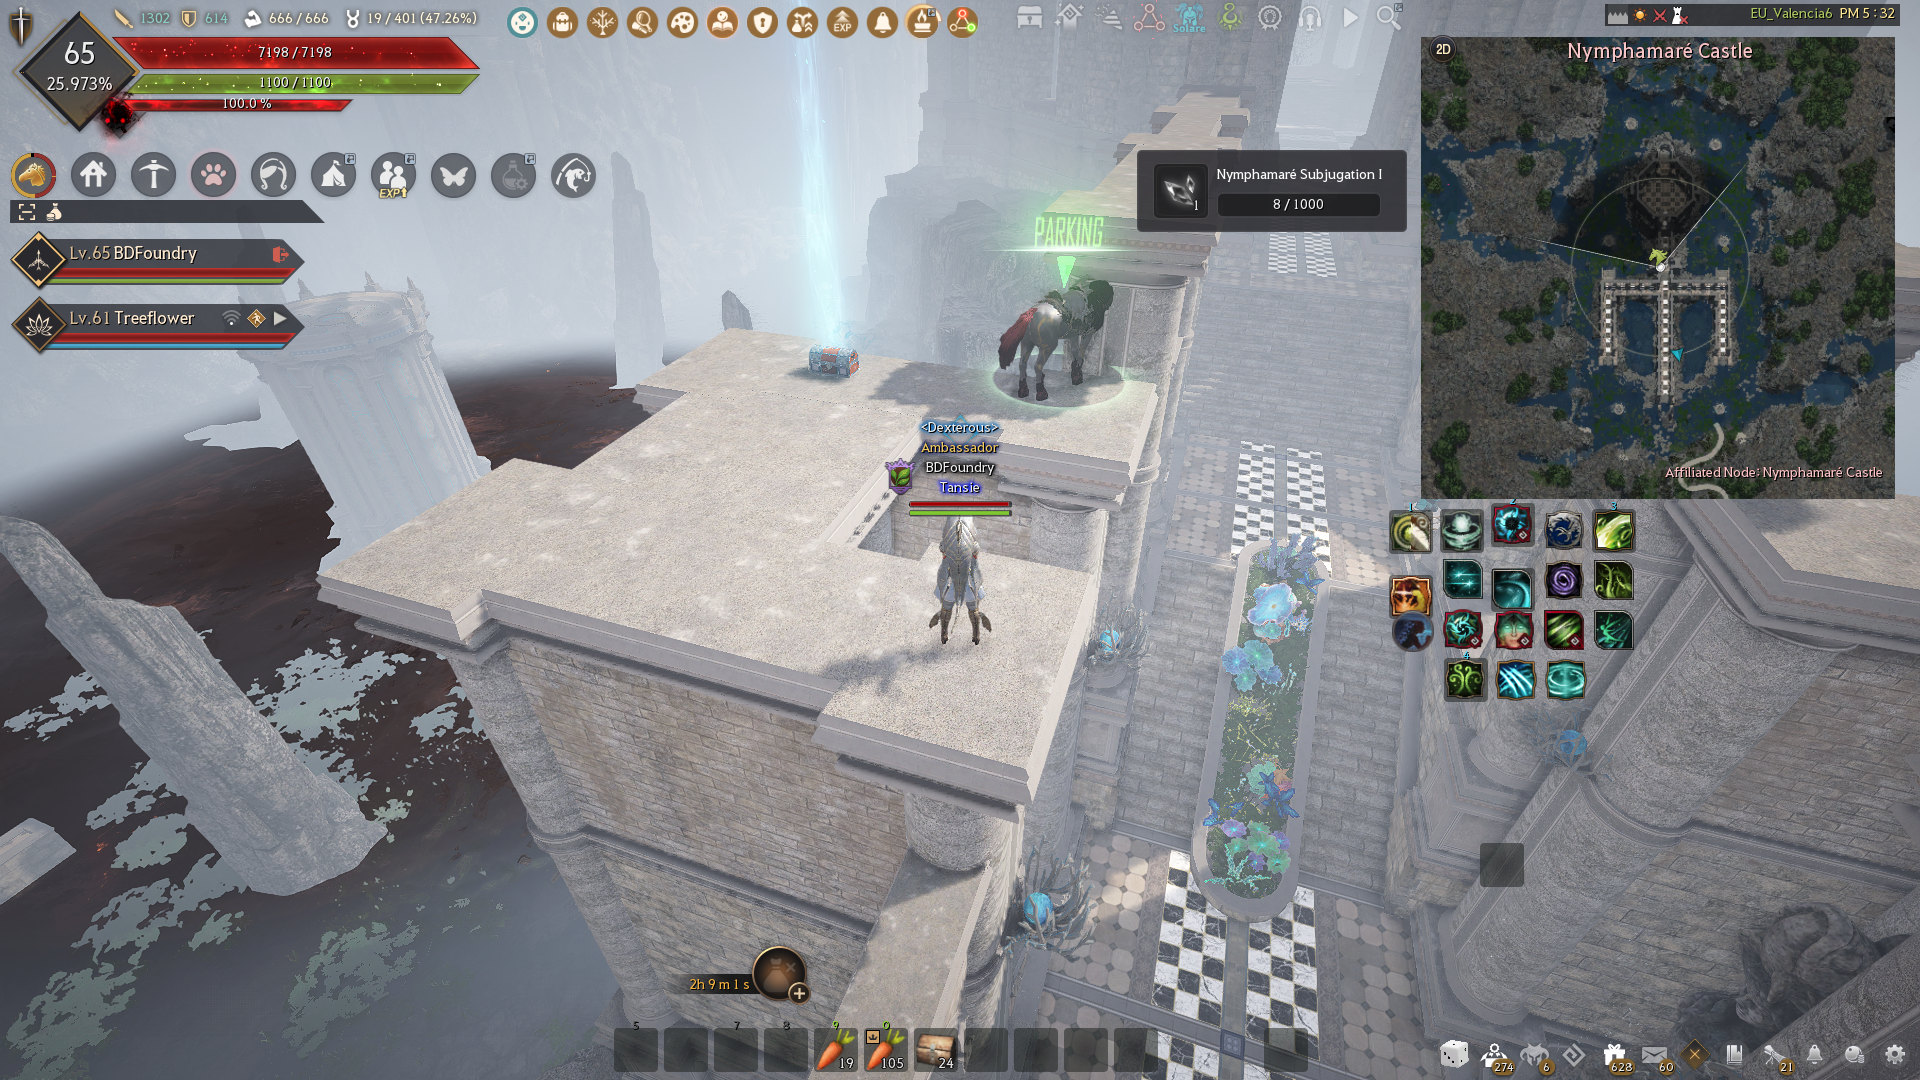
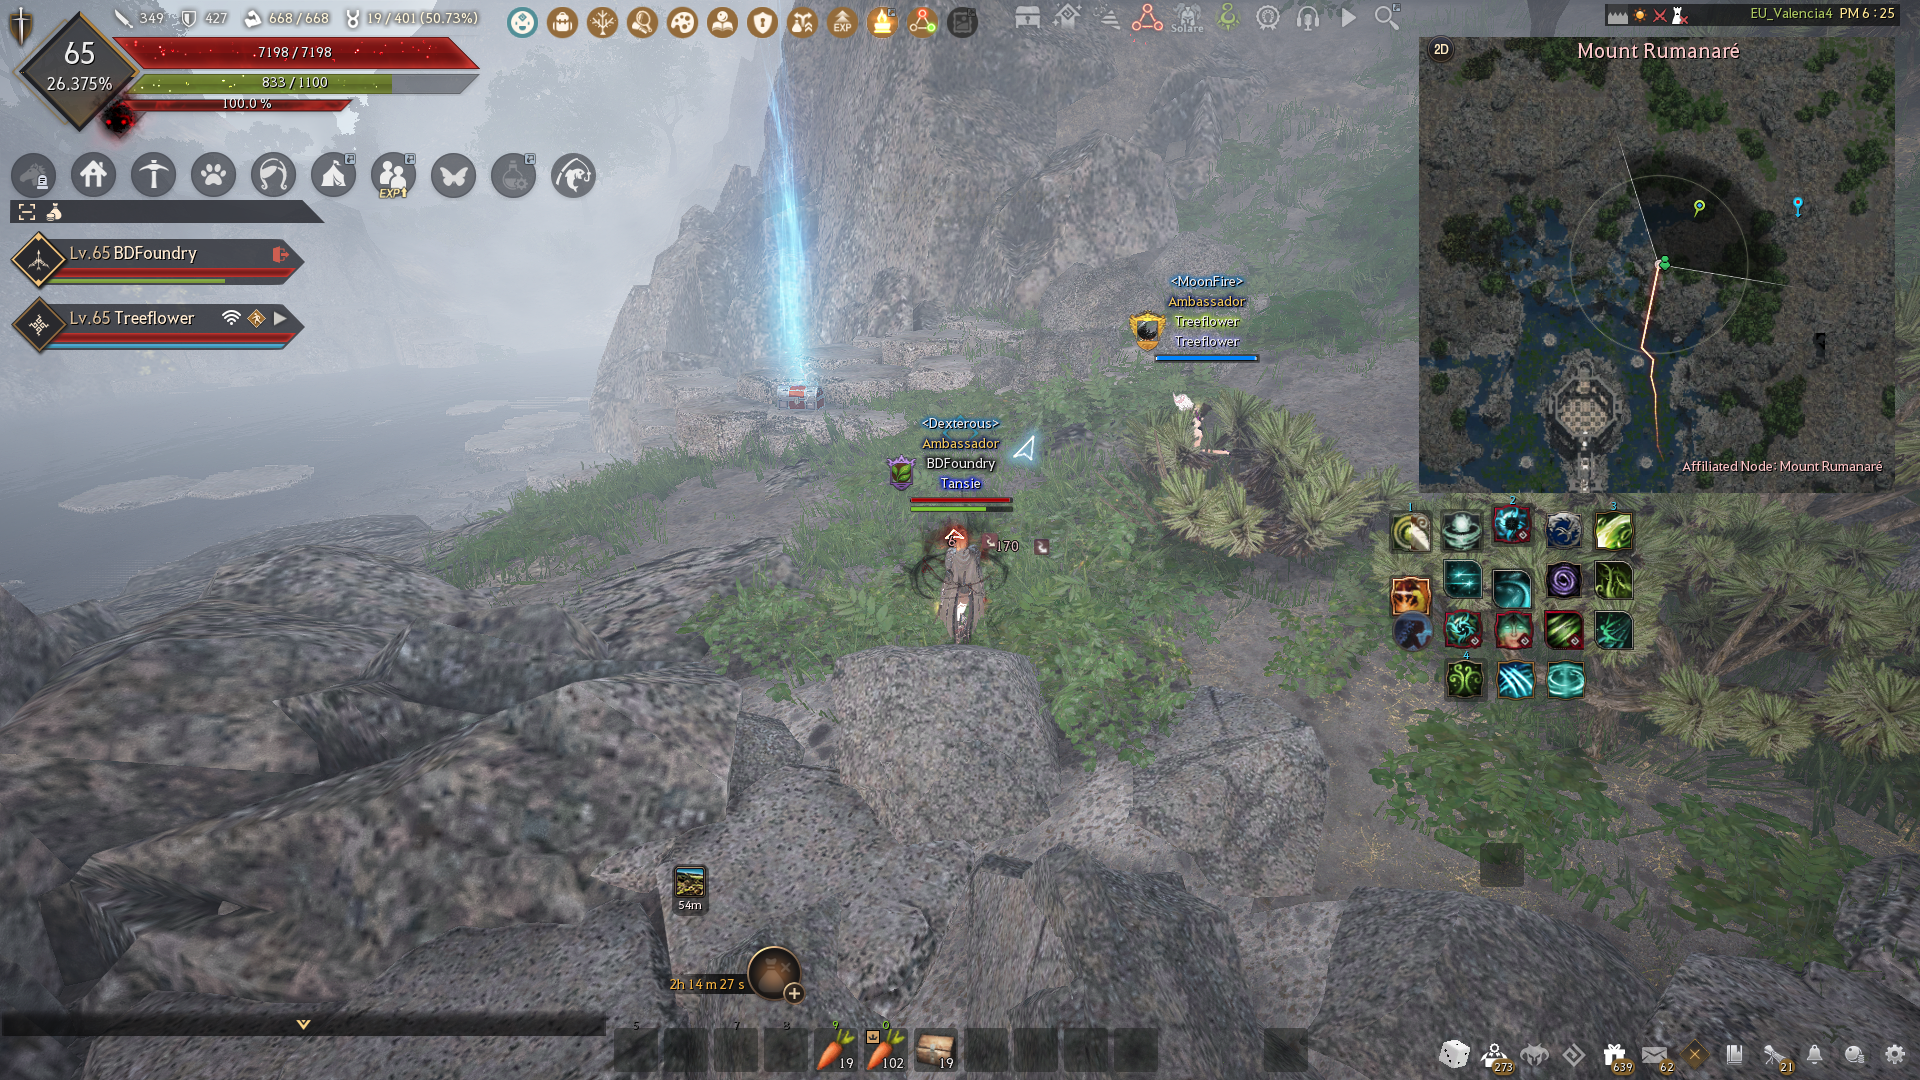
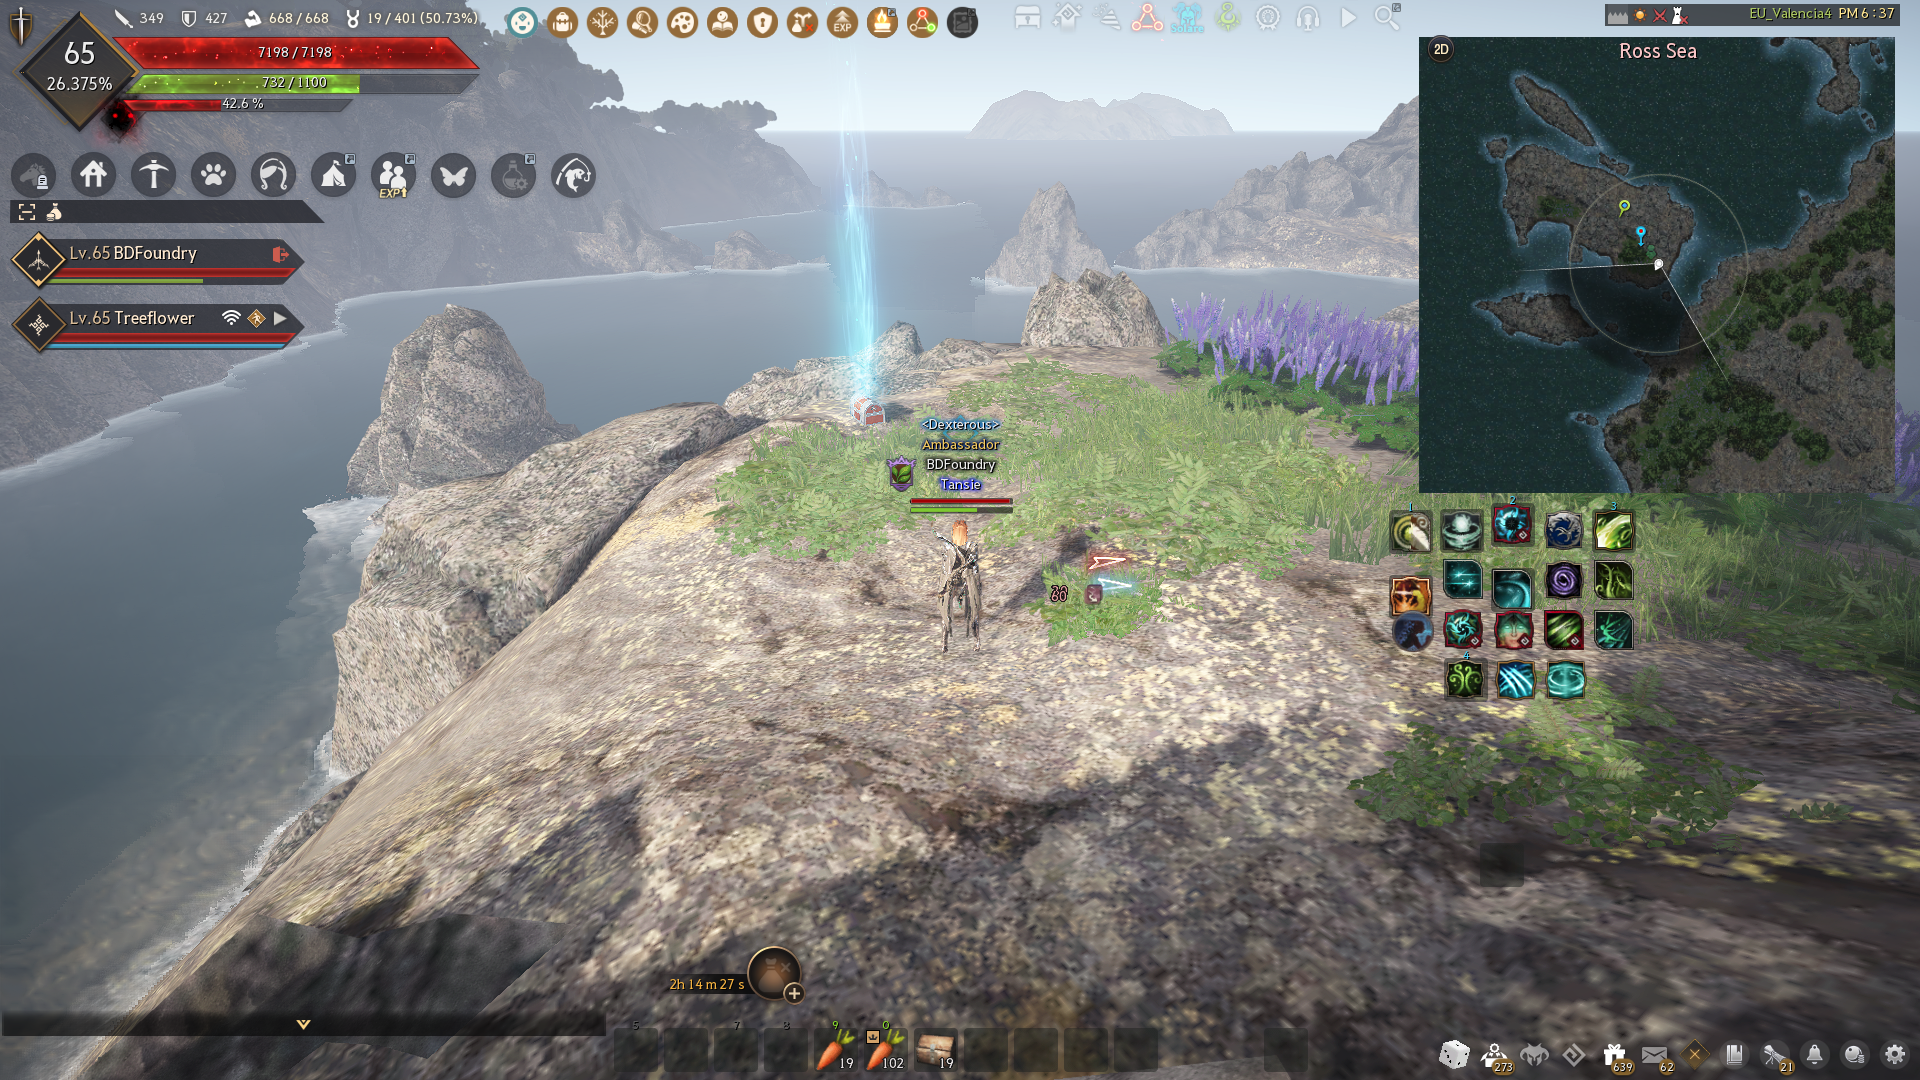
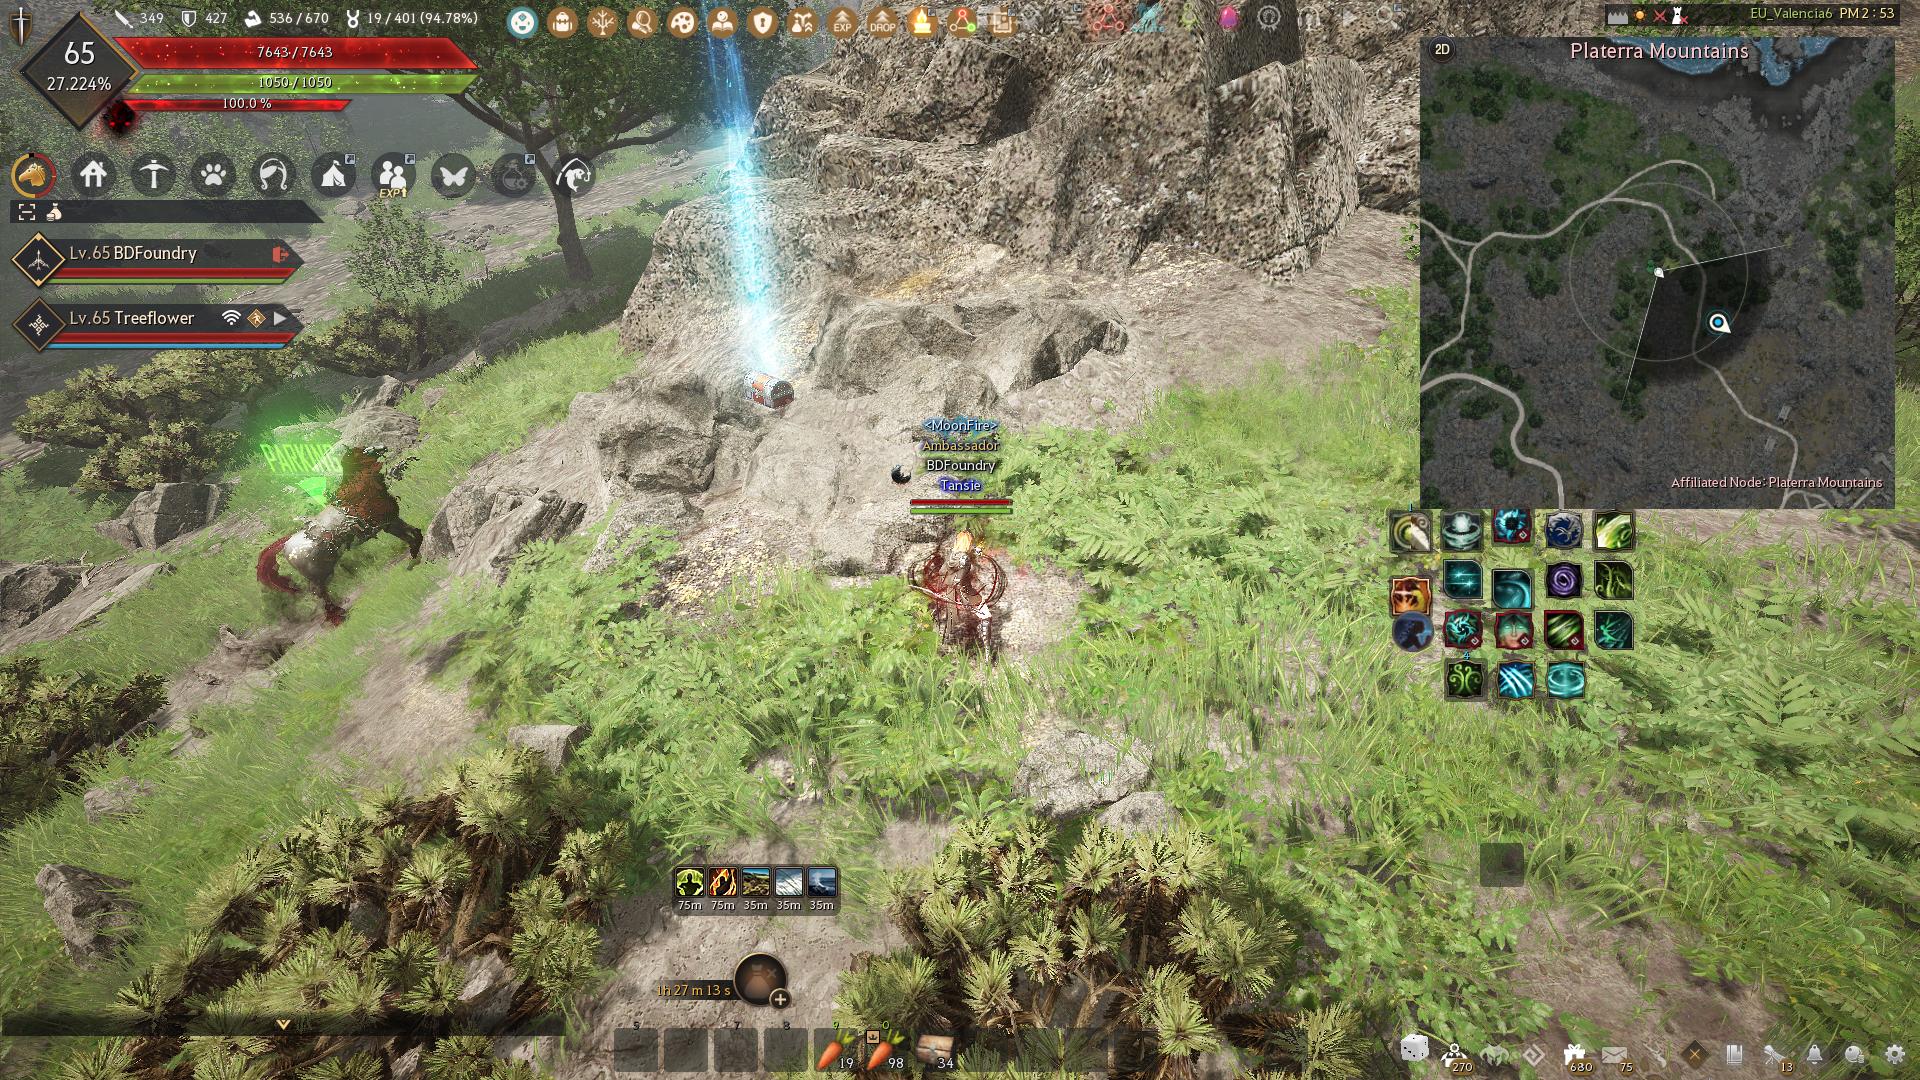
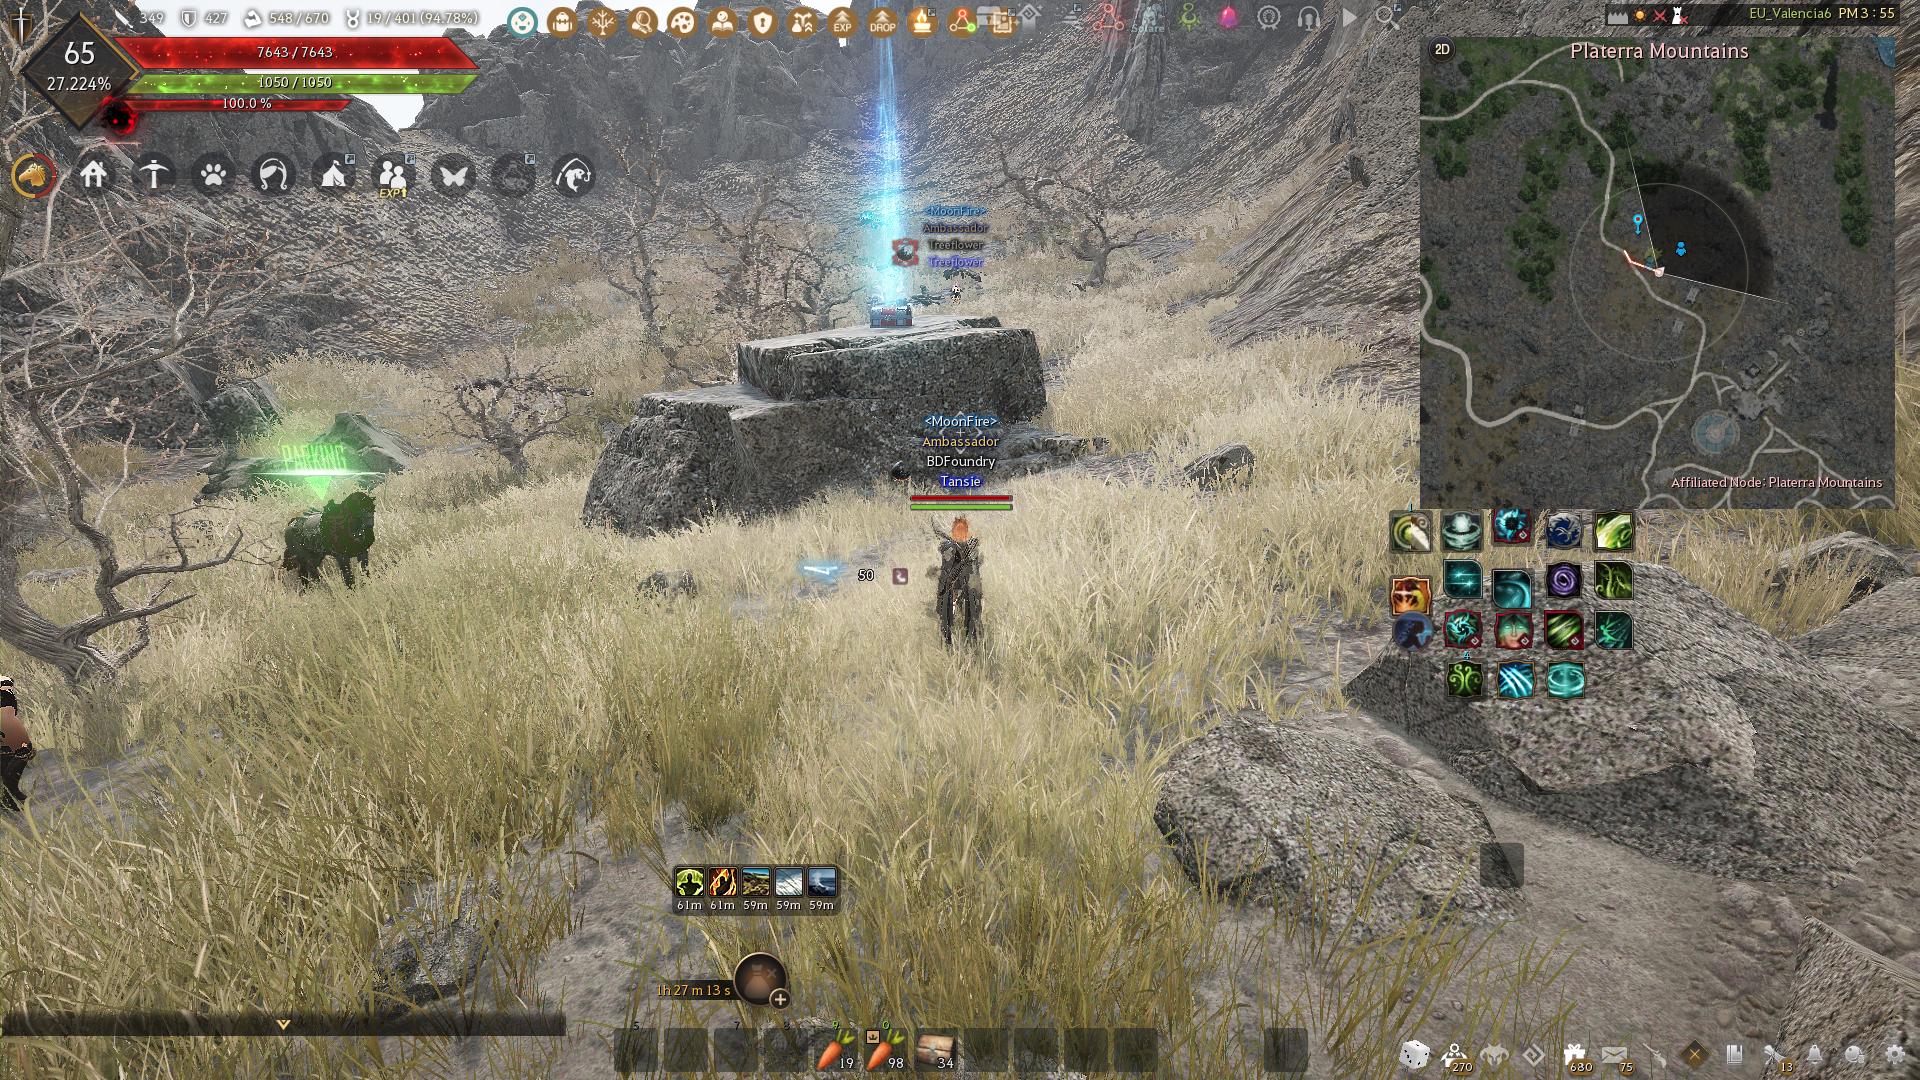
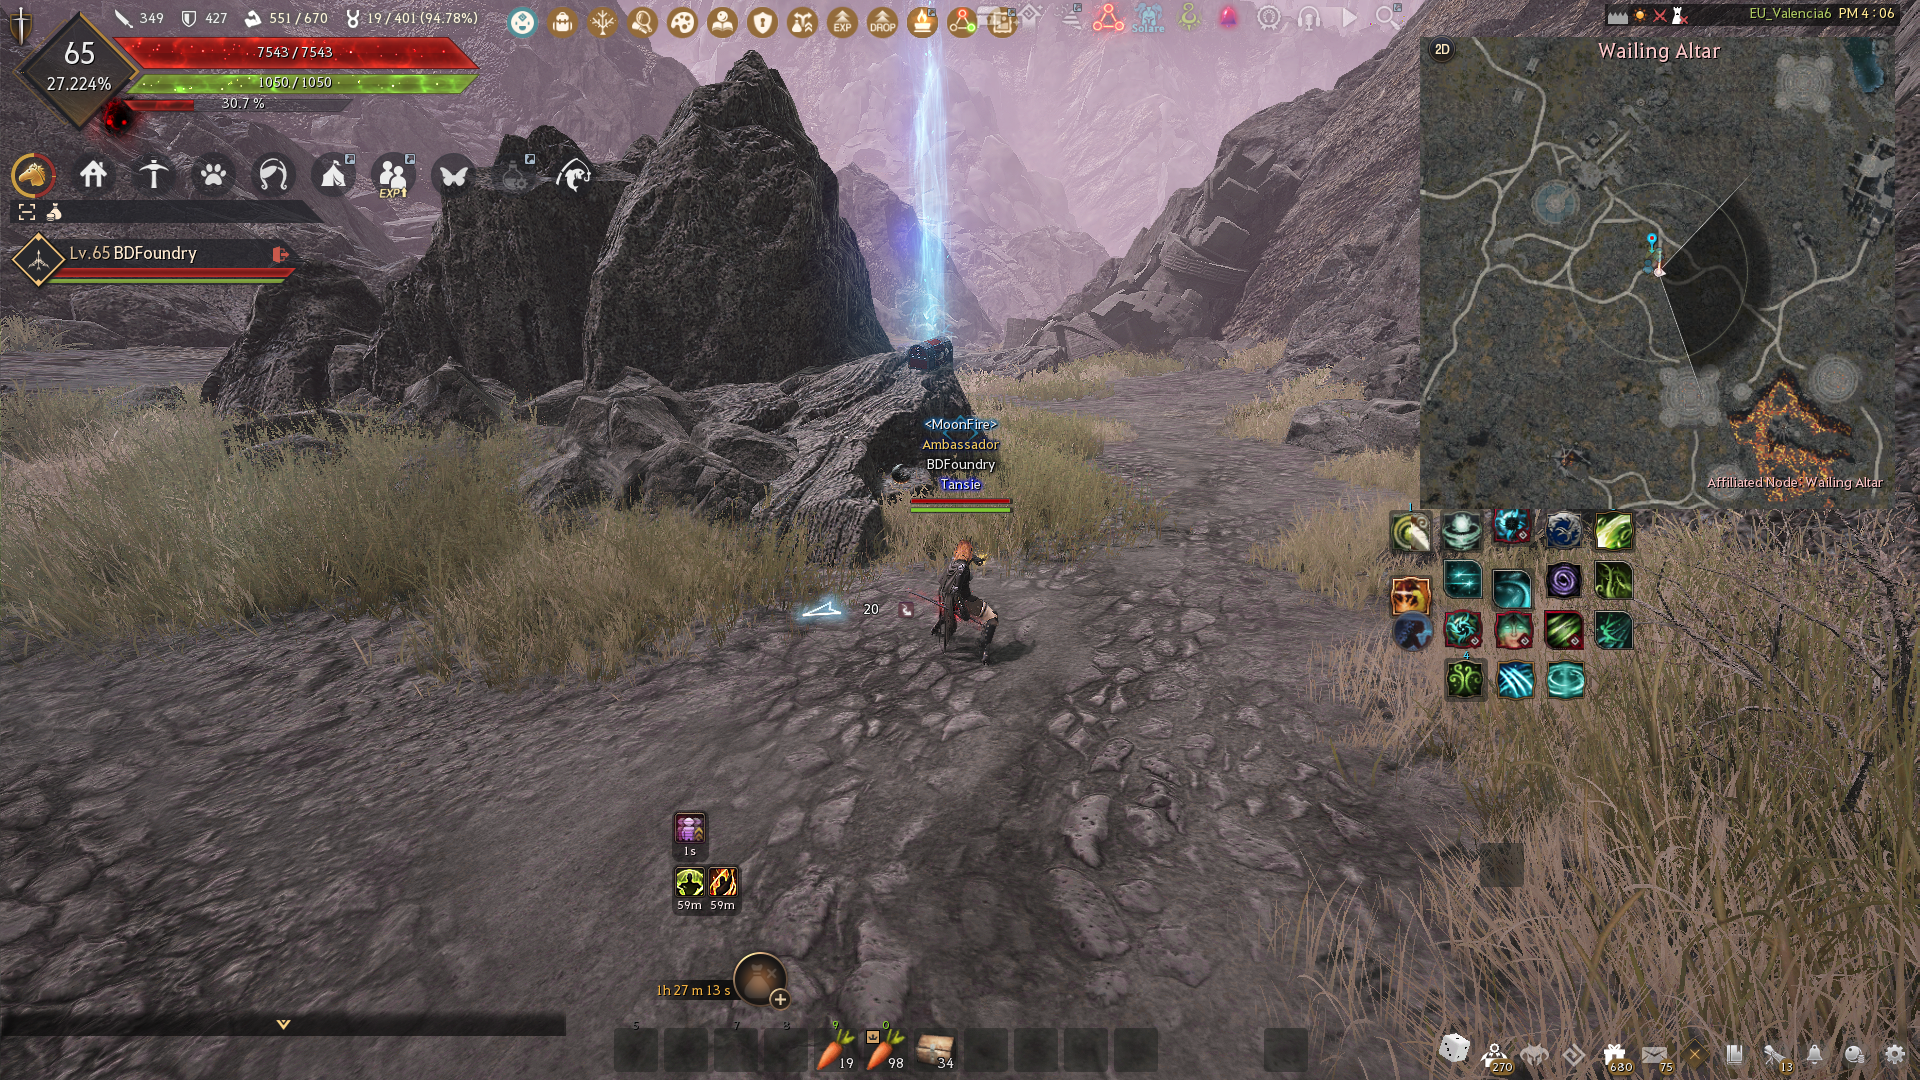
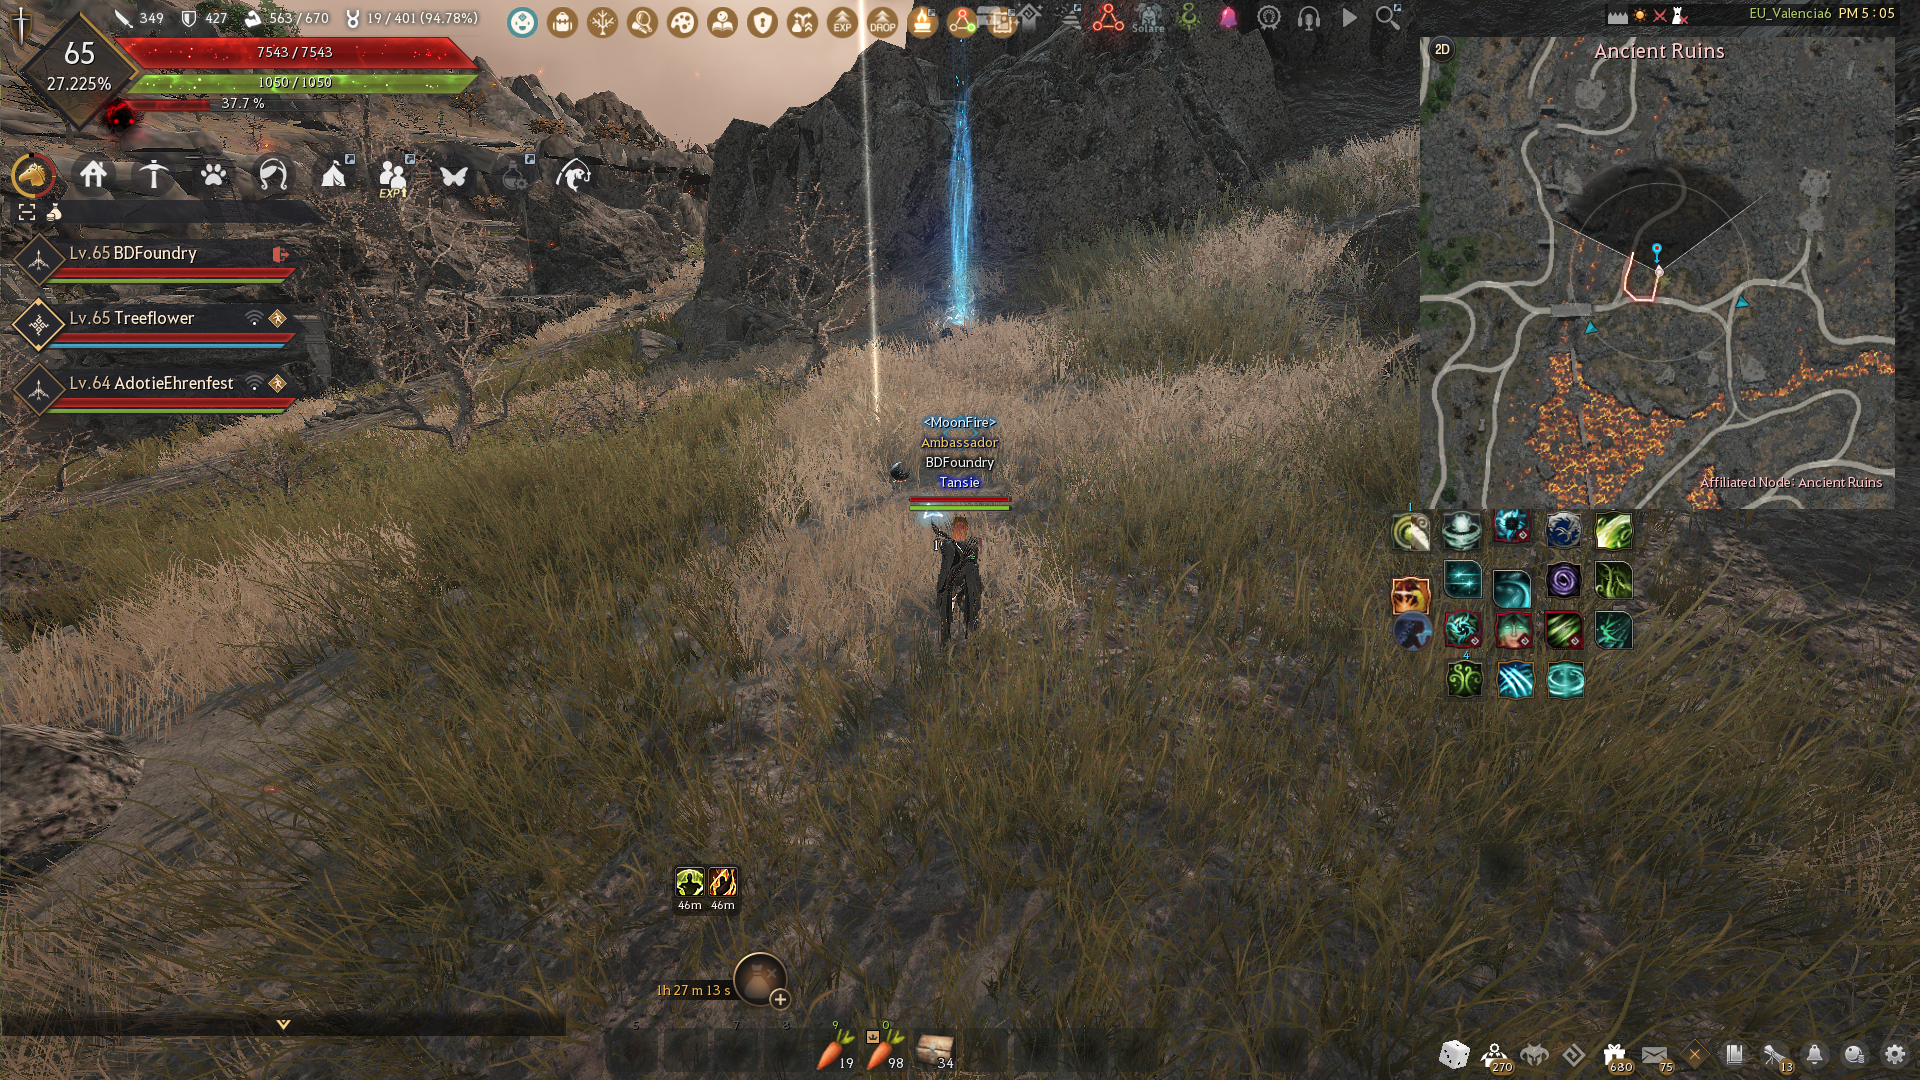
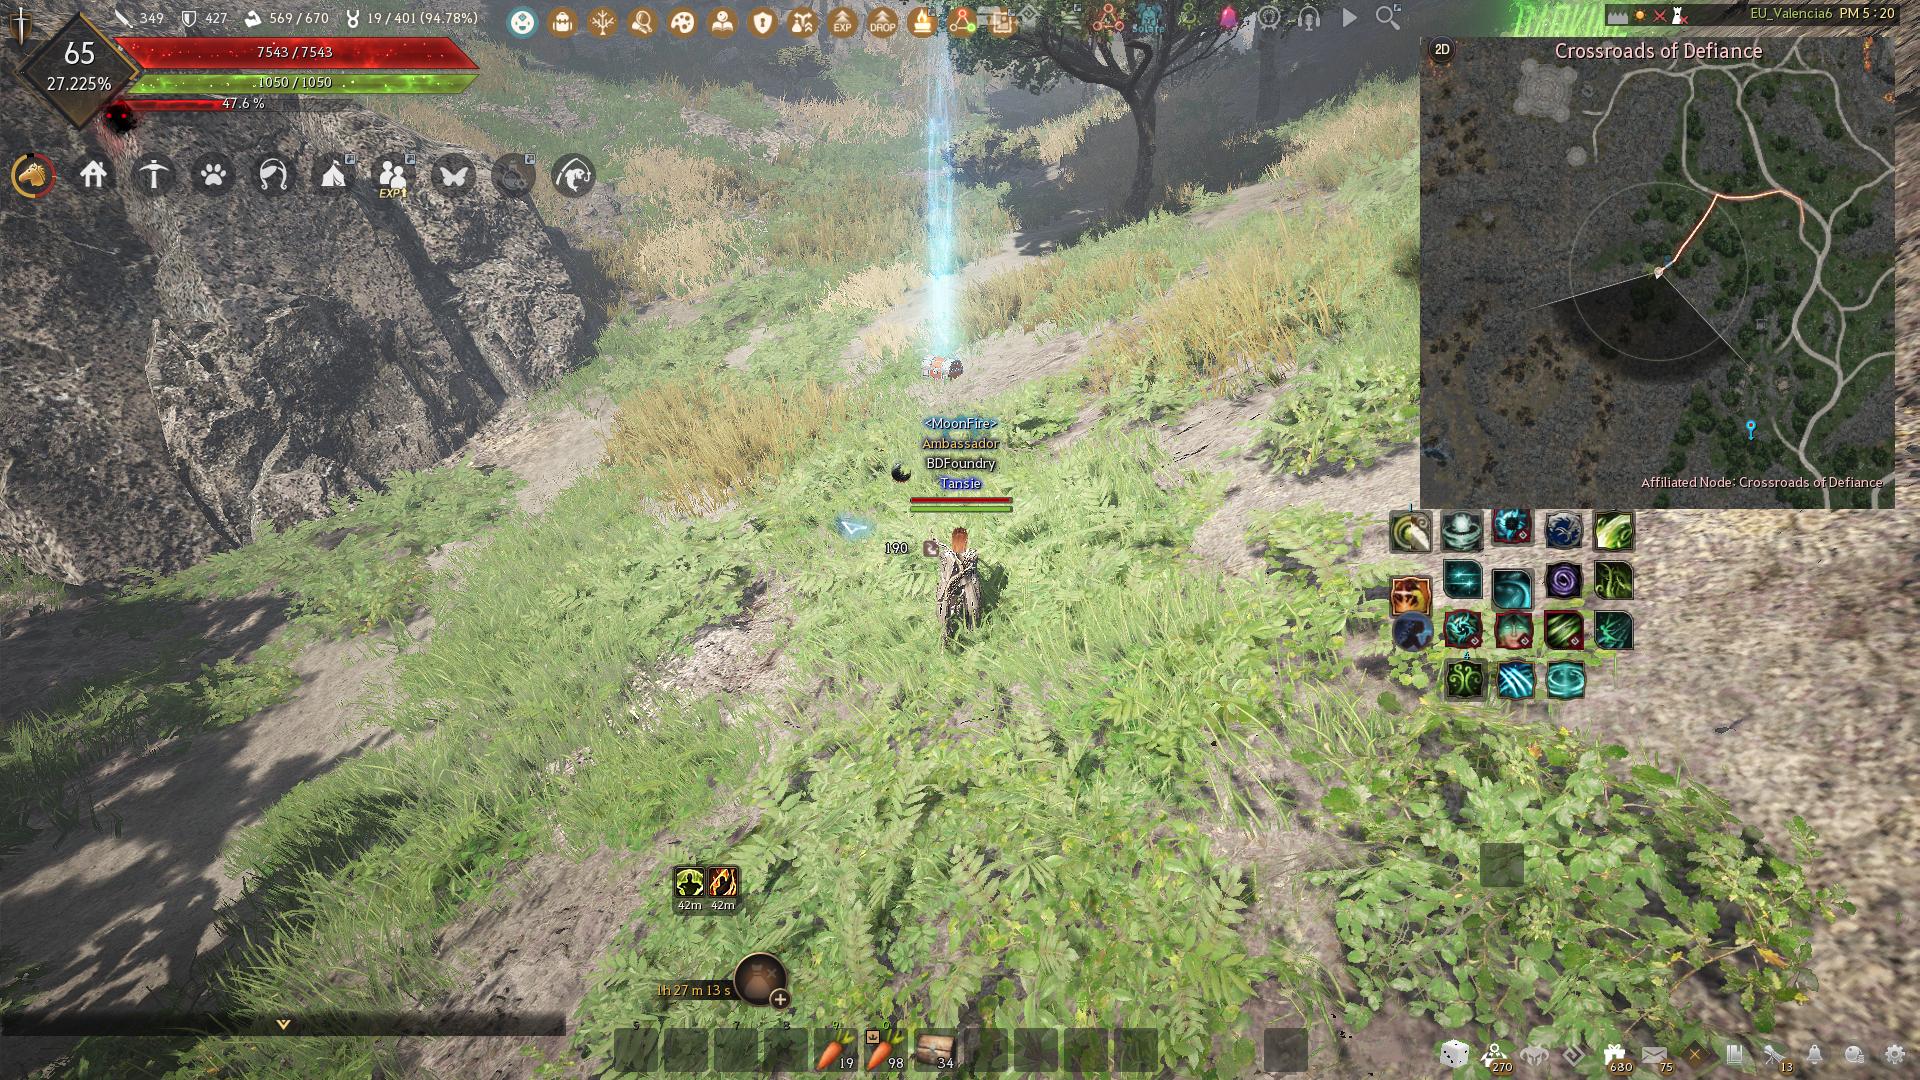
All Chest Locations
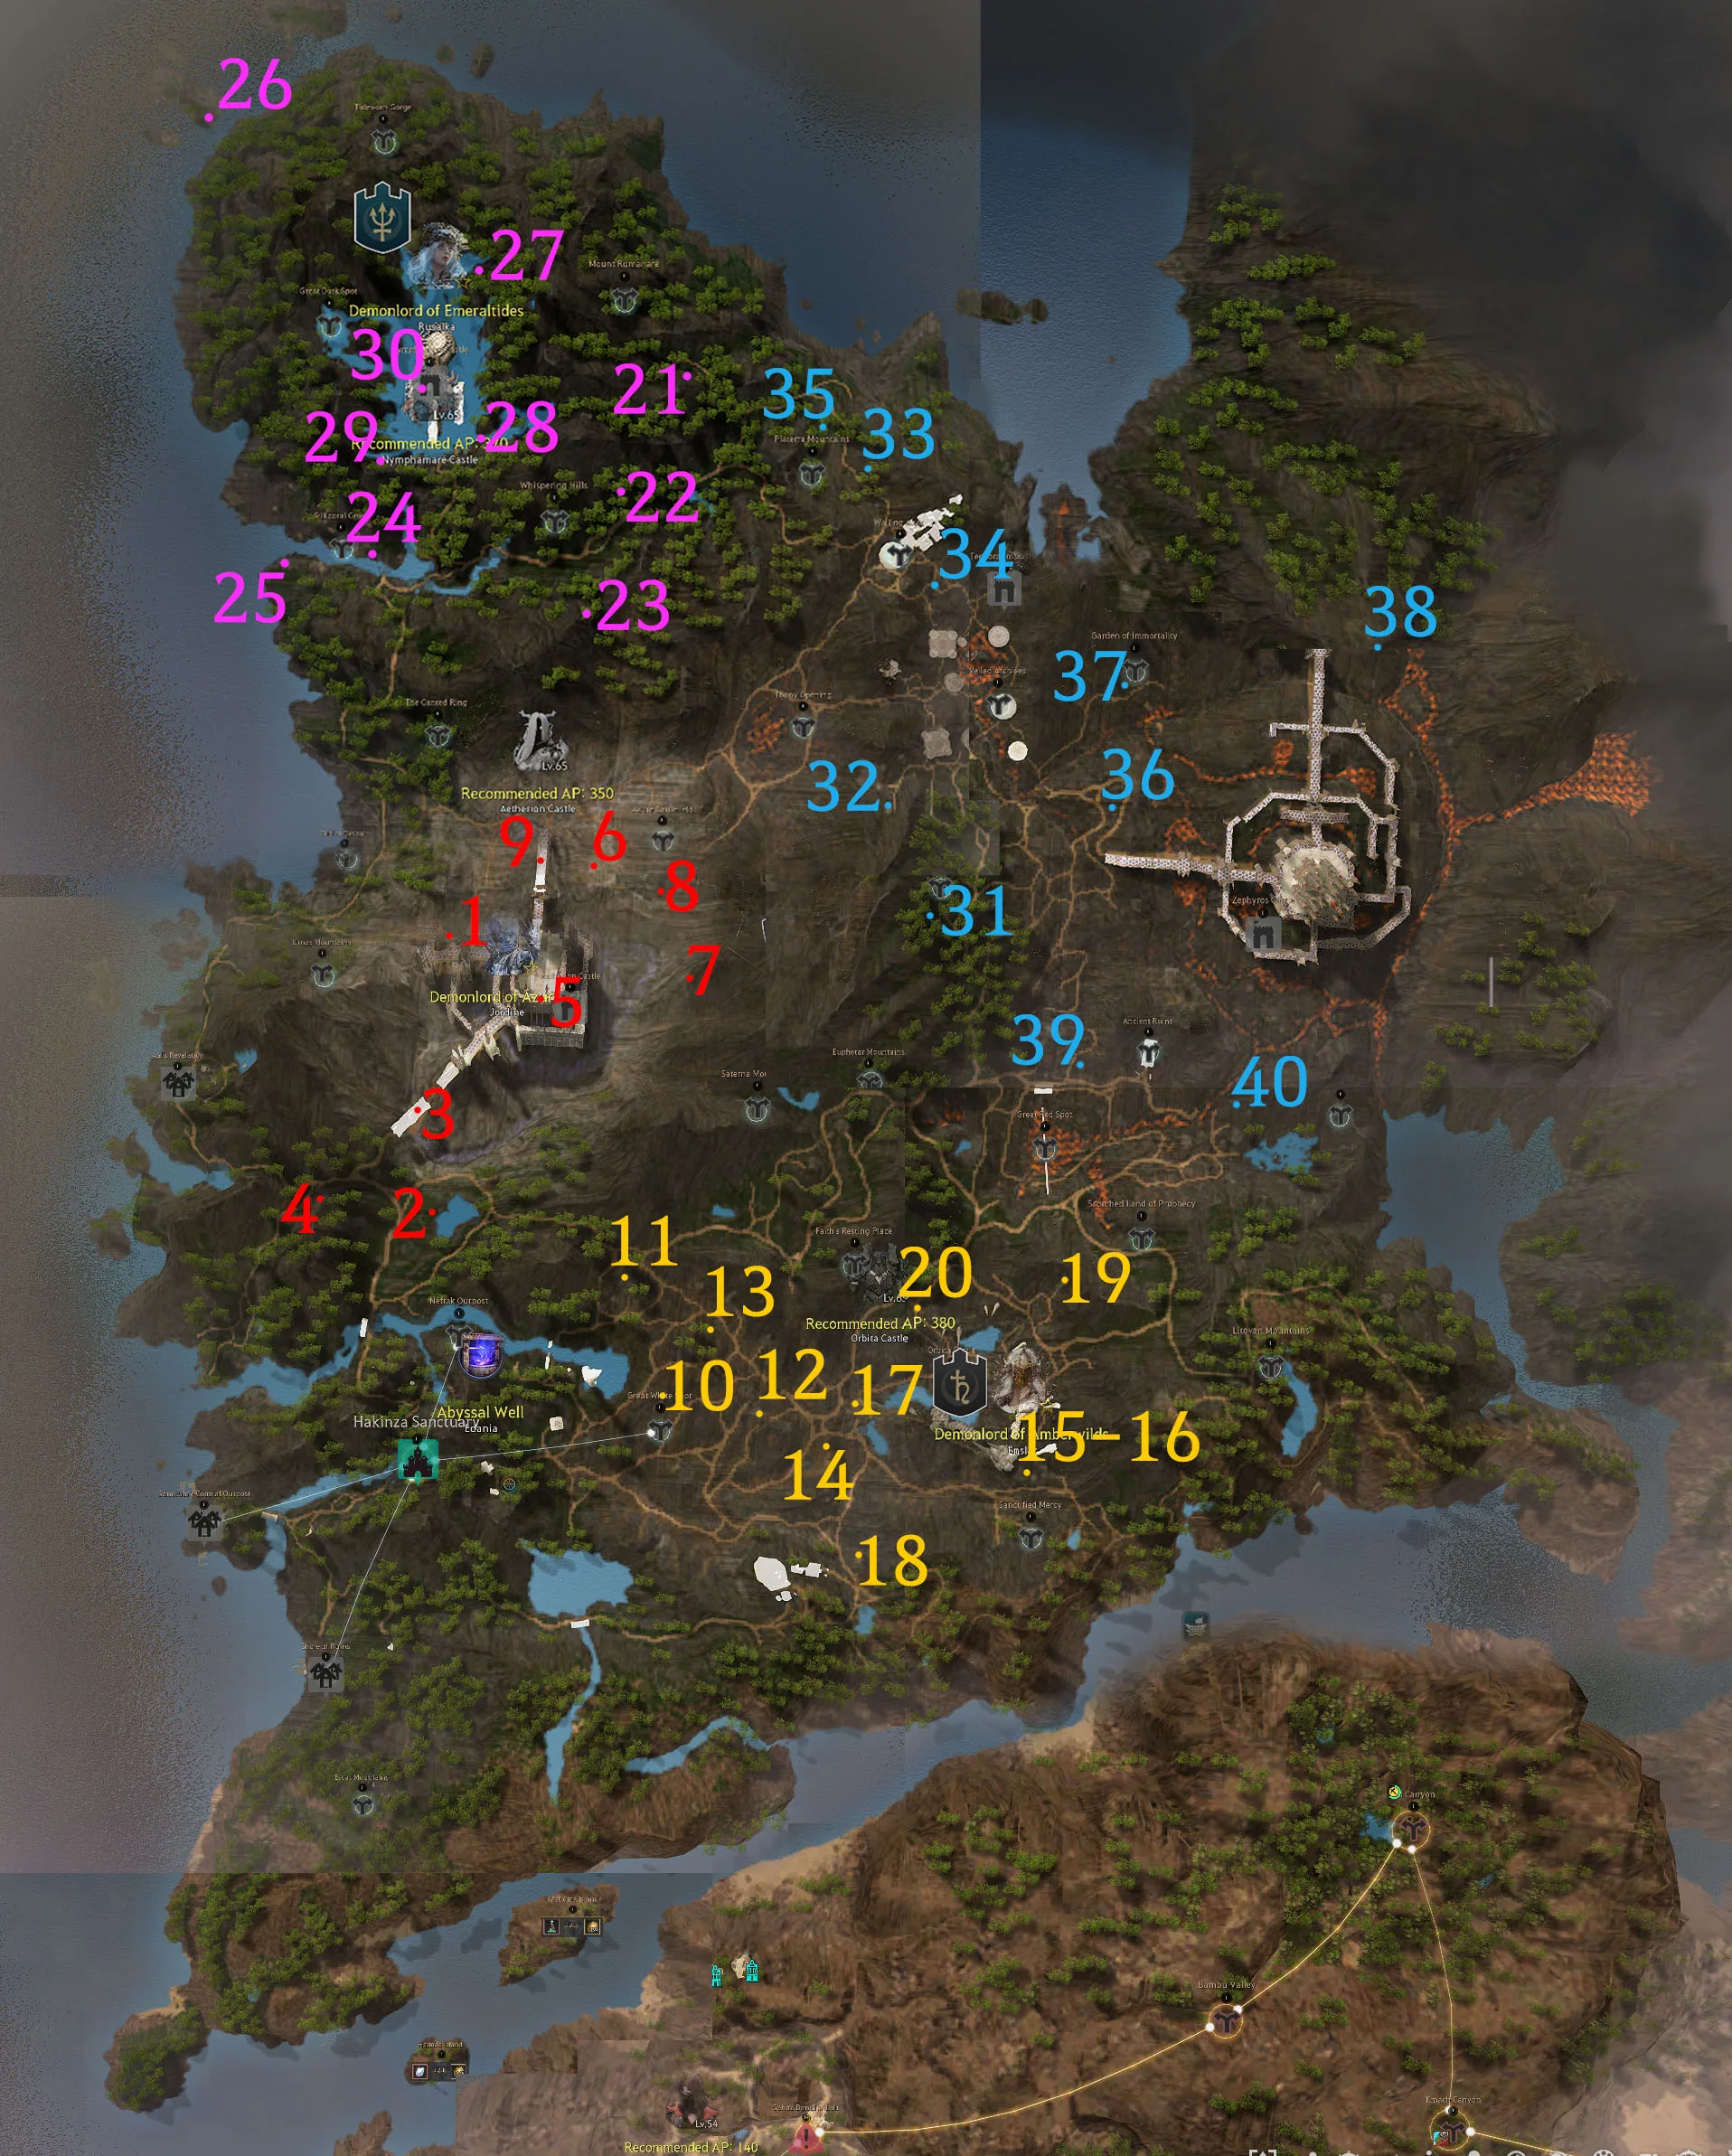
Switch to Numerical Order (1-40)
Edana's Legacy XX (20)
- Reward:
 Primordial Fragment x1
Edana's Legacy XIX (19)
- Reward:
 Gold Bar 100G x1
Edana's Legacy XV (15)
- Reward: Gold Bar 100G x1
Edana's Legacy XVI (16)
- Reward: Primordial Fragment x1
Edana's Legacy XVIII (18)
- Reward: Primordial Fragment x1
Edana's Legacy XIV (14)
- Reward: Primordial Fragment x1
Edana's Legacy XVII (17)
- Reward: Gold Bar 100G x1
Edana's Legacy XII (12)
- Reward: Primordial Fragment x1
Edana's Legacy X (10)
- Reward: Primordial Fragment x1
Edana's Legacy XIII (13)
- Reward: Gold Bar 100G x1
Edana's Legacy XI (11)
- Reward: Gold Bar 100G x1
Edana's Legacy II (2)
- Reward: Primordial Fragment x1
Edana's Legacy IV (4)
- Reward: Gold Bar 100G x1
Edana's Legacy III (3)
- Reward: Gold Bar 100G x1
Edana's Legacy V (5)
- Reward: Primordial Fragment x1
Edana's Legacy VII (7)
- Reward: Gold Bar 100G x1
Edana's Legacy VIII (8)
- Reward: Primordial Fragment x1
Edana's Legacy VI (6)
- Reward: Primordial Fragment x1
Edana's Legacy IX (9)
- Reward: Gold Bar 100G x1
Edana's Legacy I (1)
- Reward: Gold Bar 100G x1
Edana's Legacy XXIII (23)
- Reward: Gold Bar 100G x1
Edana's Legacy XXII (22)
- Reward: Primordial Fragment x1
Edana's Legacy XXI (21)
- Reward: Gold Bar 100G x1
Edana's Legacy XXVIII (28)
- Reward: Primordial Fragment x1
Edana's Legacy XXIX (29)
- Reward: Gold Bar 100G x1
Edana's Legacy XXIV (24)
- Reward: Primordial Fragment x1
Edana's Legacy XXV (25)
- Reward: Gold Bar 100G x1
Edana's Legacy XXX (30)
- Reward: Primordial Fragment x1
Edana's Legacy XXVII (27)
- Reward: Gold Bar 100G x1
Edana's Legacy XXVI (26)
- Reward: Primordial Fragment x1
Edana's Legacy XXXV (35)
- Reward: Gold Bar 100G x1
Edana's Legacy XXXIII (33)
- Reward: Gold Bar 100G x1
Edana's Legacy XXXIV (34)
- Reward: Primordial Fragment x1
Edana's Legacy XXXVII (37)
- Reward: Gold Bar 100G x1
Edana's Legacy XXXVI (36)
- Reward: Primordial Fragment x1
Edana's Legacy XXXVIII (38)
- Reward: Primordial Fragment x1
Edana's Legacy XXXX (40)
- Reward: Primordial Fragment x1
Edana's Legacy XXXIX (39)
- Reward: Gold Bar 100G x1
Edana's Legacy XXXI (31)
- Reward: Gold Bar 100G x1
Edana's Legacy XXXII (32)
- Reward: Primordial Fragment x1